Digital Sensor Care and Maintenance Best Practices

Digital X-ray sensors represent one of the most significant investments in a dental imaging workflow — with individual sensors costing anywhere from $5,000 to $15,000 or more. Despite their robust appearance, these precision instruments are surprisingly fragile. Proper care and maintenance can extend sensor lifespan by years, reduce costly repairs and replacements, and ensure consistently high image quality. This guide covers everything your team needs to know about keeping digital sensors in optimal condition.

Understanding Your Digital Sensor

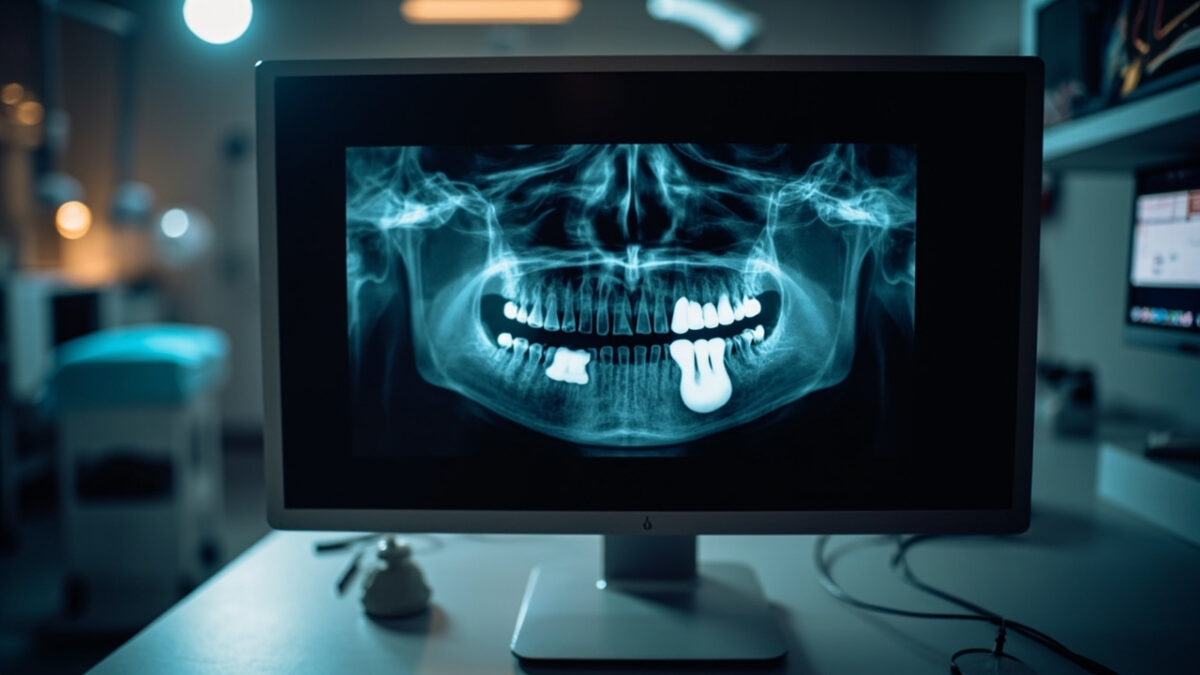
Modern dental digital X-ray sensors come in two main varieties: CCD (charge-coupled device) and CMOS (complementary metal-oxide semiconductor). Both types contain delicate electronic components sealed within a rigid housing, connected to the workstation via a USB cable. The sensor face — the active imaging area — is covered by a thin protective layer, but this layer is not indestructible.

The most vulnerable points on any digital sensor are the cable junction (where the cable meets the sensor housing), the sensor face, and the cable itself. Understanding these vulnerabilities is the first step toward effective care.

Infection Control: Barriers First

Digital sensors cannot be heat-sterilized in an autoclave — the electronics would be destroyed. Instead, infection control relies on single-use barrier sleeves combined with surface disinfection between patients.

Barrier Sleeve Protocol

  • Always use FDA-cleared barrier sleeves specifically designed for your sensor model. Generic plastic wrap or finger cots do not provide adequate protection.
  • Inspect each barrier sleeve before placement for tears, punctures, or manufacturing defects. A compromised barrier means the sensor contacts saliva and oral fluids.
  • Place the barrier with clean gloves before bringing the sensor into the treatment area.
  • Remove the barrier carefully after each patient. Peel it away without touching the sensor surface to contaminated gloves. Use the “clean hands” technique — have one gloved hand hold the contaminated barrier while the other (clean) hand removes the sensor.

Surface Disinfection

After barrier removal, wipe the sensor and cable with an intermediate-level disinfectant approved by the manufacturer. Avoid submerging the sensor in disinfectant solution — the liquid can penetrate seals and damage internal electronics. Common compatible disinfectants include CaviWipes, Birex SE, and similar EPA-registered hospital-grade products. Always check your sensor manufacturer’s recommendations, as some disinfectants can degrade certain housing materials over time.

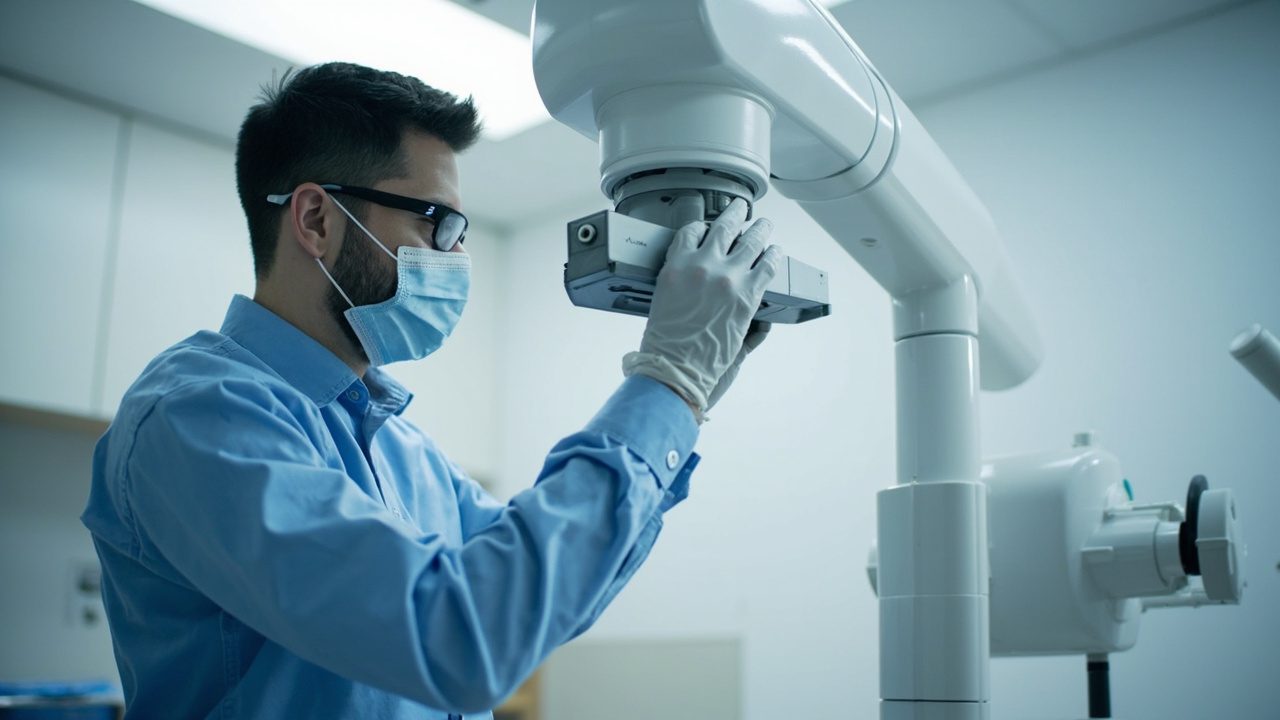
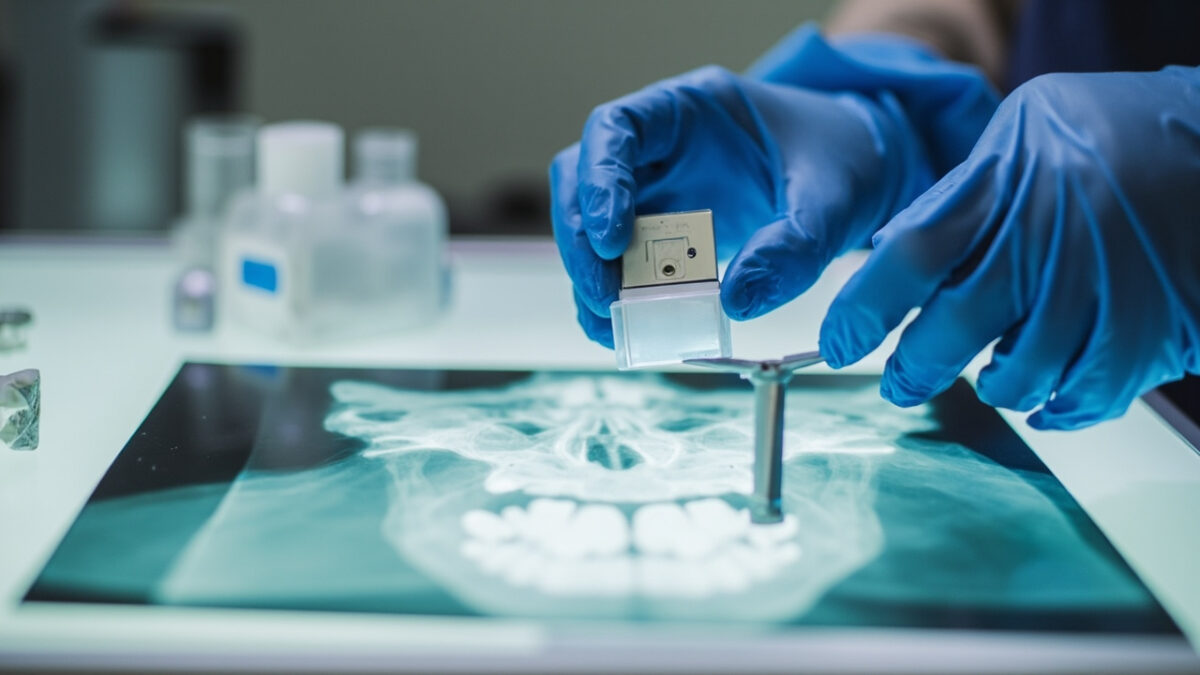
Handling and Storage

How sensors are handled between patients is where most damage occurs. Implement these practices across your team:

Never Drop the Sensor

This seems obvious, but drops are the leading cause of sensor failure. A single drop from counter height onto a hard floor can crack the internal scintillator crystal, resulting in permanent dead zones on every subsequent image. Use sensor holders with lanyards when possible, and never leave sensors dangling from countertops by their cables.

Protect the Cable

The USB cable is the sensor’s lifeline — and its weakest point. Cable damage accounts for a large percentage of sensor repairs. To protect the cable:

  • Never wrap the cable tightly around the sensor. Use loose coils with a diameter of at least 3 inches.
  • Avoid rolling over the cable with chairs or stepping on it.
  • Do not allow the cable to hang off counter edges with tension on the junction point.
  • Use strain-relief accessories if provided by the manufacturer.
  • When disconnecting from the USB port, pull the connector — not the cable.

Proper Storage

When not in use, store sensors in a dedicated padded holder or cradle. Many manufacturers provide custom storage solutions — use them. Do not toss sensors into drawers with other instruments where they can be bumped, scratched, or crushed. Designate a specific “home” location for each sensor in every operatory.

Patient Comfort Accessories

Digital sensors are thicker and more rigid than film, which can make them uncomfortable for patients — especially when imaging posterior areas. Uncomfortable patients are more likely to move, bite down hard, or push the sensor with their tongue, all of which increase the risk of damage.

Consider using foam cushion covers or comfort sleeves that fit over the barrier. These reduce the hard edges that patients find most objectionable and decrease the likelihood of bite damage to the sensor. Products like the “Sensor Guard” or similar foam accessories are inexpensive and can significantly improve patient tolerance.

Calibration and Quality Assurance

Regular quality assurance testing ensures that your sensors continue to produce diagnostic-quality images. Implement the following routine:

  • Daily: Visually inspect each sensor and cable for damage. Verify that the sensor is recognized by the imaging software.
  • Weekly: Capture a test exposure (either a step wedge or a uniform exposure with no object) and evaluate for dead pixels, lines, or uneven exposure patterns.
  • Monthly: Run the manufacturer’s calibration utility if available. Document results and compare with baseline images.
  • Annually: Have sensors professionally inspected as part of your overall X-ray equipment quality assurance program.

Keep a log of all QA activities. If image quality degrades gradually, a documented baseline makes it much easier to identify when the problem began and whether it correlates with a specific event (such as a drop or cable replacement).

When to Seek Repair vs. Replacement

Not all sensor problems require replacement. Cable damage, connector issues, and minor calibration drift are often repairable at a fraction of the cost of a new sensor. Many third-party repair services now offer sensor repair with warranties, making this a cost-effective option for practices.

However, certain types of damage — particularly cracked scintillator crystals or moisture intrusion into the sealed housing — typically indicate that replacement is the more practical option. If your sensor shows persistent dead pixels, expanding dark zones, or image artifacts that do not resolve with recalibration, consult with a qualified repair technician for an honest assessment.

Training Your Team

Sensor care is a team responsibility. Every clinical staff member who handles digital sensors should receive formal training on proper care protocols. Include sensor handling in your new employee orientation and conduct periodic refresher training. Post a quick-reference care guide in each operatory as a visual reminder.

Consider tracking sensor-related incidents (drops, barrier breaches, cable damage) to identify patterns. If one operatory has more incidents than others, investigate the workflow and physical setup to find root causes. A proactive approach to sensor care pays for itself many times over in avoided repair costs and extended equipment life.

Your digital X-ray sensors are precision instruments that deserve precision care. By implementing consistent handling, cleaning, storage, and quality assurance protocols, your practice can maximize the return on this critical investment while ensuring the highest standard of diagnostic imaging for every patient.

Common Dental X-ray Artifacts and How to Troubleshoot Them

Even the most experienced dental professionals encounter image artifacts that compromise diagnostic quality. Whether you are working with traditional film, digital sensors, or phosphor storage plates (PSP), understanding the causes of common X-ray artifacts — and knowing how to correct them — is critical for accurate diagnosis and efficient workflow. This guide covers the most frequently encountered dental X-ray artifacts, their root causes, and practical troubleshooting steps.

What Are X-ray Artifacts?

An artifact is any feature that appears on a radiographic image that does not represent actual patient anatomy. Artifacts can mimic pathology, obscure important diagnostic information, or simply degrade image quality to the point where a retake is necessary. Every retake means additional radiation exposure for the patient and lost chair time for the practice, making artifact prevention a priority.

Patient Positioning Errors

Positioning errors are among the most common causes of artifacts in intraoral and panoramic X-ray imaging.

Cone Cutting

Cone cutting occurs when the X-ray beam is not properly aligned with the sensor or film, resulting in a clear unexposed area on the image. This is immediately recognizable as a sharp, curved border between the exposed and unexposed portions of the image.

Troubleshooting: Ensure the position-indicating device (PID) is properly aligned with the sensor holder. Using beam-alignment devices (such as XCP or Rinn holders) significantly reduces cone cutting. Take a moment to verify alignment before each exposure.

Elongation and Foreshortening

Elongation makes teeth appear longer than they actually are, while foreshortening makes them appear shorter. Both result from incorrect vertical angulation of the X-ray beam relative to the sensor and tooth.

Troubleshooting: Elongation occurs when the vertical angle is too shallow (insufficient angle). Foreshortening occurs when the angle is too steep. Using the paralleling technique with proper beam-alignment instruments helps maintain consistent and correct angulation.

Overlapping

Overlapping of interproximal surfaces makes it impossible to evaluate contact areas for caries — defeating the primary purpose of bitewing X-ray images.

Troubleshooting: Overlapping results from incorrect horizontal angulation. The central ray must be directed through the contact points perpendicular to the interproximal surfaces. Adjust the horizontal angle so the beam passes cleanly between the teeth of interest.

Panoramic X-ray Artifacts

Panoramic radiography introduces a unique set of positioning-related artifacts due to the rotational nature of image acquisition.

Ghost Images

Ghost images are blurred, magnified duplicates of radiopaque objects (such as earrings, necklaces, or cervical spine vertebrae) that appear on the opposite side of the image from their actual location. They are created when a dense object is located between the X-ray source and the center of rotation.

Troubleshooting: Remove all metallic jewelry, eyeglasses, hearing aids, and removable dental prostheses before exposure. Ensure the patient’s cervical spine is straightened (chin slightly tucked) to minimize vertebral ghost images.

Patient Positioned Too Far Forward or Back

When the patient’s anterior teeth are positioned too far forward relative to the focal trough, they appear narrowed and blurred. If positioned too far back, the anterior teeth appear widened and magnified.

Troubleshooting: Use the bite guide and light positioning indicators on the panoramic unit. Ensure the patient bites the notch on the bite block with their upper and lower incisors edge-to-edge. Follow the manufacturer’s positioning protocol carefully.

Digital Sensor Artifacts

Digital imaging systems introduce their own category of artifacts that are distinct from those seen with traditional film.

Dead Pixels and Lines

CCD and CMOS digital sensors can develop dead or stuck pixels that appear as consistent black or white spots on every image. Damaged sensors may also show lines or bands across the image.

Troubleshooting: Run the sensor’s built-in calibration tool if available. If dead pixels or lines persist, the sensor may need professional repair or replacement. Handle sensors carefully to prevent damage — never drop, bend, or crush them.

Cable and Connection Issues

Damaged USB cables or loose connections can produce intermittent artifacts including image noise, partial image capture, or complete image failure. These issues may be mistaken for sensor damage.

Troubleshooting: Inspect the cable for visible damage, especially near the sensor housing where strain is greatest. Try a different USB port. If using a USB hub, connect directly to the computer instead. Replace cables that show signs of wear.

Phosphor Plate (PSP) Artifacts

Phosphor storage plates present their own unique artifact challenges.

Residual Image (Double Exposure)

If a PSP plate is not fully erased before reuse, a faint ghost of the previous exposure can appear superimposed on the new image. This is one of the most common PSP artifacts.

Troubleshooting: Always erase PSP plates on a light box or in the scanner’s erase cycle before each use. If plates have been stored for an extended period, erase them before first use to clear any accumulated background radiation exposure.

Scratches and Surface Damage

PSP plates are delicate. Scratches on the phosphor surface appear as fine white lines on the processed image. These artifacts are permanent and worsen over time.

Troubleshooting: Handle plates by the edges only. Use protective barrier envelopes during intraoral placement. Inspect plates regularly and retire any that show visible surface damage. PSP plates have a finite lifespan — most manufacturers recommend replacement after a set number of scan cycles.

Exposure Setting Errors

Incorrect exposure parameters produce images that are too dark (overexposed) or too light (underexposed). While digital systems offer some latitude for post-processing adjustment, severely over- or underexposed images cannot be salvaged.

Troubleshooting: Follow manufacturer-recommended exposure charts based on patient size and anatomy. Adjust kVp and mA settings appropriately for pediatric versus adult patients and for anterior versus posterior regions. Maintain a reference chart at each X-ray unit and train all operators on proper technique selection.

Building a Quality Assurance Program

The best approach to artifacts is prevention. Implement a quality assurance (QA) program that includes regular equipment testing, staff training, and image quality audits. Periodically review rejected images to identify patterns — if the same type of artifact recurs, it points to a systematic issue with technique, equipment, or training that can be addressed proactively.

By understanding the causes behind common dental X-ray artifacts, your team can minimize retakes, reduce unnecessary radiation exposure, and ensure that every image captured provides maximum diagnostic value.

Understanding Dental X-Ray Tube Maintenance: Why Preventive Care Extends Equipment Life

Dental x-ray equipment represents a significant capital investment for any practice, and the x-ray tube is its most critical — and most expensive — component. Understanding how these tubes work, recognizing early warning signs of failure, and implementing proper maintenance protocols can dramatically extend equipment life and prevent costly downtime.

Close-up of dental x-ray tube
The x-ray tube: your imaging system’s most critical component.

How Dental X-Ray Tubes Work

At its core, an x-ray tube is a vacuum tube designed to convert electrical energy into x-ray radiation. Understanding the basic physics helps explain why maintenance matters so much.

The Cathode

The cathode assembly contains a tungsten filament — similar in concept to an old incandescent light bulb, but engineered for extreme precision. When heated by electrical current, the filament releases electrons through thermionic emission. A focusing cup surrounds the filament, shaping the electron stream into a narrow beam directed at the anode.

Most dental tubes use a dual-filament cathode: a small filament for fine-detail work (periapical images) and a larger filament for broader exposures (panoramic). The filament you select determines the focal spot size — the area on the anode where electrons strike, which directly affects image resolution.

The Anode

The anode (or target) is where the magic happens — and where most of the punishment occurs. Electrons from the cathode slam into the anode’s tungsten target at tremendous speed. Only about 1% of that kinetic energy converts to x-rays; the remaining 99% becomes heat.

In dental intraoral units, you’ll typically find stationary anodes — a tungsten target embedded in a copper block that acts as a heat sink. Panoramic and CBCT units often use rotating anodes, where the tungsten disc spins at 3,000–10,000 RPM to distribute heat across a larger surface area.

The Focal Spot

The focal spot is the area on the anode where the electron beam strikes. A smaller focal spot produces sharper images but concentrates heat in a smaller area, accelerating wear. Dental intraoral tubes typically have focal spots of 0.4–0.7 mm, while panoramic units may use 0.5–1.0 mm spots.

The line-focus principle allows manufacturers to use an angled anode face to create an effective focal spot smaller than the actual area being bombarded — a clever engineering compromise between image quality and heat management.

Common Failure Modes

X-ray tubes don’t fail randomly. They wear out through predictable mechanisms, and understanding these helps you spot trouble early.

Anode Pitting and Roughening

Over thousands of exposures, the tungsten surface of the anode develops microscopic pits and roughness. This is the most common form of tube aging. As the surface degrades:

  • X-ray output becomes less uniform
  • Image contrast gradually decreases
  • Heat dissipation becomes less efficient, accelerating further damage
  • In severe cases, tungsten particles can vaporize and coat the glass envelope, causing electrical arcing

What accelerates it: Excessive exposure settings, inadequate warm-up, and exceeding duty cycle ratings. Making high-mA exposures on a cold tube is particularly destructive — thermal shock can crack the anode surface.

Bearing Wear (Rotating Anode Units)

Rotating anode tubes in panoramic and CBCT units rely on precision bearings operating in a vacuum — one of the most demanding bearing applications in any industry. These bearings:

  • Cannot be conventionally lubricated (vacuum environment)
  • Operate at extreme temperatures
  • Must maintain precise balance at thousands of RPM

As bearings wear, you may notice increased vibration, longer spin-up times, or audible changes in the rotor sound. Eventually, bearing failure causes the anode to wobble, producing image artifacts or complete tube failure.

Filament Degradation

The cathode filament thins over time as tungsten evaporates during each heating cycle. This causes:

  • Gradual decrease in tube output at the same technique settings
  • Changes in focal spot size (usually getting larger)
  • Eventually, filament breakage and complete failure

Insulation Breakdown

The tube housing contains oil that serves dual purposes: electrical insulation and heat dissipation. Over time:

  • Oil can degrade, reducing its insulating properties
  • Gas bubbles can form, creating paths for electrical arcing
  • Seals can deteriorate, leading to oil leaks
  • The glass envelope can develop micro-cracks from thermal cycling

Insulation failures often present as intermittent problems — the unit works sometimes but not others, or produces inconsistent output.

Warning Signs: What to Watch For

Catching tube problems early can mean the difference between a planned replacement and an emergency failure that disrupts patient care.

Image Quality Degradation

  • Gradually decreasing contrast — images look “flat” or “washed out” compared to previous quality
  • Increased noise/graininess — especially at settings that previously produced clean images
  • Loss of fine detail — particularly in periapical images where you need to see root canal anatomy and lamina dura
  • Uneven density — one side of the image consistently lighter or darker than the other

Unusual Sounds

  • Grinding or rumbling during rotor spin-up (panoramic/CBCT units) — bearing wear
  • Clicking or snapping — possible electrical arcing inside the tube housing
  • Changes in the normal operating sound — any new sound warrants investigation

Intermittent Exposure Failures

  • Unit fires sometimes but not others
  • Exposures that terminate prematurely
  • Error codes appearing sporadically
  • Unit requiring longer prep time before firing

Important: Intermittent problems almost always get worse, never better. Don’t ignore them hoping they’ll resolve on their own.

Physical Signs

  • Oil stains or residue around the tube housing
  • Unusual heat from the tube head after normal workload
  • Discoloration of the tube housing
Technician maintaining dental x-ray equipment
Regular professional maintenance extends tube life and ensures diagnostic quality.

Preventive Maintenance Best Practices

A structured maintenance program protects your investment and ensures consistent diagnostic quality for your patients.

Daily: Warm-Up Protocols

This is the single most impactful habit you can develop. Before the first patient exposure each day:

  1. Make 2–3 low-technique exposures before clinical use. Start at approximately half your normal mA and kVp settings.
  2. Gradually increase to normal operating parameters.
  3. Wait 30 seconds between warm-up exposures to allow heat dissipation.

Why this matters: A cold anode subjected to full-power exposure experiences severe thermal shock. The rapid, uneven heating can cause surface cracking and dramatically shorten tube life. The warm-up protocol brings the anode to operating temperature gradually.

For units that have been idle for a weekend or longer, extend the warm-up to 4–5 exposures with longer intervals.

Daily/Weekly: Duty Cycle Awareness

Every x-ray tube has a duty cycle rating — the maximum ratio of exposure time to total time. Exceeding it causes heat buildup that accelerates every failure mode discussed above.

  • Know your tube’s rating and monitor your usage patterns
  • Space exposures appropriately — allow cooling time between patients during busy periods
  • Monitor the tube head temperature — if it’s noticeably hot to the touch, you’re pushing the duty cycle
  • Full mouth series (FMX) are particularly demanding — consider taking a brief pause midway through

Monthly: Visual Inspection

  • Inspect the tube head for oil leaks, unusual discoloration, or physical damage
  • Check all cables and connections for wear or damage
  • Verify that positioning arms move smoothly and lock securely
  • Confirm that all indicator lights and displays function correctly

Quarterly: Quality Assurance Testing

Regular QA testing catches degradation before it affects clinical images:

  • Output consistency testing: Use a dosimeter to verify that exposure output is consistent and within manufacturer specifications
  • kVp accuracy: Verify with a kVp meter that actual output matches selected settings
  • Timer accuracy: Confirm that exposure times match selected values
  • Collimation check: Verify that the beam is properly collimated and aligned
  • Image quality phantoms: Use a standardized phantom to objectively assess resolution, contrast, and uniformity over time

Keep a log of all QA results. Trending data is far more valuable than individual measurements — a gradual decline in output that’s still within spec tells you a tube is aging and helps you plan replacement proactively.

Annual: Professional Service

  • Schedule annual service visits with a qualified x-ray equipment technician
  • Full electrical safety testing including leakage radiation measurements
  • Calibration verification with certified test equipment
  • Oil condition assessment for tube housing integrity
  • Regulatory compliance review — ensure your equipment meets current state and federal requirements

When to Replace vs. Repair

Tube replacement is expensive, but so is poor image quality and equipment downtime. Consider replacement when:

  • Output has decreased more than 15–20% from baseline despite normal technique settings
  • Image quality issues persist after all other variables (processing, sensor, positioning) have been ruled out
  • Intermittent failures are increasing in frequency
  • The tube has reached the manufacturer’s estimated exposure count or age limit
  • Repair costs approach 50% or more of replacement cost

The Bottom Line

X-ray tube maintenance isn’t glamorous, but it directly impacts both your practice’s bottom line and your patients’ diagnostic care. A tube that’s properly warmed up daily, operated within its duty cycle, monitored with regular QA testing, and professionally serviced annually can last significantly longer than one that’s neglected.

The investment in preventive maintenance is minimal compared to emergency tube replacement — both in direct costs and in the disruption to patient care. Build these practices into your daily routine, and your equipment will reward you with years of reliable service.

Have questions about your specific x-ray equipment maintenance needs? Contact your equipment manufacturer’s service department or a qualified dental x-ray technician for guidance tailored to your setup.