Panoramic X-ray Machine Calibration and Quality Assurance Guide
Why Calibration Matters for Panoramic X-ray Units
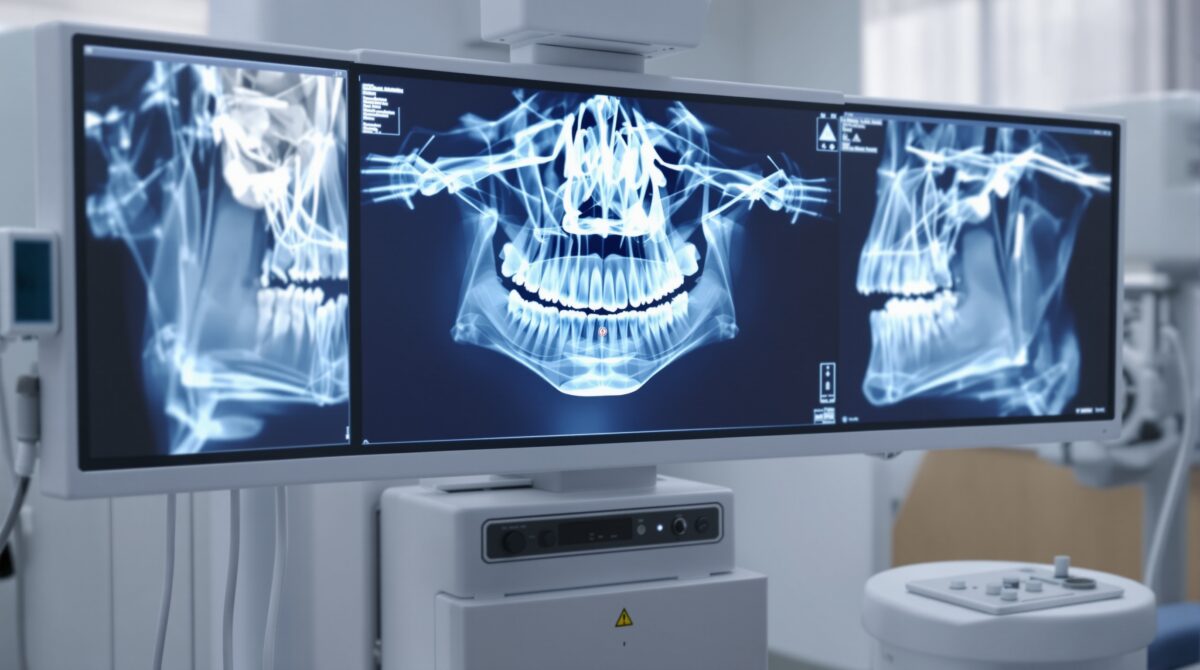
Panoramic X-ray machines are essential diagnostic tools in modern dental practices, providing comprehensive views of the entire oral and maxillofacial region in a single image. However, like any precision instrument, these units require regular calibration and quality assurance (QA) to produce diagnostically accurate images. Without proper calibration, your panoramic unit may deliver distorted, underexposed, or overexposed images — leading to misdiagnosis, unnecessary retakes, and increased radiation exposure for patients.
In this guide, we’ll walk through the fundamentals of panoramic X-ray calibration, outline a practical QA schedule, and share troubleshooting tips to keep your unit performing at its best.
Understanding Panoramic X-ray Calibration
Calibration refers to the process of verifying and adjusting your panoramic unit’s settings so that it produces consistent, high-quality images. The key parameters involved include:
- Kilovoltage (kV): Controls the penetrating power of the X-ray beam. Incorrect kV settings result in images that are too dark or too light.
- Milliamperage (mA): Determines the quantity of X-rays produced. Improper mA leads to grainy or washed-out images.
- Exposure time: The duration of X-ray emission. Even slight inaccuracies can degrade image quality.
- Focal trough alignment: The three-dimensional curved zone that must align with the patient’s dental arch for sharp imaging.
- Rotation speed and trajectory: The mechanical movement of the tube head and detector around the patient must be precise and consistent.
Establishing a Quality Assurance Program
A robust QA program ensures your panoramic unit consistently meets diagnostic standards. Here’s a recommended schedule broken into daily, weekly, monthly, and annual tasks:
Daily Checks
- Visual inspection: Check the unit for any physical damage, loose components, or unusual sounds during startup.
- Warm-up exposures: Most manufacturers recommend one to three warm-up exposures before the first patient of the day. This stabilizes the X-ray tube and ensures consistent output.
- Detector/sensor check: Verify that digital detectors are clean, properly seated, and free of artifacts.
Weekly Checks
- Test phantom imaging: Expose a standardized test phantom and compare results against your baseline image. Look for changes in density, contrast, sharpness, and geometric accuracy.
- Chin rest and bite guide inspection: Ensure patient positioning aids are intact, clean, and functioning properly.
- Laser alignment verification: Confirm that positioning lasers (midsagittal, Frankfort plane, canine line) are properly aligned.
Monthly Checks
- Exposure parameter verification: Use a calibrated dosimeter or kV/mA meter to verify that the unit’s output matches its displayed settings.
- Mechanical movement assessment: Observe the rotation arm for smooth, consistent motion without hesitation, jerking, or unusual noise.
- Software and firmware review: Check for available updates from the manufacturer that may address bugs or improve performance.
Annual Checks
- Comprehensive physics survey: Engage a qualified medical physicist to perform a full evaluation, including beam quality (half-value layer), exposure reproducibility, and collimation accuracy.
- Regulatory compliance review: Ensure the unit meets all state and federal radiation safety regulations, and that documentation is current.
- Manufacturer service: Schedule a preventive maintenance visit from the manufacturer or an authorized service provider for mechanical and electronic inspection.
Common Calibration Issues and Solutions
Even with a solid QA program, issues can arise. Here are some of the most common calibration-related problems and how to address them:
Ghost Images or Double Contours
Ghost images occur when dense structures (such as the spine or the opposite side of the mandible) appear as faint duplicates on the image. While some ghosting is inherent to panoramic geometry, excessive ghosting may indicate misalignment of the rotation center or an incorrect focal trough setting. Recalibrate the rotation center per the manufacturer’s service manual, or contact your service technician.
Uneven Density Across the Image
If one side of the panoramic image is consistently darker or lighter than the other, the X-ray tube or detector may be misaligned. This can also result from an aging X-ray tube with uneven output. Run a flat-field calibration if your system supports it, or have the tube alignment checked professionally.
Blurred or Unsharp Images
Blurriness that persists regardless of patient positioning often points to mechanical issues — worn bearings in the rotation arm, a loose detector, or vibration during the scan. Inspect all mechanical components and tighten any loose fittings. If the issue persists, contact your service provider.
Incorrect Magnification
Panoramic X-ray images inherently magnify structures, typically by 15–30%. However, if magnification changes unexpectedly, the distance between the X-ray source, rotation center, and detector may have shifted. This requires professional recalibration of the unit’s geometry.
Documenting Your QA Program
Proper documentation is not just good practice — it’s often a regulatory requirement. Maintain a QA log that includes:
- Date and time of each QA check
- Name of the person performing the check
- Results and any corrective actions taken
- Baseline phantom images for comparison
- Service records and calibration certificates
Store these records in a dedicated binder or digital folder and ensure they’re accessible during inspections. Many state radiation control programs require QA documentation to be retained for a minimum of three years.
Best Practices for Long-Term Reliability
Beyond your QA schedule, adopting these best practices will extend the life of your panoramic unit and maintain image quality:
- Follow manufacturer guidelines: Every unit has specific calibration and maintenance requirements. Keep the operator and service manuals accessible and follow them closely.
- Train all operators: Ensure every team member who uses the panoramic unit understands proper positioning, exposure selection, and basic troubleshooting. Operator error is the most common cause of poor panoramic images.
- Control the environment: Keep the room at a stable temperature and humidity level. Extreme conditions can affect electronic components and detector performance.
- Act on trends: If your weekly phantom images show a gradual decline in quality, don’t wait for a failure — investigate early and schedule service proactively.
When to Call for Professional Service
While dental office staff can handle routine QA tasks, certain situations require a qualified service engineer:
- Exposure output deviates by more than 10% from baseline
- Mechanical components show signs of wear or damage
- Error codes appear on the control panel
- Image quality issues persist despite proper patient positioning
- The unit has been involved in a collision, power surge, or water damage
Maintaining a service contract with an authorized provider ensures prompt response times and access to genuine replacement parts.
Conclusion
A well-calibrated panoramic X-ray unit is the foundation of reliable dental diagnostics. By implementing a structured quality assurance program, documenting your results, and addressing issues promptly, you can ensure consistent image quality, minimize patient radiation exposure, and avoid costly downtime. Make calibration and QA a non-negotiable part of your practice’s routine — your patients and your diagnostic confidence depend on it.