Resolving Common Dental X-Ray Exposure Errors: A Troubleshooting Guide
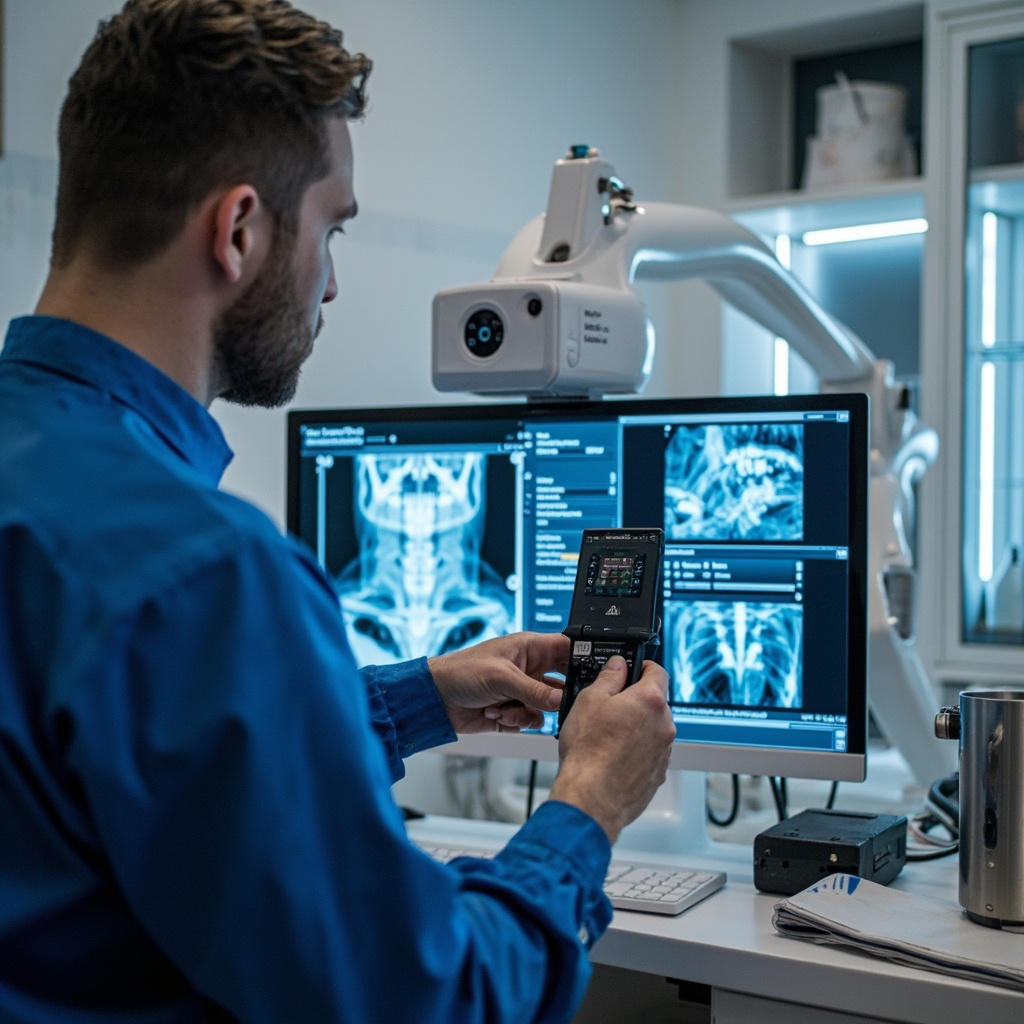
Digital dental radiography has revolutionized diagnostic capabilities in modern dental practices, but exposure errors remain one of the most common technical challenges. Understanding how to identify and correct these issues is essential for maintaining optimal image quality and diagnostic accuracy.
Understanding Exposure Problems
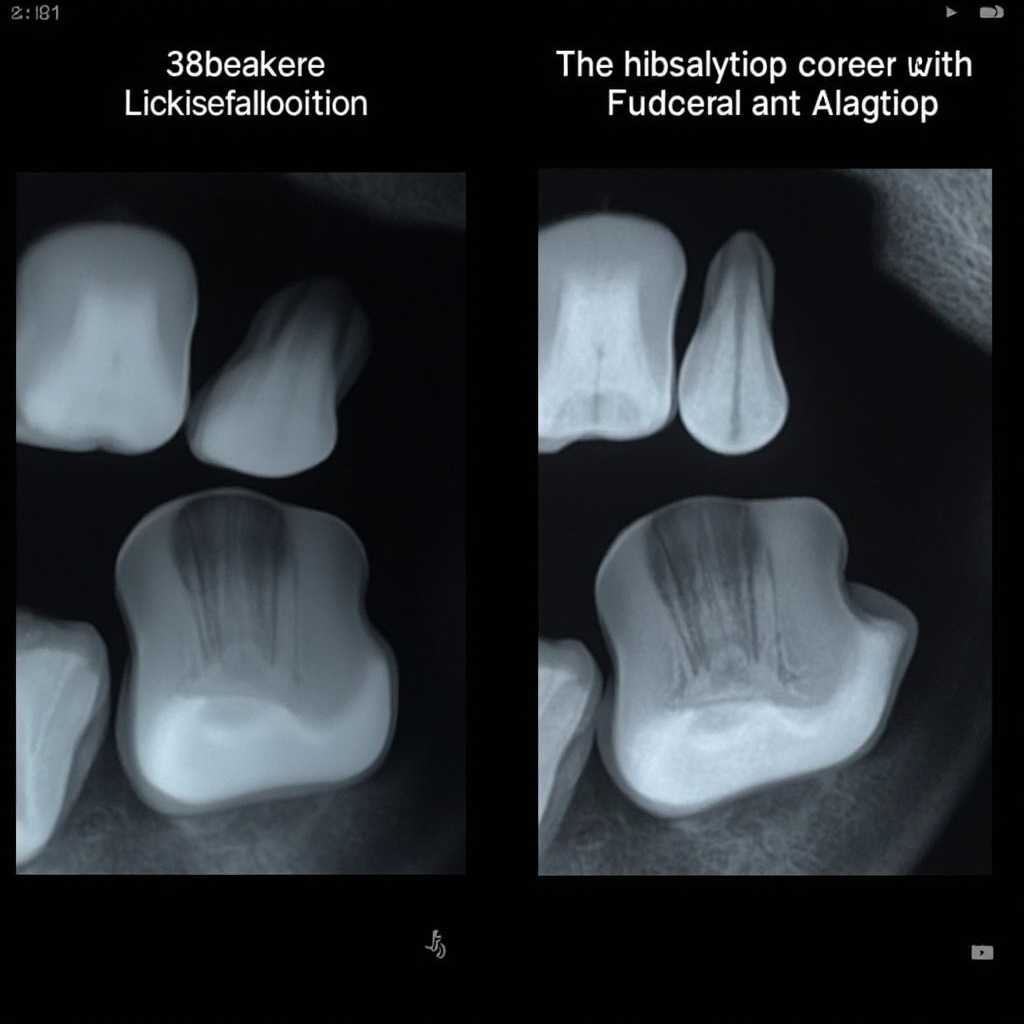
Exposure errors in dental radiography typically manifest as images that are either too light (underexposed) or too dark (overexposed). These problems can significantly compromise diagnostic quality and may require retaking images, resulting in additional patient exposure and reduced practice efficiency.
Common Exposure Error Causes
Improper Exposure Settings
The most frequent cause of exposure errors stems from incorrect time, milliamperage (mA), or kilovoltage (kVp) settings. Many practitioners rely on factory presets without considering individual patient variations or specific diagnostic requirements.
Sensor Placement Issues
Incorrect sensor positioning can lead to uneven exposure across the image. When the sensor is not properly aligned with the X-ray beam, certain areas may appear over or underexposed even with correct exposure settings.
Patient Movement
Patient movement during exposure creates motion blur and can give the appearance of exposure problems when the actual issue is image sharpness.
Troubleshooting Steps
1. Verify Equipment Settings
Begin by checking your X-ray unit settings. Ensure the kVp, mA, and exposure time are appropriate for the patient size and area being imaged. Adult patients typically require different settings than pediatric patients.
2. Check Sensor Placement
Proper sensor positioning is crucial for consistent exposure. The sensor should be parallel to the teeth being imaged and positioned to capture the entire area of interest.

3. Calibrate Your System
Regular calibration ensures consistent exposure across all images. If you notice systematic exposure problems, your equipment may need professional calibration or service.
Correction Techniques
For Overexposed Images:
- Reduce exposure time by 25-50%
- Lower the mA setting if adjustable
- Consider reducing kVp for better contrast
For Underexposed Images:
- Increase exposure time incrementally
- Verify sensor sensitivity settings
- Check for proper beam alignment
Quality Assurance Protocols
Implementing a systematic quality assurance program helps prevent exposure errors. This should include:
- Regular equipment calibration schedules
- Staff training on proper technique
- Periodic image quality reviews
- Documentation of exposure parameters
When to Seek Professional Service
If exposure problems persist despite following proper techniques, professional equipment service may be necessary. Common indicators include:
- Inconsistent exposures with identical settings
- Gradual drift in exposure requirements
- Unusual noise or mechanical issues
- Error messages on digital systems
Proper exposure technique is fundamental to diagnostic digital radiography. By understanding common causes of exposure errors and implementing systematic troubleshooting approaches, dental practices can maintain consistent image quality while minimizing patient exposure and maximizing diagnostic confidence.