Dental X-Ray Tube Replacement and Upgrade Procedures: Complete Installation Guide
Dental X-ray tube replacement is a critical maintenance procedure that ensures optimal imaging quality and extends equipment lifespan. This comprehensive guide provides essential information for dental practice managers, service technicians, and equipment specialists on proper tube replacement and upgrade procedures.
When X-Ray Tube Replacement Becomes Necessary
X-ray tubes have finite lifespans, typically ranging from 5-10 years depending on usage patterns and maintenance quality. Key indicators that replacement is needed include:
- Decreased Image Quality: Gradual reduction in contrast and sharpness despite proper technique settings
- Extended Exposure Times: Longer exposure requirements to achieve adequate image density
- Filament Burnout: Complete failure of the tungsten filament, preventing X-ray production
- Anode Wear: Pitting or cracking of the anode target surface affecting beam quality
- Housing Leakage: Radiation leakage exceeding regulatory limits during routine testing
Regular performance monitoring and annual quality assurance testing help identify degradation before complete failure occurs.
Compatibility and Selection Considerations
Proper tube selection requires careful attention to compatibility factors:
Electrical Specifications
- Voltage Rating: Match the kVp range (typically 60-70 kVp for intraoral, 60-90 kVp for panoramic)
- Current Rating: Ensure adequate mA capacity for required exposure times
- Focal Spot Size: Consider image resolution requirements (0.4-1.0mm typical)
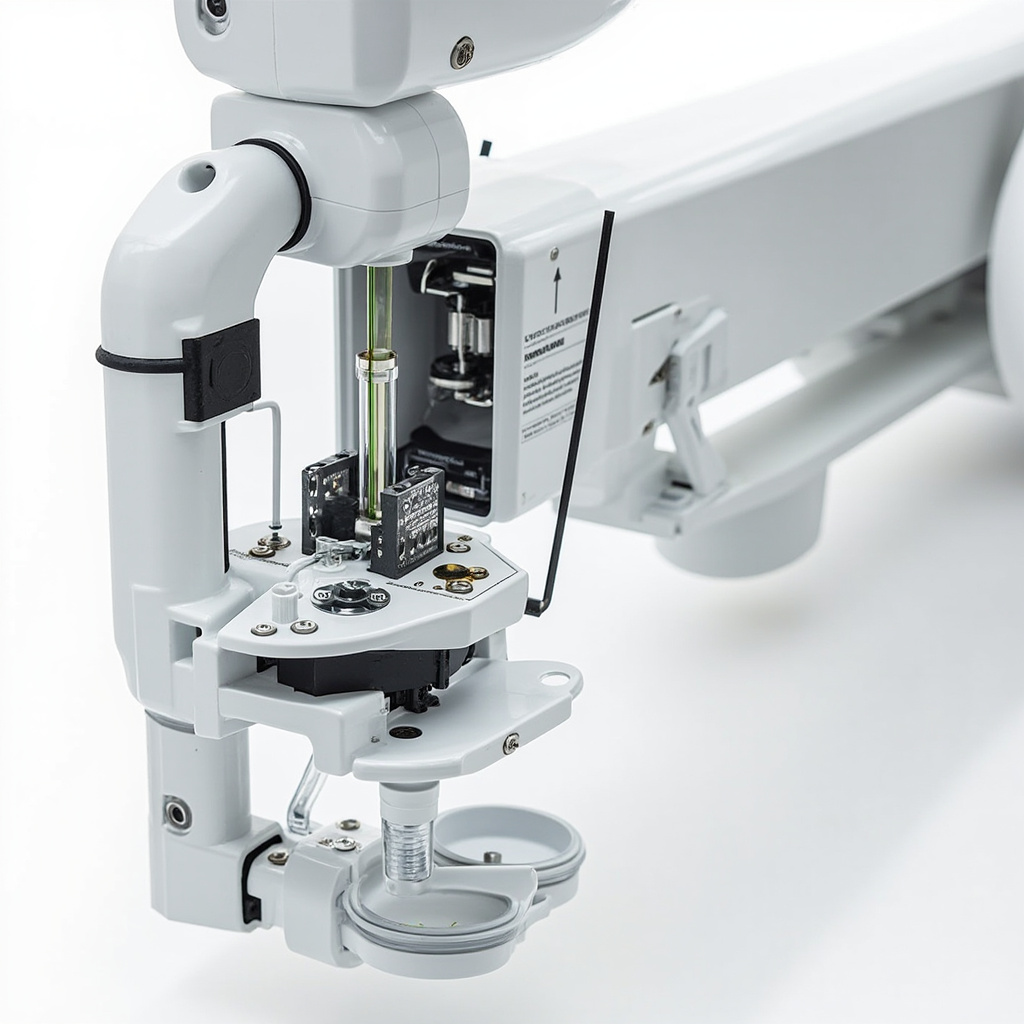
Physical Compatibility
- Housing Dimensions: Verify tube head housing can accommodate new tube assembly
- Mounting Configuration: Check bolt patterns and mechanical interfaces
- Cooling Requirements: Ensure adequate heat dissipation capacity
- Cable Connections: Verify high-voltage cable compatibility and insulation ratings
Always consult manufacturer specifications and consider upgrading the entire tube head assembly if the existing housing cannot accommodate modern tube designs.
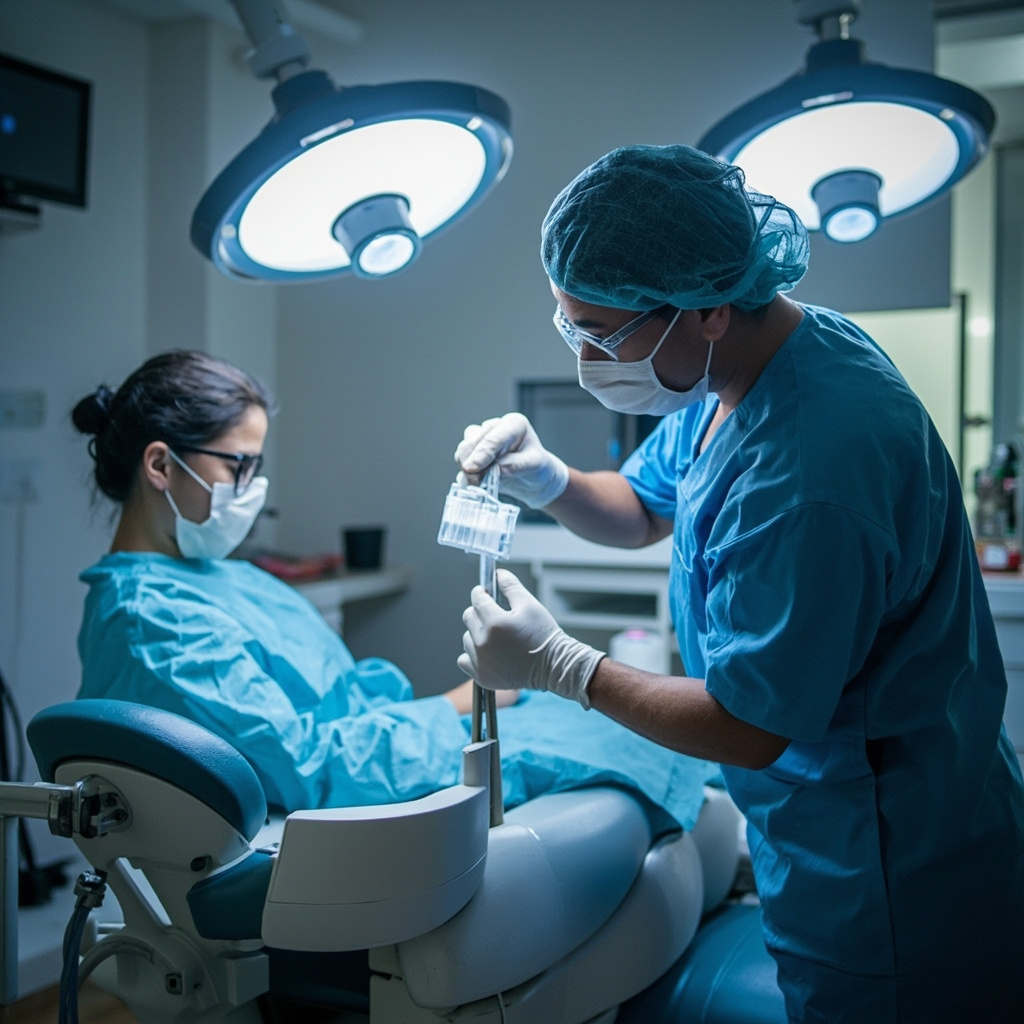
Safety Requirements and Preparation
X-ray tube replacement involves high-voltage components and radiation safety considerations:
Required Safety Equipment
- High-voltage safety gloves rated for equipment voltage levels
- Insulated tools and test equipment
- Radiation survey meter for leakage testing
- Personal dosimetry badges
Pre-Installation Steps
- Power Isolation: Disconnect and lock out main power supply
- Discharge Verification: Test all high-voltage components with appropriate meters
- Documentation: Record existing settings and calibration parameters
- Work Area Preparation: Ensure adequate lighting and workspace organization
Only qualified service technicians should perform tube replacements due to electrical hazards and regulatory requirements.
Installation Procedures
Proper installation follows manufacturer-specific procedures with common steps:
Tube Removal
- Remove tube head housing covers and protective barriers
- Disconnect high-voltage cables using proper lifting techniques
- Remove mounting bolts securing tube assembly to housing
- Carefully extract old tube, noting orientation and connection points
New Tube Installation
- Inspect new tube for shipping damage and verify model compatibility
- Position tube in housing using proper lifting equipment for heavy assemblies
- Secure mounting bolts to manufacturer torque specifications
- Reconnect high-voltage cables ensuring proper insulation and strain relief
- Install housing covers and radiation shielding components
Critical Installation Points
- Cable Management: Ensure proper routing to prevent pinching or stress
- Cooling Airflow: Verify unobstructed ventilation paths
- Grounding: Confirm proper electrical grounding connections
- Mechanical Alignment: Check tube positioning relative to collimator and patient positioning
Post-Installation Testing and Calibration

Comprehensive testing ensures safe operation and optimal performance:
Initial Function Tests
- Power-On Sequence: Verify normal startup and system diagnostics
- Exposure Tests: Confirm proper X-ray production at various settings
- Timer Accuracy: Test exposure time consistency across all available settings
- kVp Calibration: Verify voltage output matches display settings
Safety and Leakage Testing
- Radiation Leakage: Survey tube head housing for stray radiation
- Beam Quality: Test half-value layer and filtration adequacy
- Collimation Accuracy: Verify beam alignment with light field indicators
- Patient Dose Assessment: Measure entrance dose rates for typical exposures
Image Quality Verification
- Test Phantom Imaging: Capture standardized test images
- Contrast Resolution: Verify ability to distinguish tissue densities
- Spatial Resolution: Test line pair visibility and edge definition
- Noise Assessment: Evaluate image uniformity and artifact presence
Document all test results and maintain records for regulatory compliance and warranty purposes.
Cost-Benefit Analysis and Decision Making
Tube replacement decisions involve several financial considerations:
Replacement Costs
- Tube Assembly: $2,000-$8,000 depending on specifications
- Labor Costs: $500-$1,500 for professional installation
- Testing and Calibration: $300-$800 for compliance verification
- Potential Downtime: Lost production during service period
Upgrade Opportunities
- Improved Efficiency: Modern tubes may reduce exposure times
- Enhanced Image Quality: Better focal spot design and filtration
- Extended Lifespan: Advanced materials and construction techniques
- Energy Efficiency: Reduced power consumption and heat generation
Alternative Considerations
- Complete Unit Replacement: May be cost-effective for aging equipment
- Refurbished Tubes: Lower-cost option for older systems
- Preventive Maintenance: Extending current tube life through proper care
Consider total cost of ownership, including maintenance, energy consumption, and image quality requirements when making replacement decisions.
Conclusion
Dental X-ray tube replacement requires careful planning, proper safety protocols, and thorough post-installation testing. While the procedure involves significant costs and technical complexity, timely replacement ensures continued diagnostic capability and regulatory compliance.
Working with qualified service technicians and maintaining detailed documentation helps ensure successful installations and optimal equipment performance. Regular monitoring and preventive maintenance can extend tube life and provide advance warning of replacement needs.
For practices considering tube replacement, evaluate both immediate needs and long-term equipment strategies to make informed decisions that support quality patient care and operational efficiency.