Testing Lead Aprons and Thyroid Collars: How to Survey Protective Apparel for Cracks and Failures in a Dental Practice

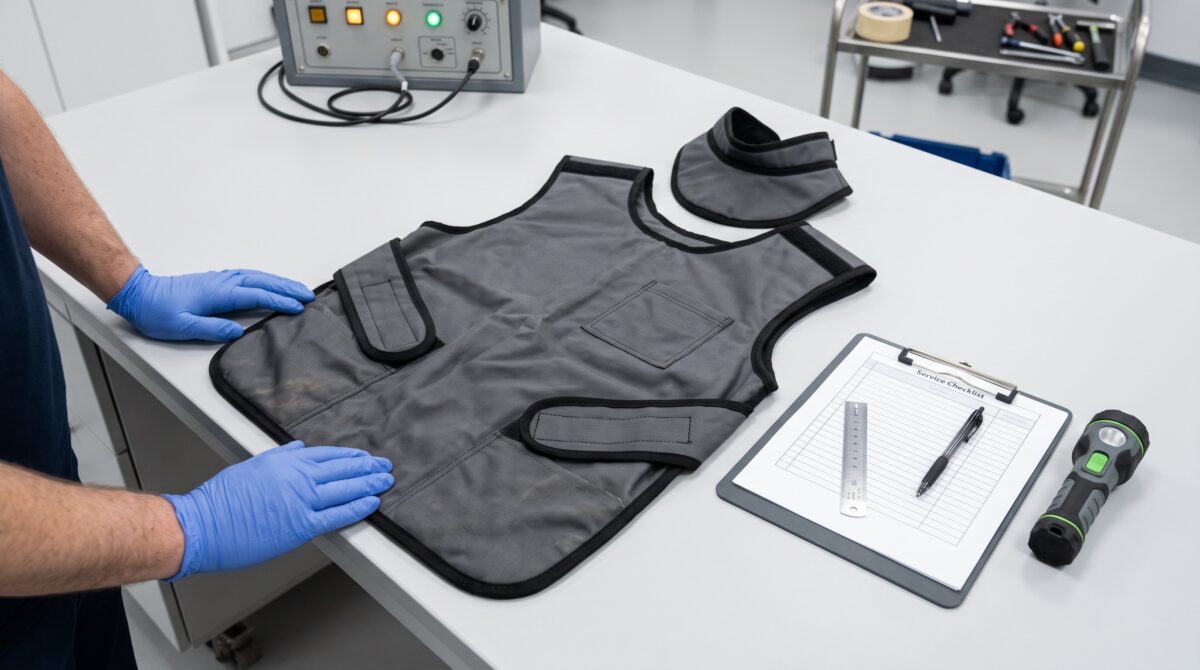
A lead apron is the one piece of radiation-protection equipment in a dental office that everyone trusts and almost no one tests. It gets draped over patients dozens of times a day, wadded onto a hook or over the back of a chair between exposures, and quietly assumed to be doing its job for a decade or more. But the protective material inside an apron is not indestructible. It cracks, thins, and separates with handling, and when it does, the garment looks perfectly normal from the outside while offering a fraction of the shielding printed on its label. As the person responsible for a practice’s imaging equipment, protective apparel belongs on your service and quality-assurance checklist right alongside the X-ray units themselves. Here is how to survey it properly, decide what to keep, and document the result.
How the Shielding Actually Fails
Most protective aprons use a flexible attenuating layer, historically lead-loaded vinyl and increasingly lead-free composites of tungsten, antimony, and bismuth in a polymer binder. That layer is essentially a filled rubber sheet, and it fails in the ways filled rubber does. Repeated sharp folding at the same crease works the filler apart until a hairline crack forms across the bend. Draping the apron over a narrow chair back or a hook concentrates the garment’s full weight on a small area and slowly stretches and thins the material there. Dropping a folded apron on a hard floor can fracture the layer internally with nothing visible on the surface. Over years, the attenuating sheet can also become brittle and shed filler, leaving thin spots that no amount of surface cleaning will restore.
The important point for anyone doing this work: the failures that matter are usually invisible. The outer fabric shell stays intact and clean while the shielding underneath develops cracks and gaps. That is exactly why a look-and-feel inspection has to be paired, at least periodically, with an image that lets you see through the fabric to the material that does the protecting.
Start With an Inventory and a Schedule
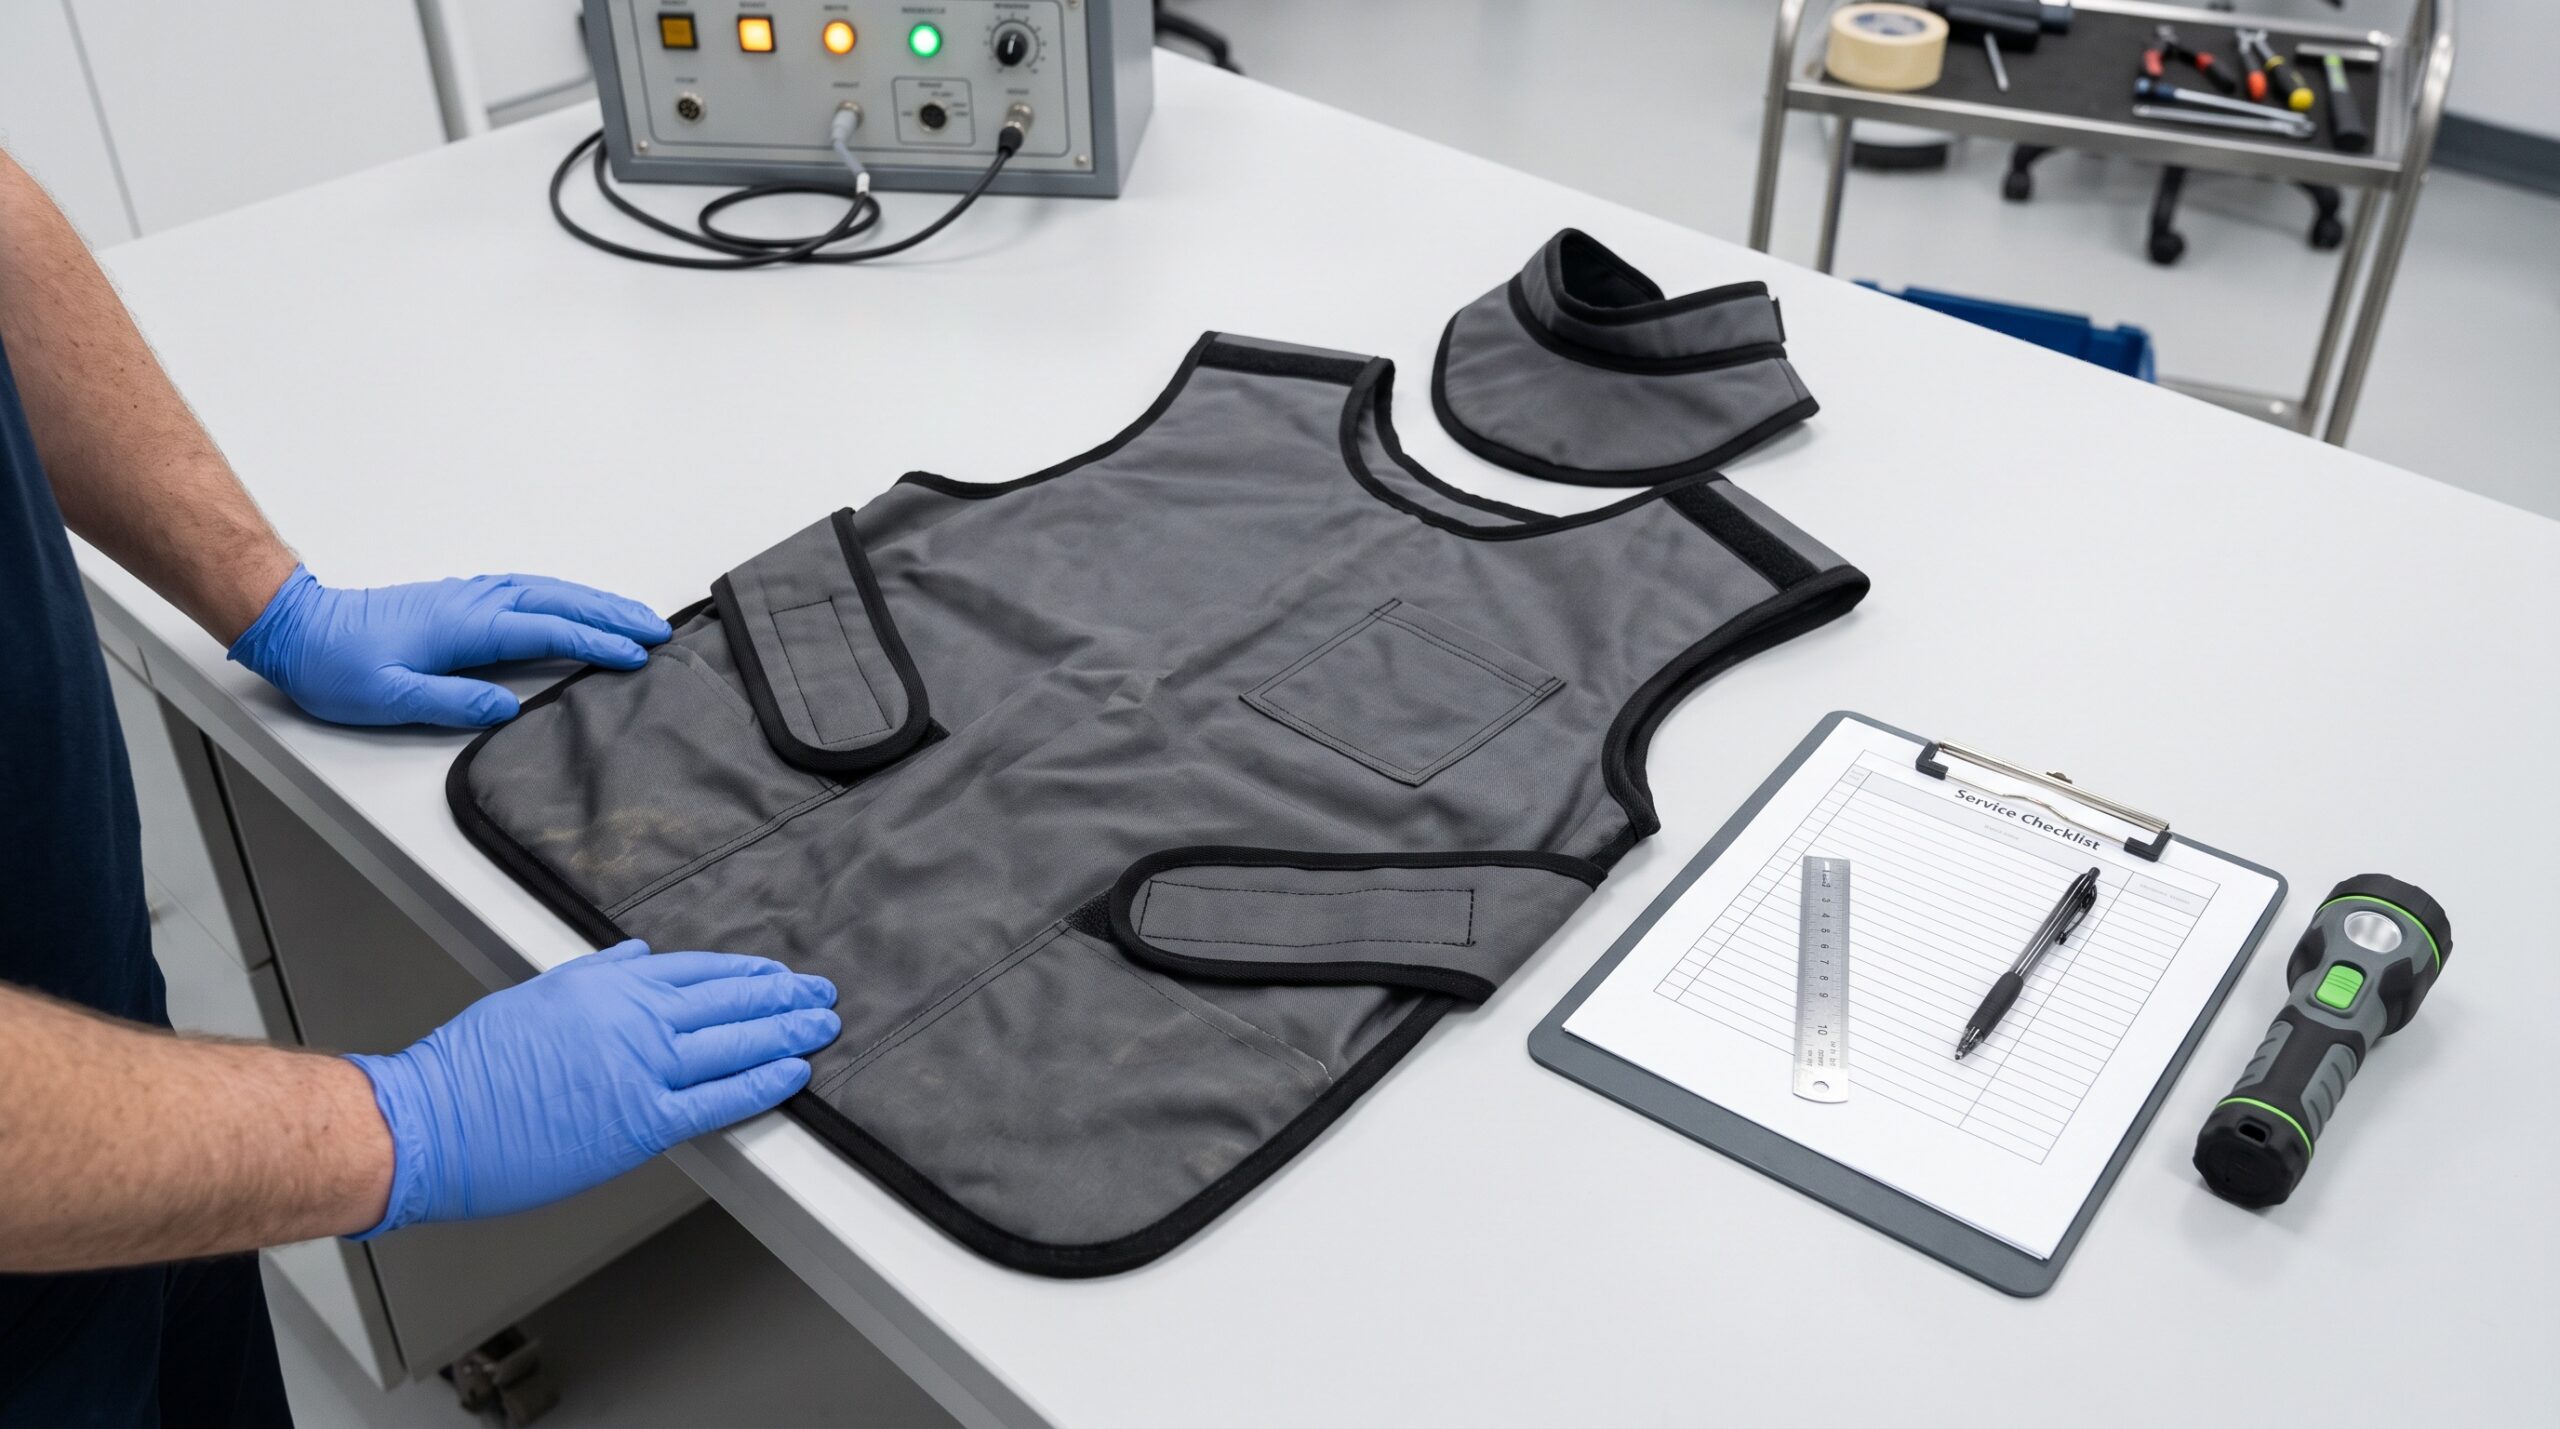
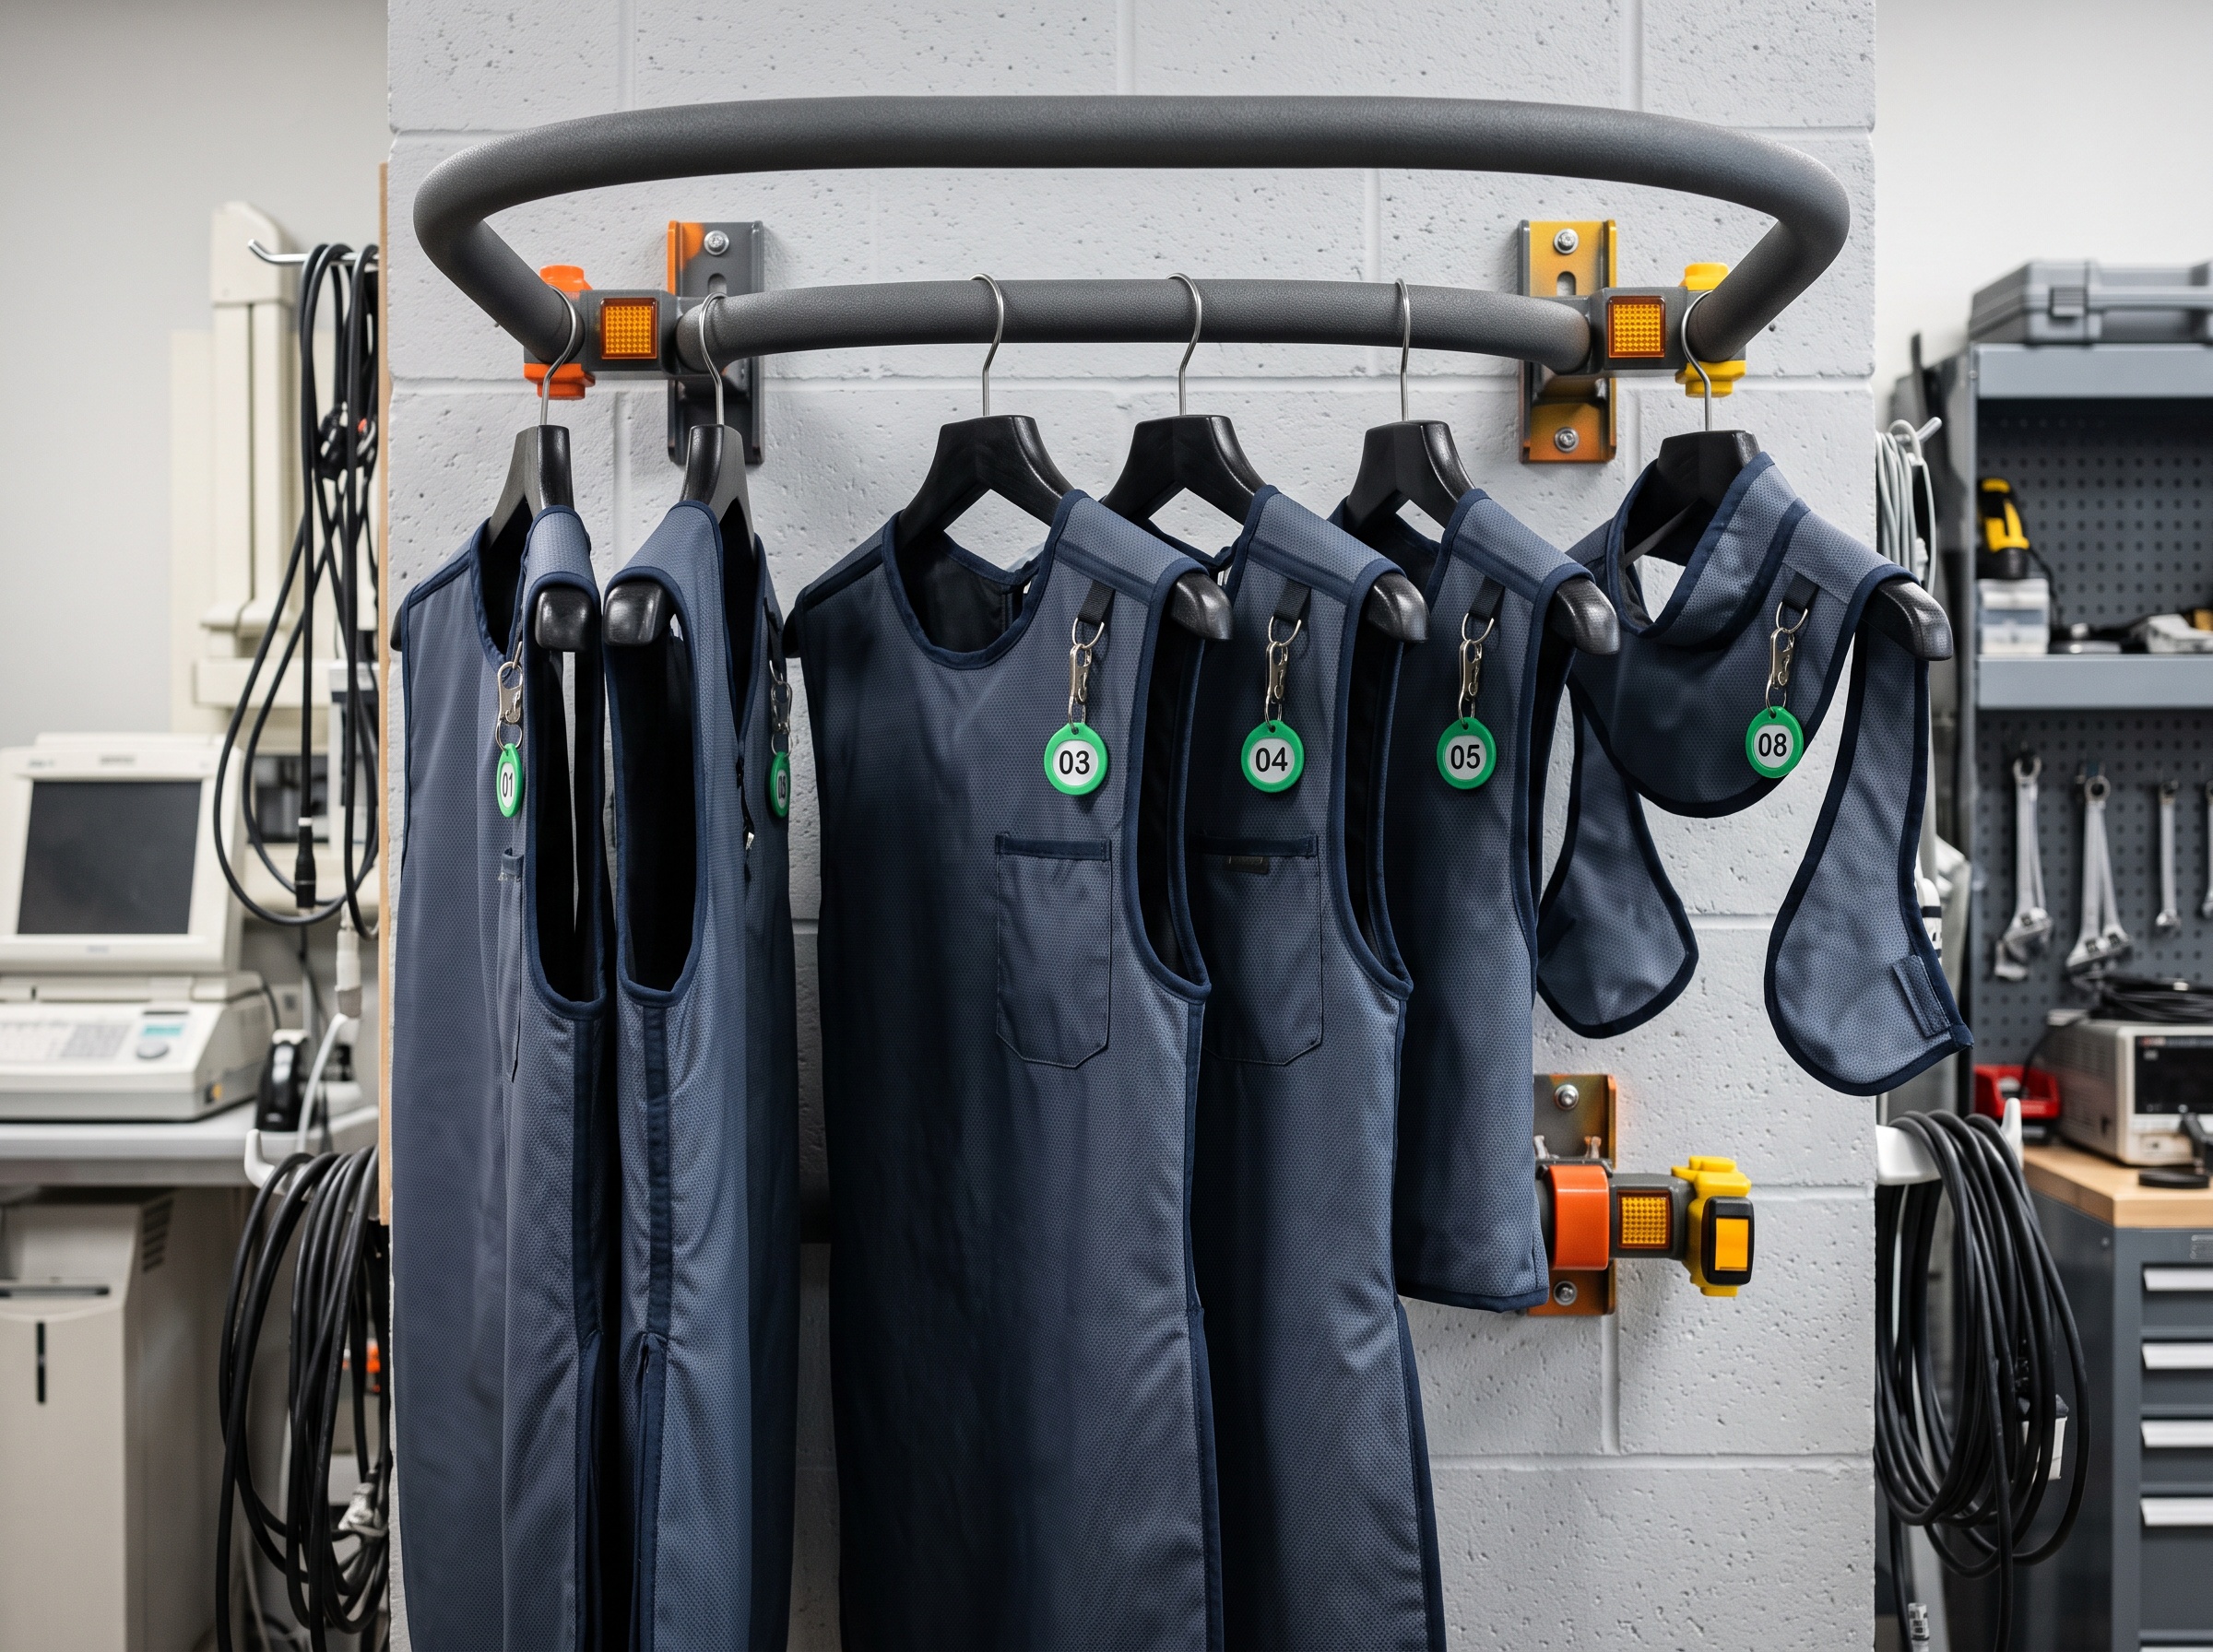
You cannot survey what you have not counted. Before touching a single apron, build a simple inventory: every apron, half-apron, and thyroid collar in the building, each given a permanent identifier. A number written on a laundry-style tag or a small engraved tag sewn to the binding works well; avoid marking the shielding itself. Record the type, the stated lead-equivalence (commonly 0.25 or 0.5 mm Pb-equivalent for dental work), the manufacturer, and the date placed in service if you know it.
With the inventory in place, set an inspection cadence. Annual testing is the common baseline, and many state radiation-control programs expect it and will ask to see the records. Move to more frequent checks for high-use apparel, for any garment that has been dropped or visibly abused, and for anything nearing or past the manufacturer’s expected service life. Each survey should log the identifier, the date, the inspector, the method used, any defects found with their size and location, and a clear pass or fail. That log is both your maintenance tool and the document you hand the inspector.
The Hands-On Survey: Visual and Tactile
Every inspection begins with the garment laid flat on a clean bench and fully supported, never held up by one corner where its own weight can hide or exaggerate a fault. Work systematically across the whole surface, front and back, in good light.
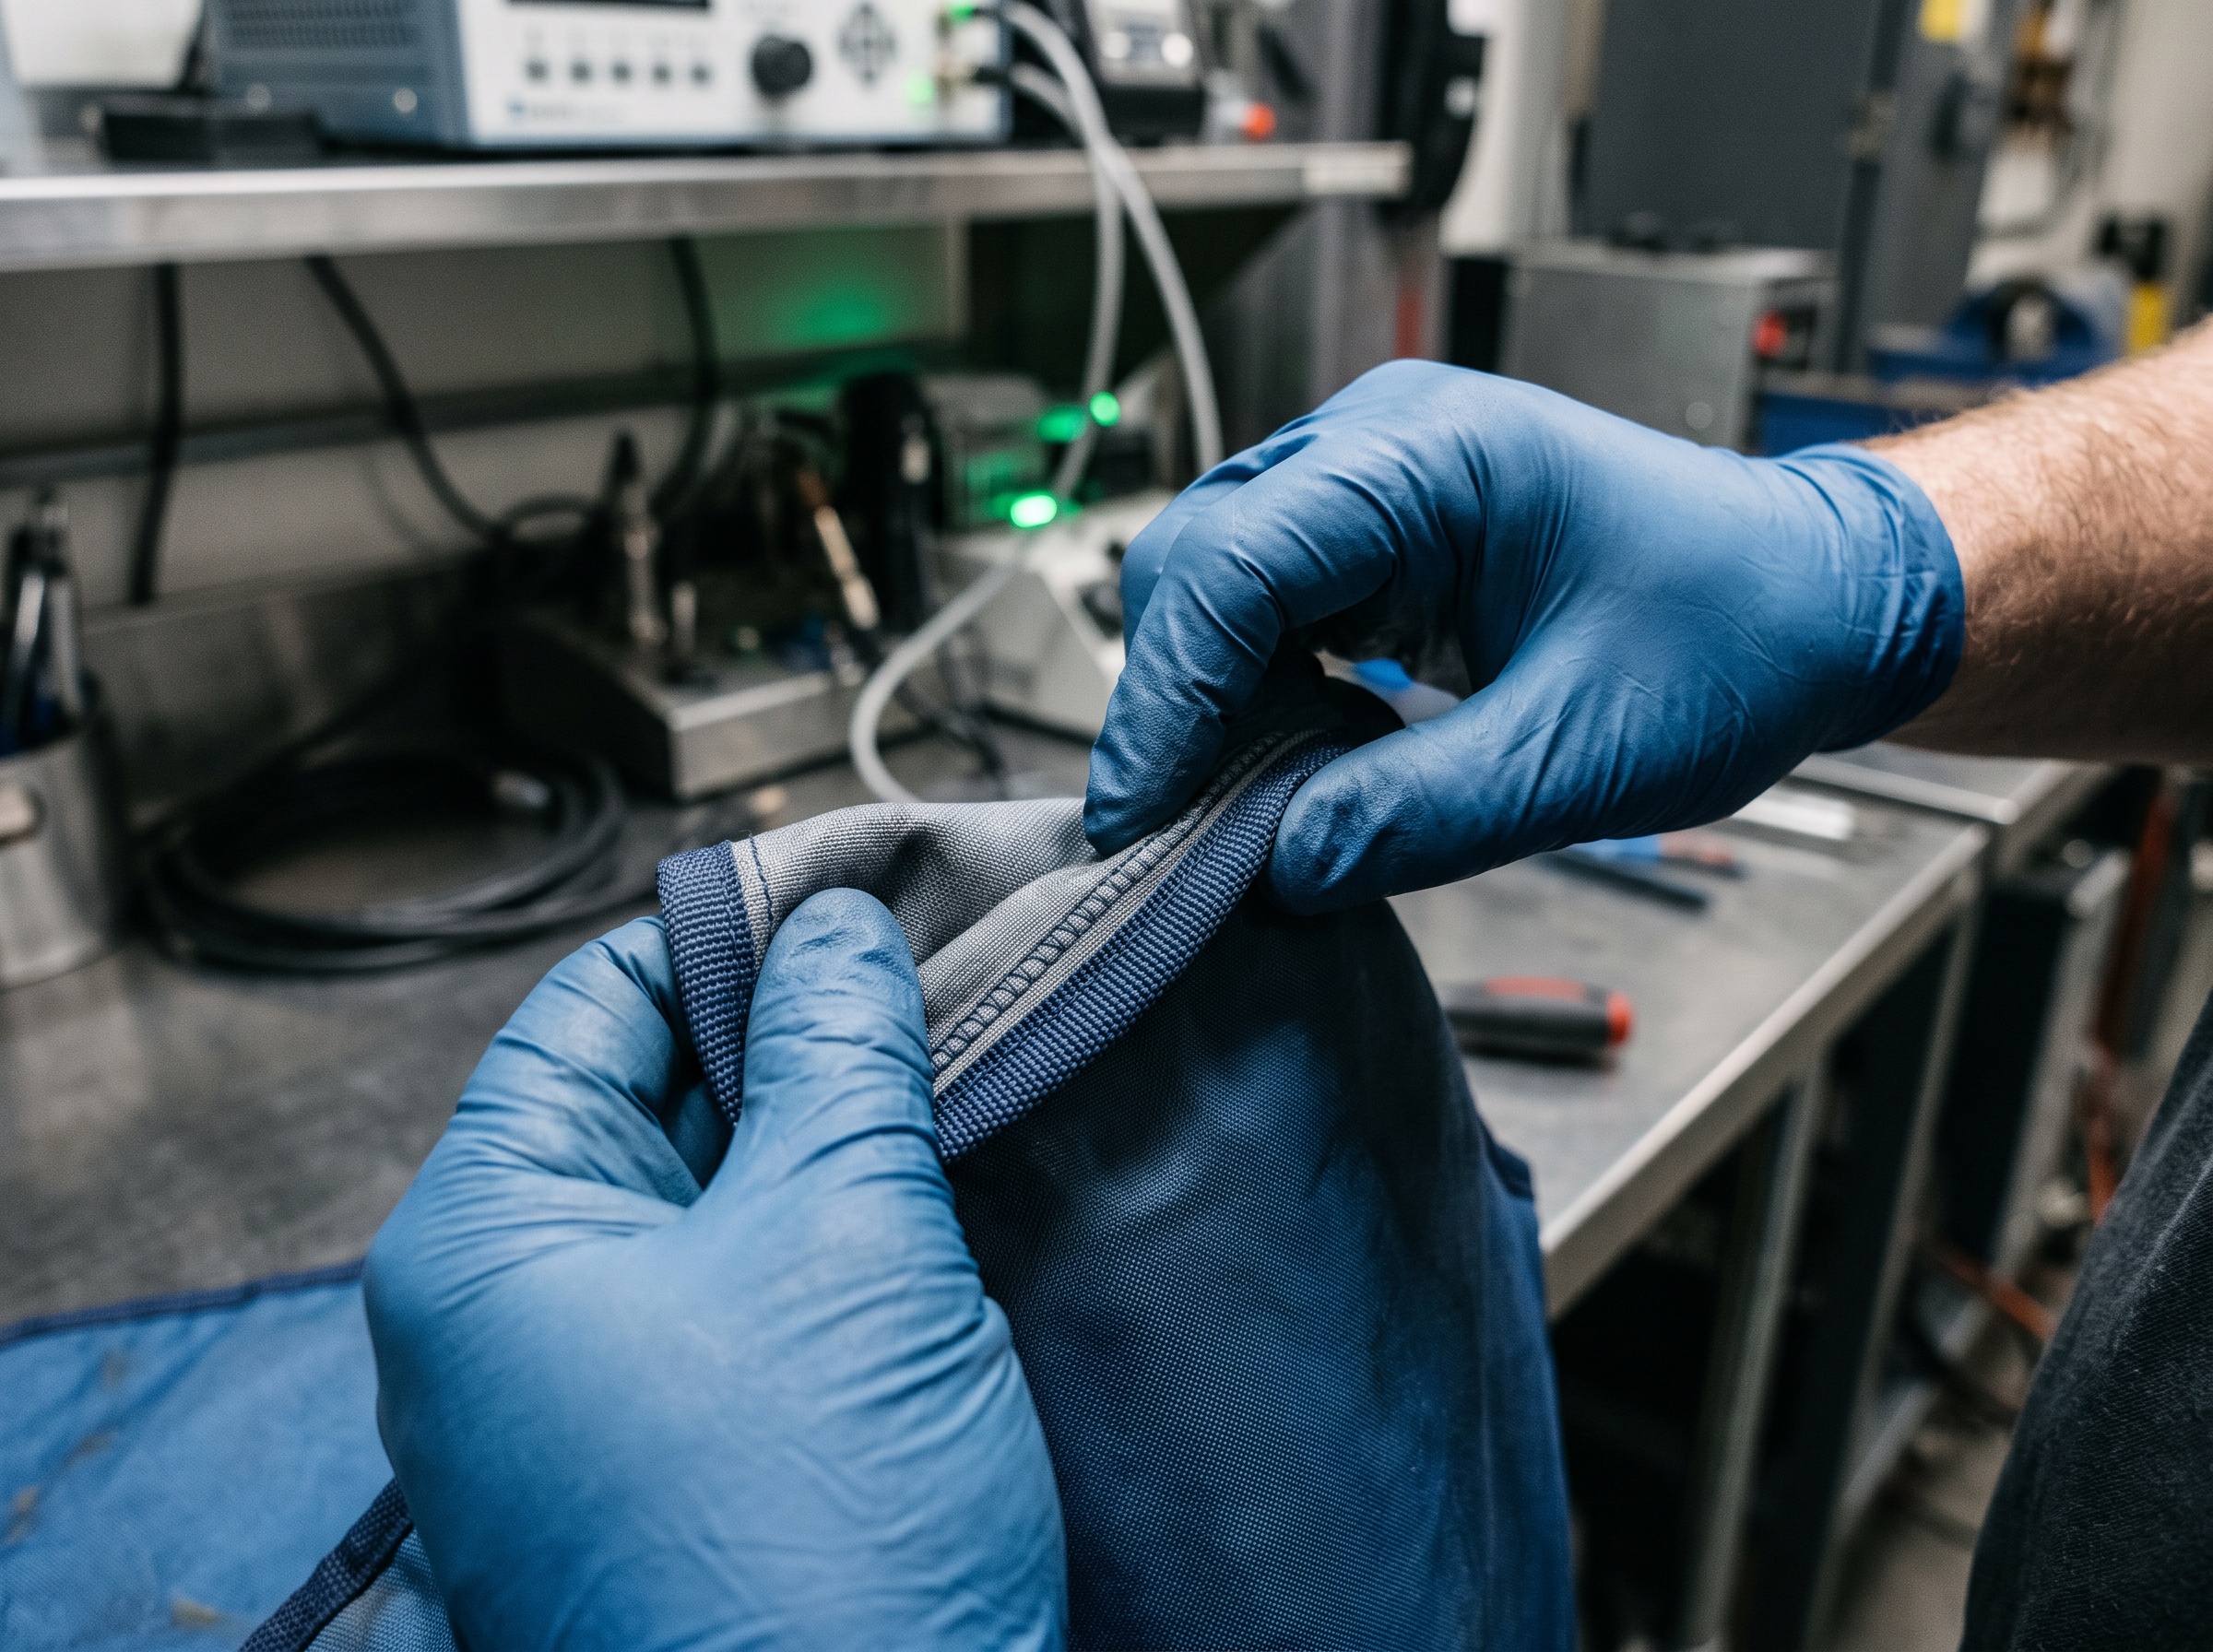
Visually, look for surface cracks, tears at the seams and edge binding, worn or missing stitching, and any bulge or ripple that suggests the shielding has shifted or bunched inside its shell. Pay special attention to the top edge and the shoulders of an apron and to the neckline of a thyroid collar, where flexing is greatest. Check that fasteners, hook-and-loop closures, and neck ties still hold; a collar that will not stay closed is a failed collar regardless of the shielding.
By touch, palpate the entire surface through clean gloves, pressing and gently flexing as you go. Cracks reveal themselves as a distinct edge or a soft spot where the material has separated; thinning feels like a region that flexes more easily than its surroundings. Run your fingers along every seam and every habitual fold line. This tactile pass catches a large share of real defects on its own, and it costs nothing but a few minutes.
Seeing Through the Fabric: Imaging the Apron
Hands and eyes find the obvious damage, but confirming the condition of the hidden shielding means making an image of it. There are two practical routes, and a dental practice can almost always manage one of them with equipment it already owns.
Fluoroscopy is the classic method: the apron is passed under a live fluoroscopic beam and the shielding is watched in real time, with defects showing as bright flashes where radiation leaks through. It is fast and thorough, but most dental offices have no fluoroscope. If your practice has a relationship with a hospital or imaging center, this can sometimes be arranged, but it is rarely the day-to-day answer.
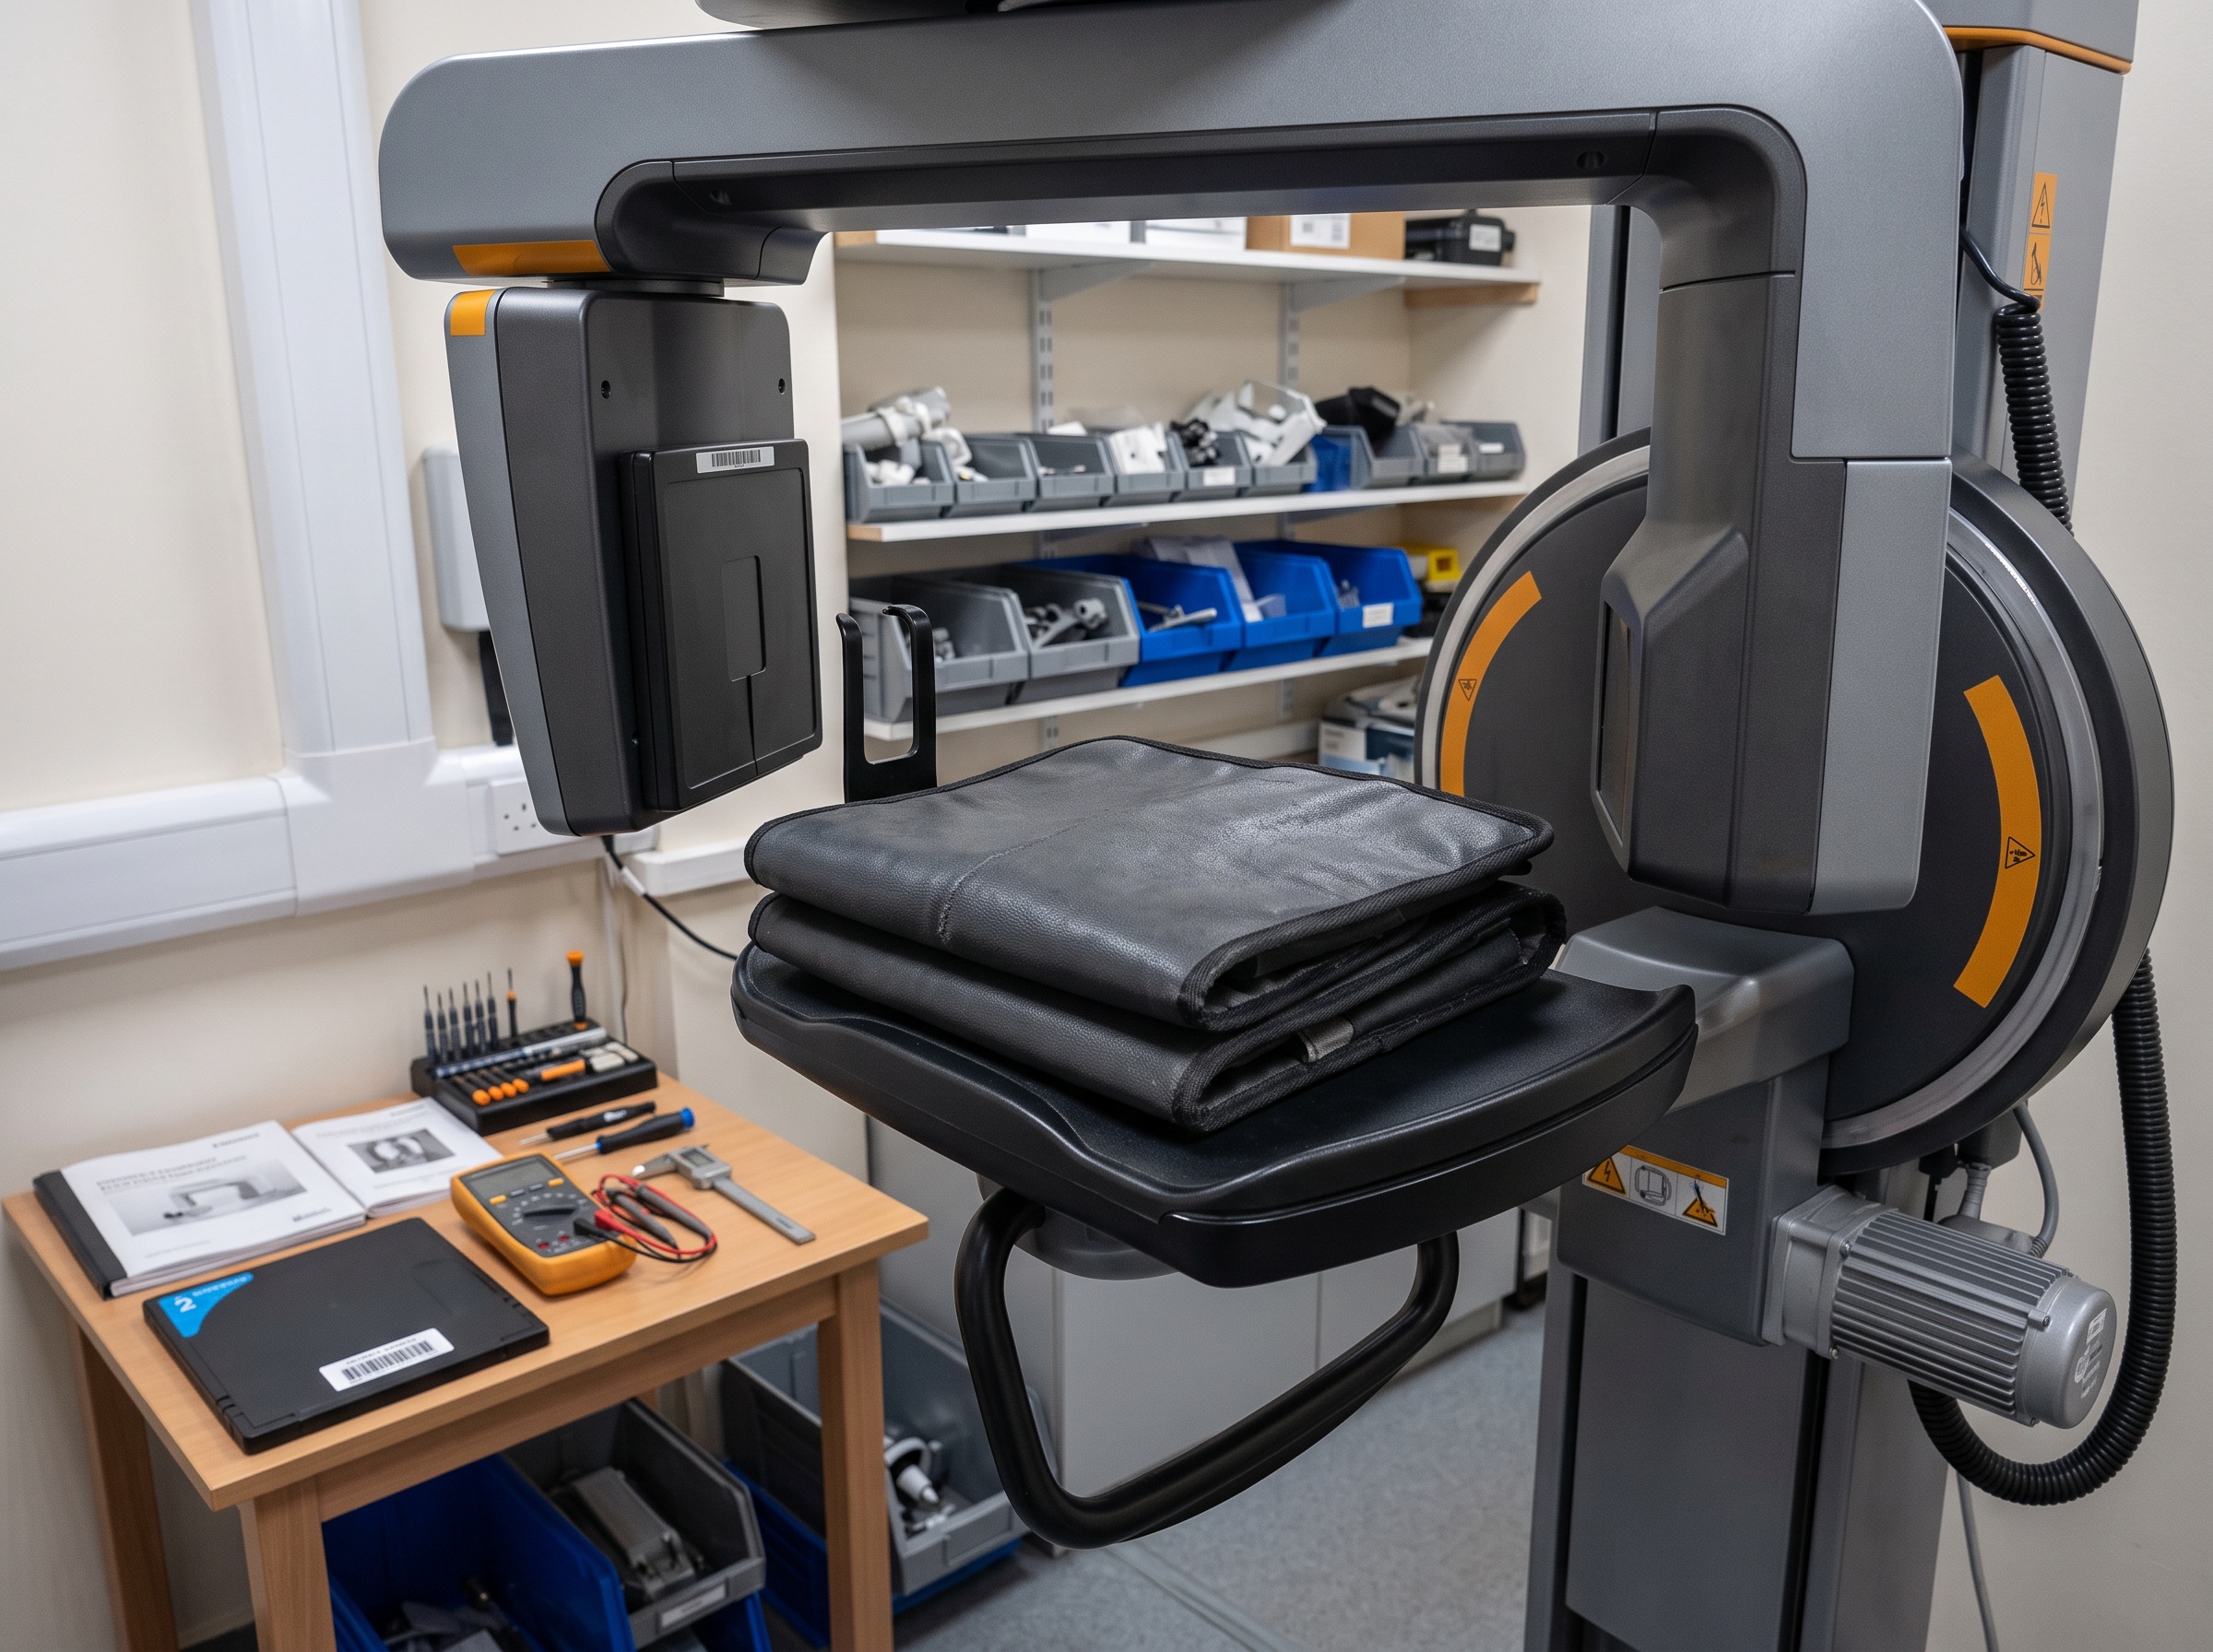
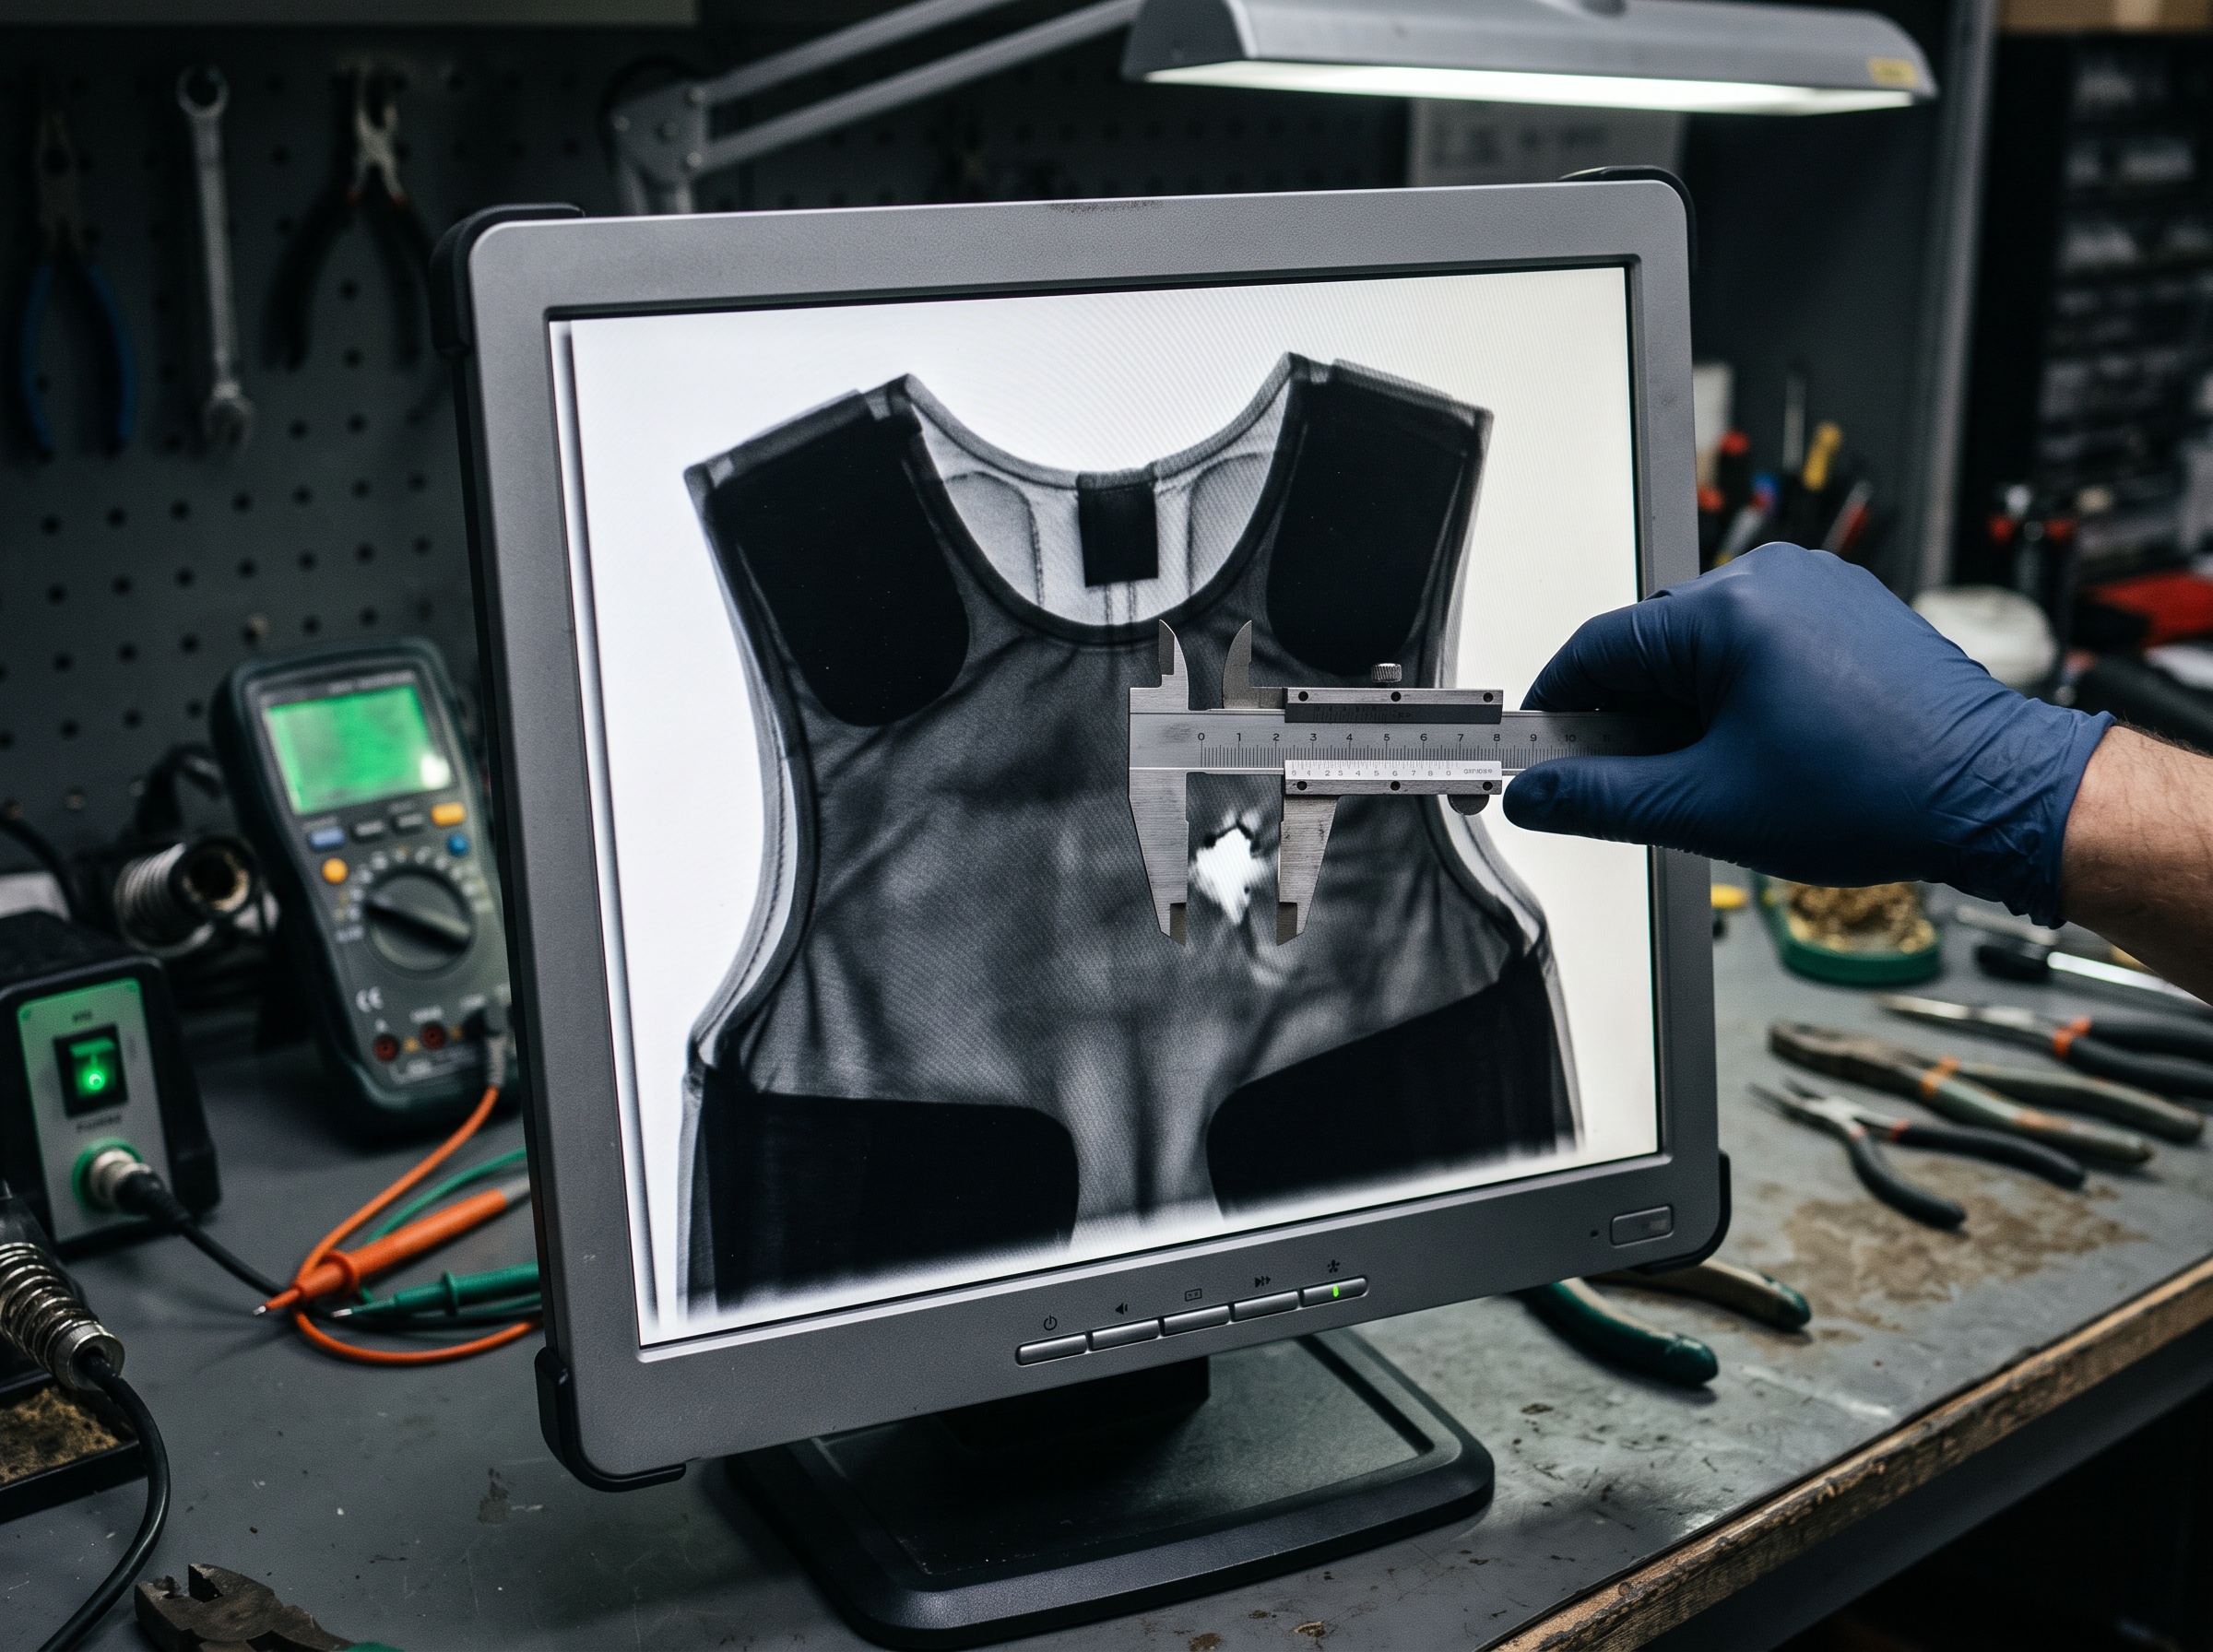
Radiographic imaging is the route most dental offices actually use, because it repurposes hardware already on site. The idea is simple: put the shielding between the X-ray source and a large-area digital receptor, expose it at a modest low-dose technique, and look at the image. A panoramic unit is well suited because its scanning geometry sweeps a wide field; the apron is draped or folded so a suspect region lies in the beam path. Alternatively, sections of the garment can be imaged over a large sensor or a phosphor storage plate, working across the apron in overlapping frames. Whatever the method, use a low technique factor, keep the geometry consistent, and never place a patient or staff member in the beam while doing it.
Reading the Result: Acceptance and Reject Criteria
On the image, intact shielding looks uniform and defects stand out as brighter areas where more radiation reached the receptor: a sharp bright line for a crack, an irregular bright patch for a hole or a thinned zone. The question is always whether a given defect is large enough, and in a location critical enough, to condemn the garment.
Acceptance criteria vary by jurisdiction and by manufacturer, so treat the following as the commonly cited framework rather than a universal rule, and always defer to your state’s radiation-control regulations and the maker’s guidance. In broad terms, defects are judged more harshly over the most critical regions, the parts of an apron that cover the trunk and reproductive organs and the front of a thyroid collar that covers the gland, and more leniently near the edges, the overlap zones, and the periphery where the garment does less work. A frequently used pair of thresholds is a very small allowable defect area over critical regions, on the order of a few square millimeters, against a much larger tolerance, on the order of a few hundred square millimeters, in non-critical peripheral areas. Any crack, tear, or hole that crosses a critical shielding region is cause to retire the garment.
Measure defects on the image against the known geometry, record the size and location in the log, and make an unambiguous call. When a garment fails, take it out of service the same day; a failed apron left hanging on the rack will be used.
Storage, Handling, and Making Them Last
Almost every apron failure traces back to how the garment is stored between uses, which means prevention is largely a storage problem. The single most effective habit is to stop folding aprons. Hang each one unfolded over a rounded, padded apron rack or a dedicated wide hanger so the shielding hangs flat and its weight is spread rather than concentrated on a crease or a thin hook. Thyroid collars should lie flat or drape without being sharply bent at the neckline.
Beyond storage, coach the clinical team on handling: carry aprons, do not toss them; never drop a folded apron on the floor; keep them away from sharp instrument edges; and clean them only with the mild disinfectant the manufacturer approves, since harsh chemicals degrade both the shell and the shielding. Well-stored, gently handled apparel routinely lasts many years; abused apparel can fail in a fraction of that time. Storage discipline is cheaper than replacement, and it is entirely within your control.
Keep, Retire, or Call for Help
The decision at the end of a survey is usually binary. Protective apparel is not field-repairable in any way that restores its rated shielding; patches and tape do not make a cracked attenuating layer whole again, and a garment that fails its criteria should be retired and replaced, then disposed of according to your local rules for lead-bearing or composite waste. There is no repairing your way out of a failed apron.
Where a service technician adds the most value is in setting the program up so it runs reliably: establishing the inventory and schedule, teaching the staff a repeatable inspection they can perform between your visits, working out a safe low-dose imaging method on the practice’s own equipment, and keeping the documentation clean enough to satisfy an inspector without a scramble. If your office lacks a practical way to image its apparel, if the acceptance criteria for your jurisdiction are unclear, or if you simply want the annual survey handled and documented by someone who does it routinely, that is the moment to bring in professional service. A lead apron that is never tested is not protection; it is a hope. Turn it into a measured, recorded fact.