Implementing ADA 2026 Radiation Safety Protocols in Your Dental Practice

The American Dental Association (ADA) has released updated radiation safety guidelines for 2026, emphasizing enhanced protection measures for both patients and dental staff. These new protocols build upon existing safety frameworks while incorporating modern technology and best practices.

Understanding the ALARA Principle

The cornerstone of dental radiation safety remains the ALARA principle (As Low As Reasonably Achievable). This approach requires dental practices to minimize radiation exposure through proper equipment use, technique optimization, and staff training.

Radiation protection equipment properly organized

Key components of ALARA implementation include:

  • Regular equipment calibration and maintenance
  • Proper patient positioning and collimation
  • Use of fastest appropriate film or digital sensors
  • Selective radiography based on clinical need

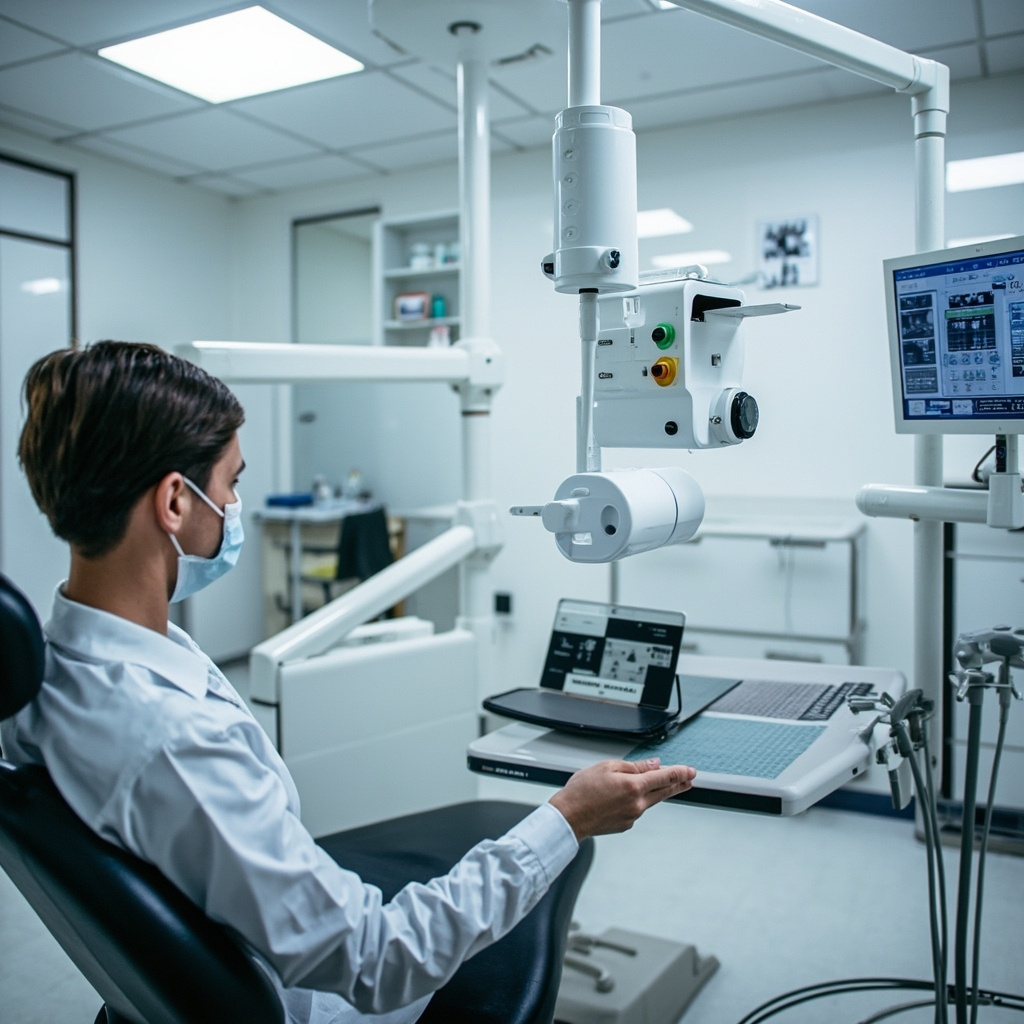
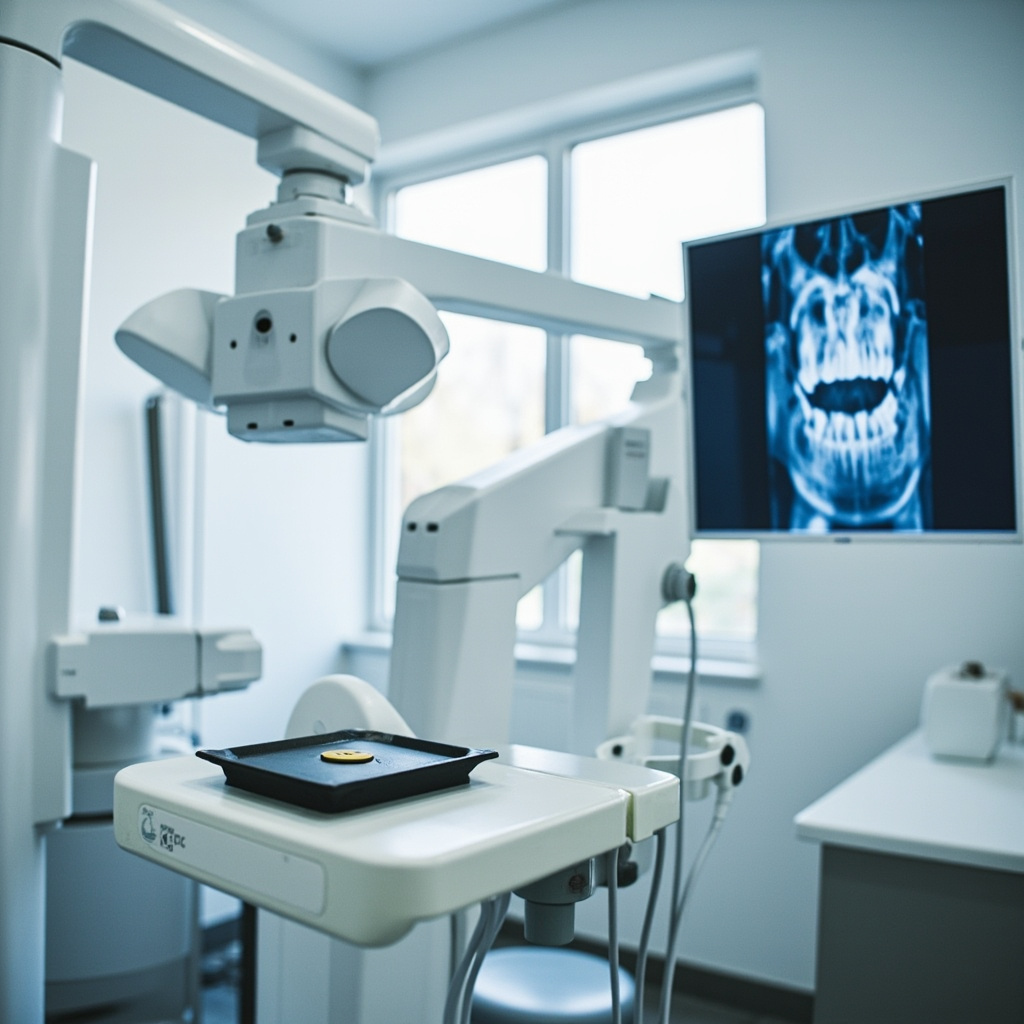
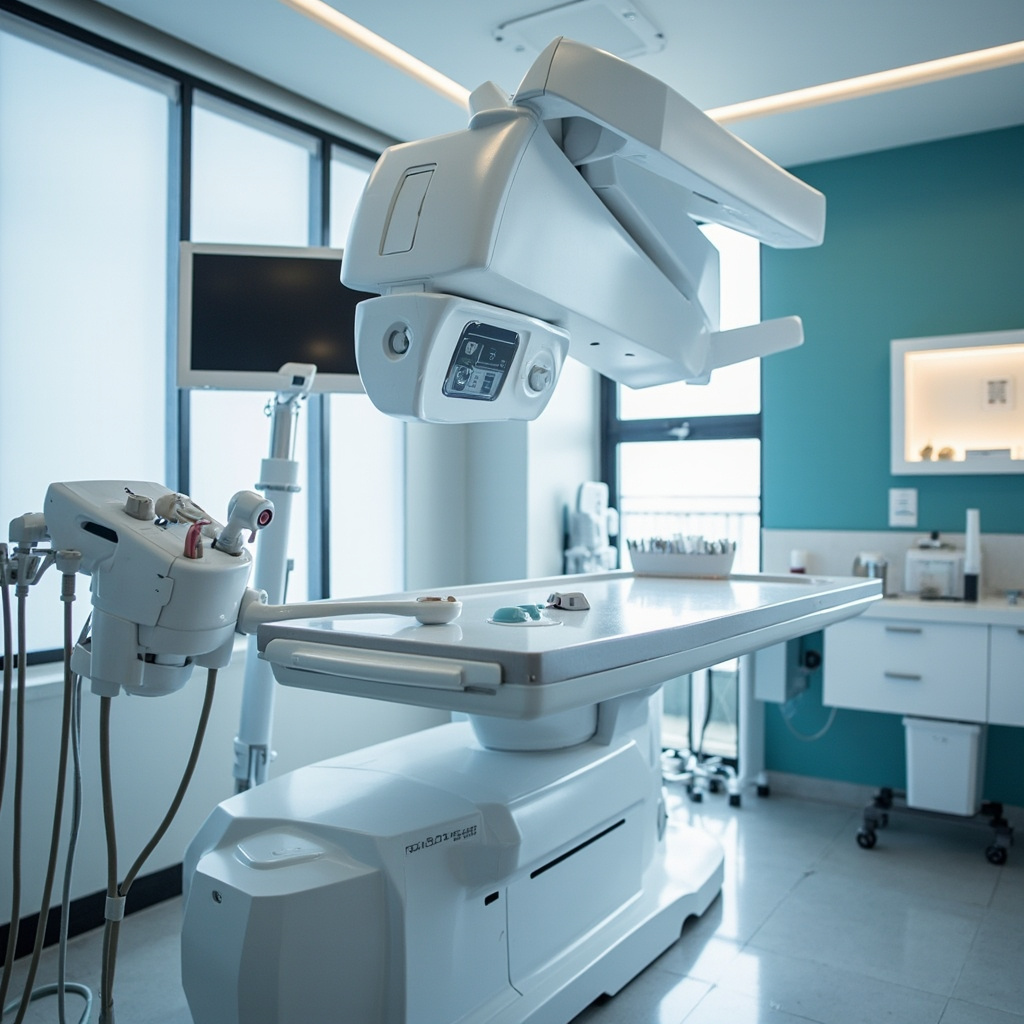
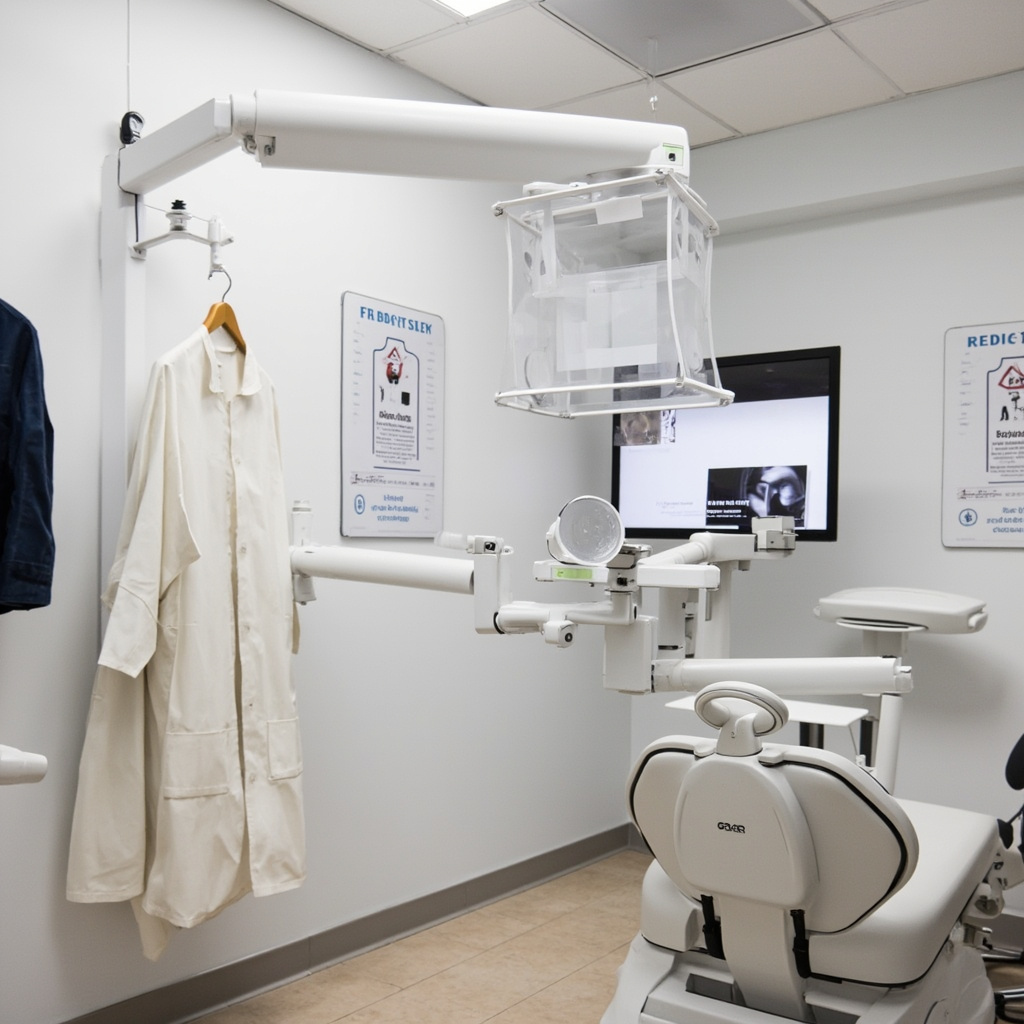
Enhanced Protection Equipment Requirements

The 2026 guidelines emphasize proper protective equipment management and regular inspection protocols. Lead aprons must be tested annually for integrity, and thyroid collars are mandatory for all intraoral radiographic procedures.

Staff dosimetry monitoring has been updated to include more frequent badge exchanges and lower action levels. Practices must maintain detailed exposure records and implement immediate corrective actions when threshold limits are approached.

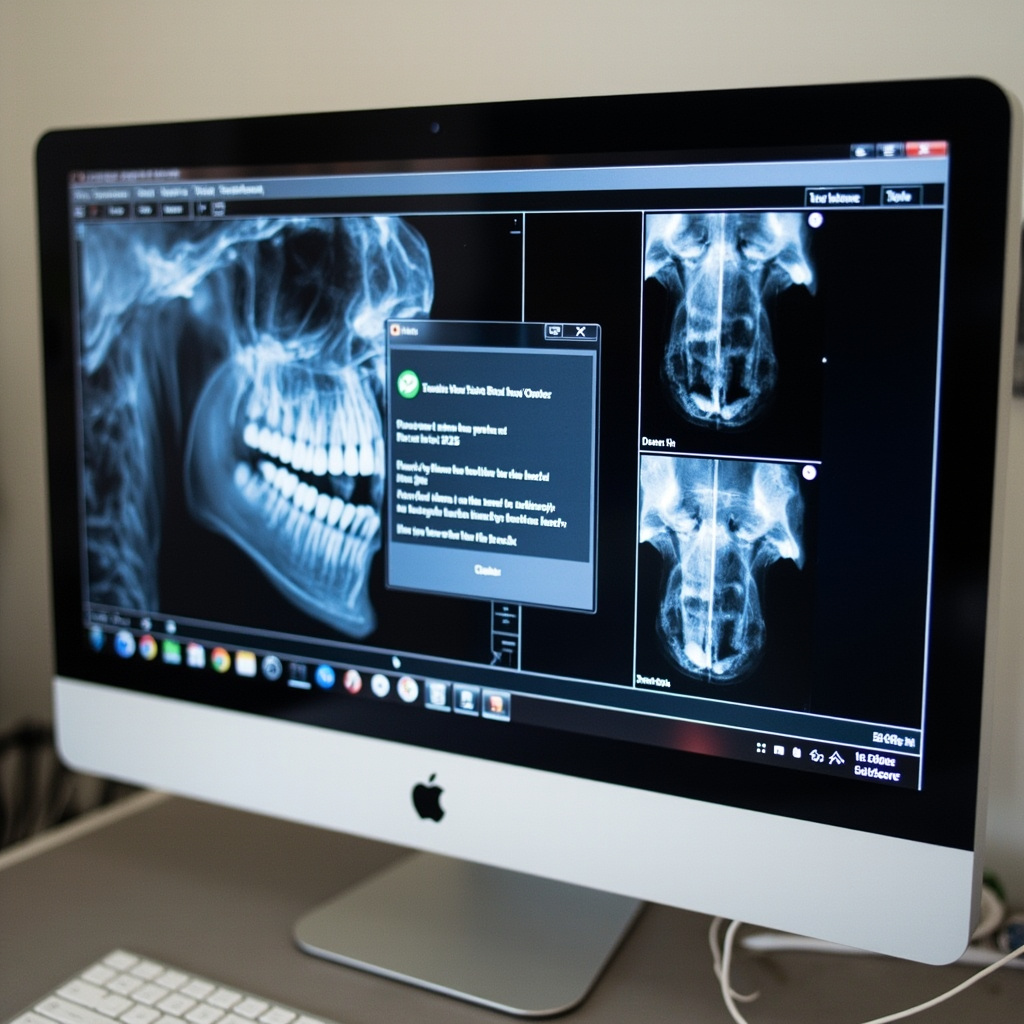
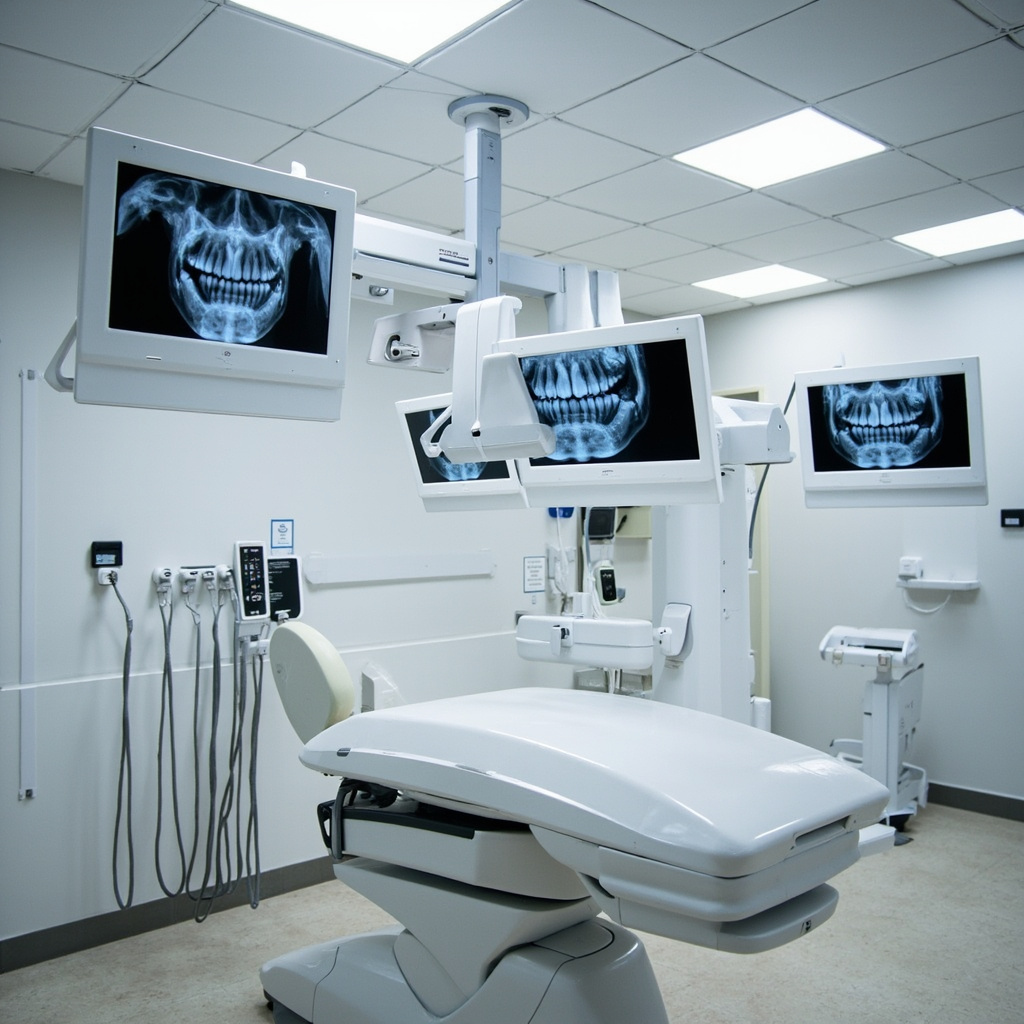
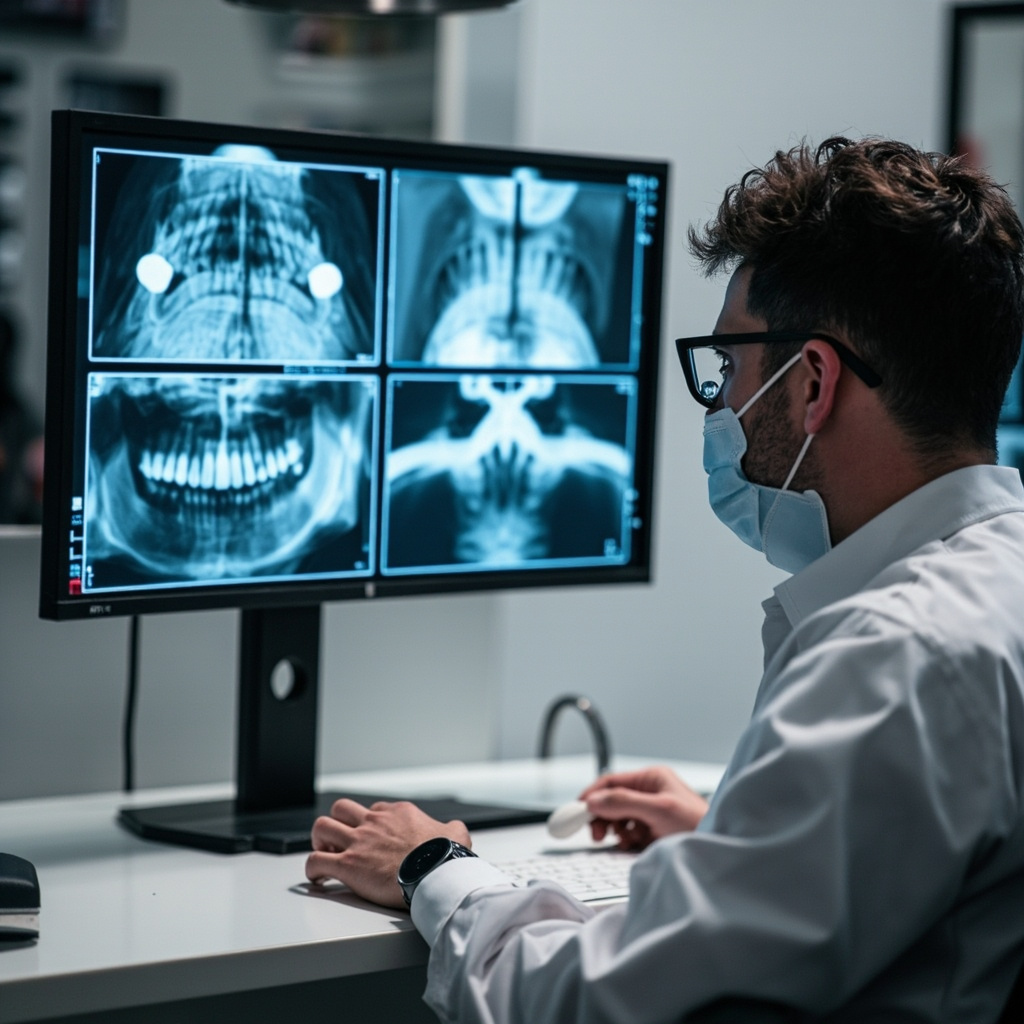
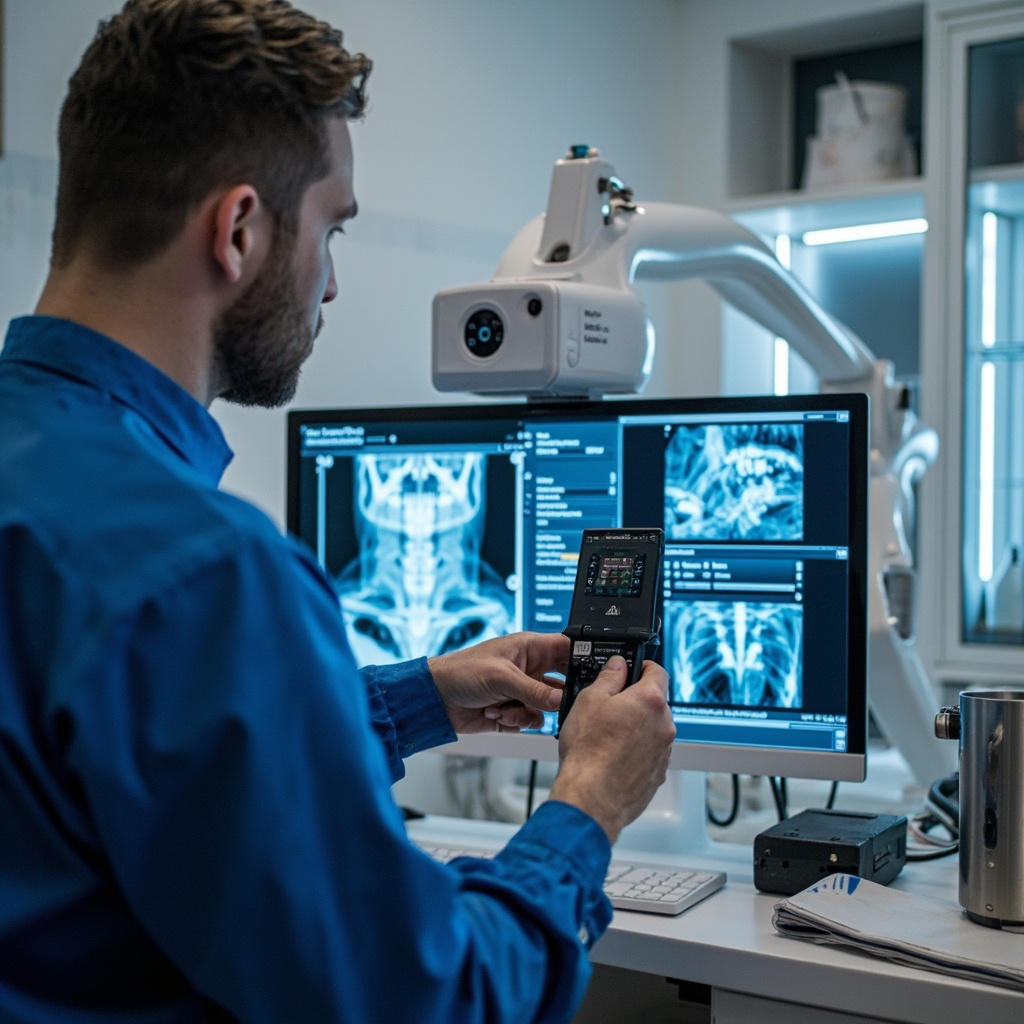
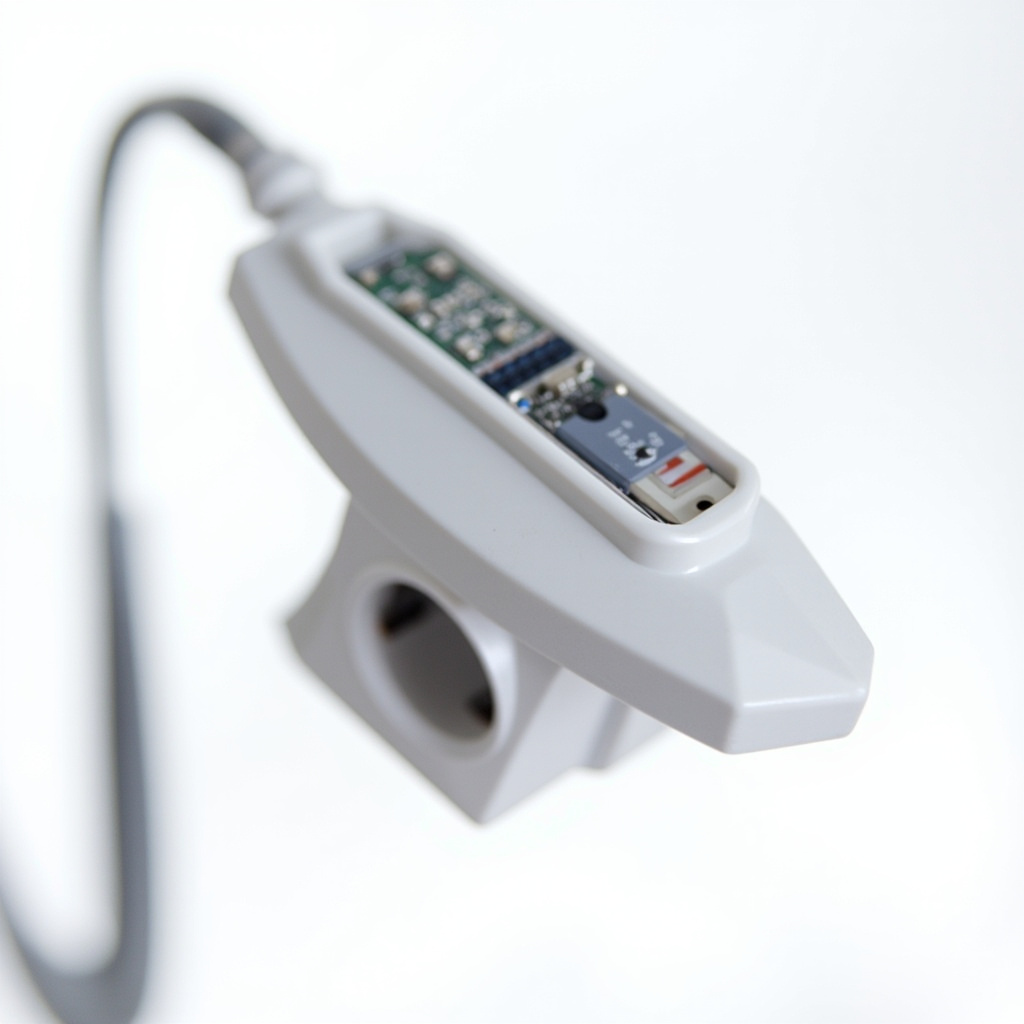
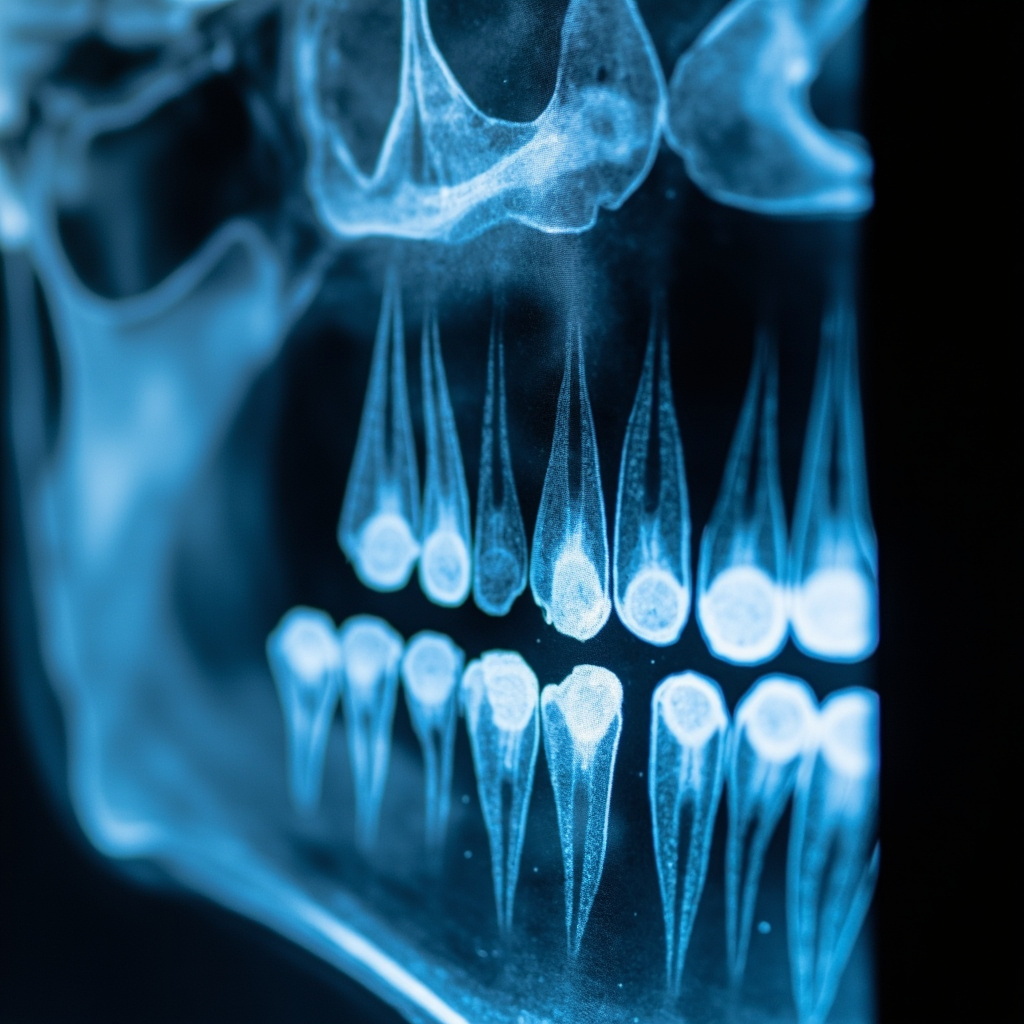
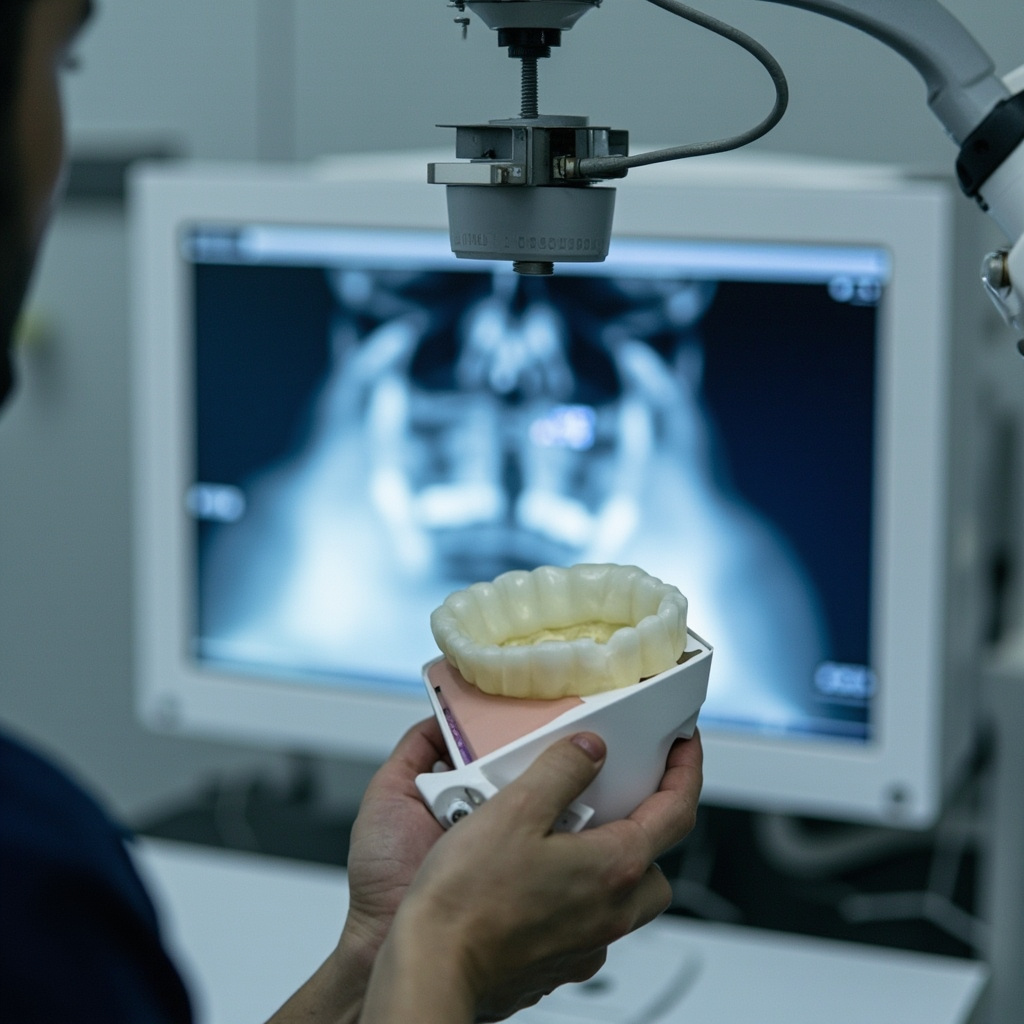
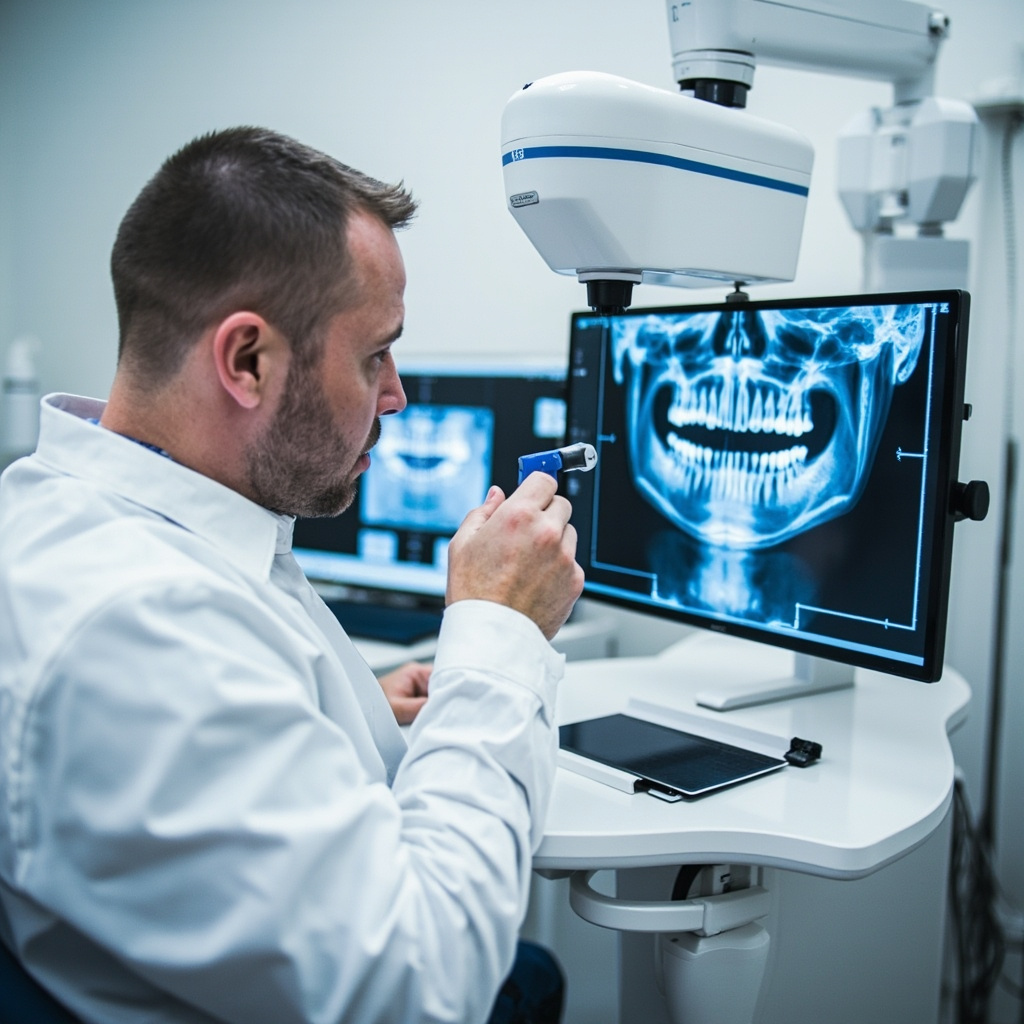
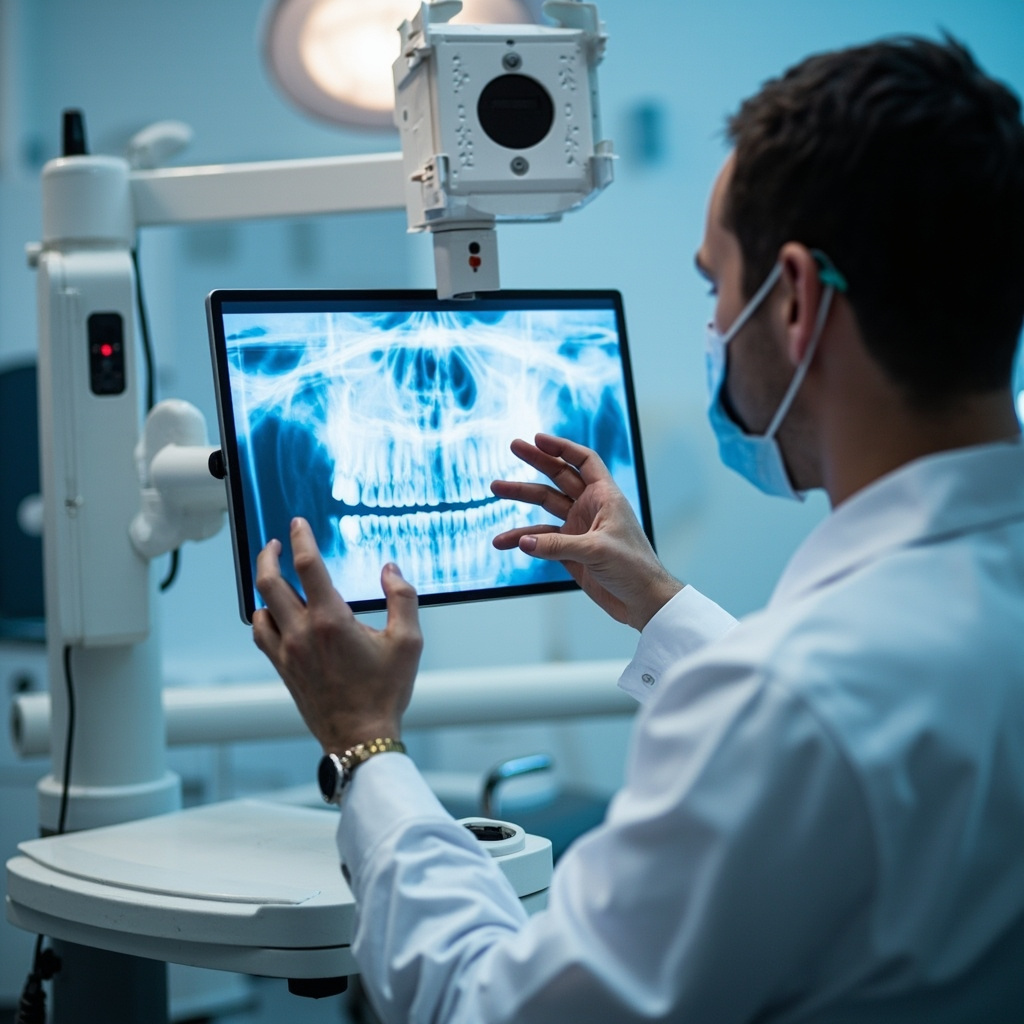
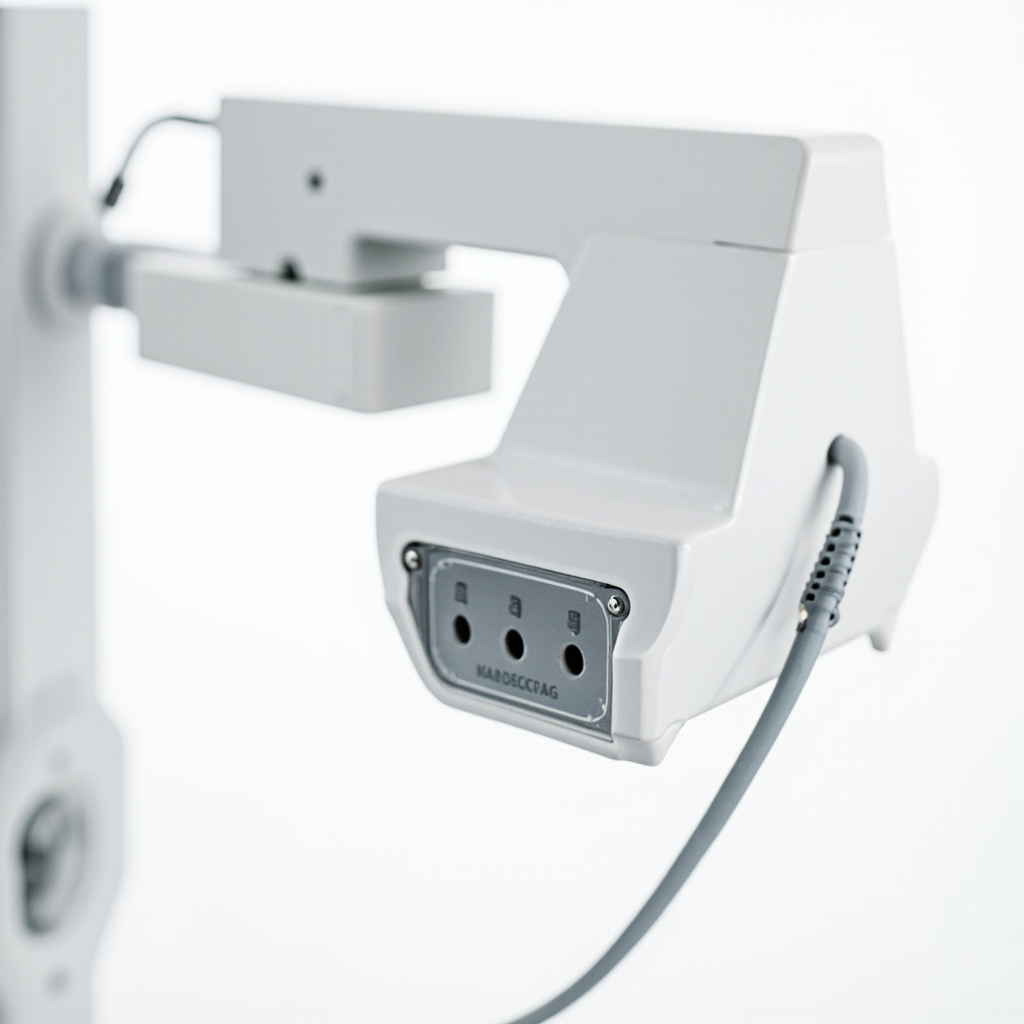
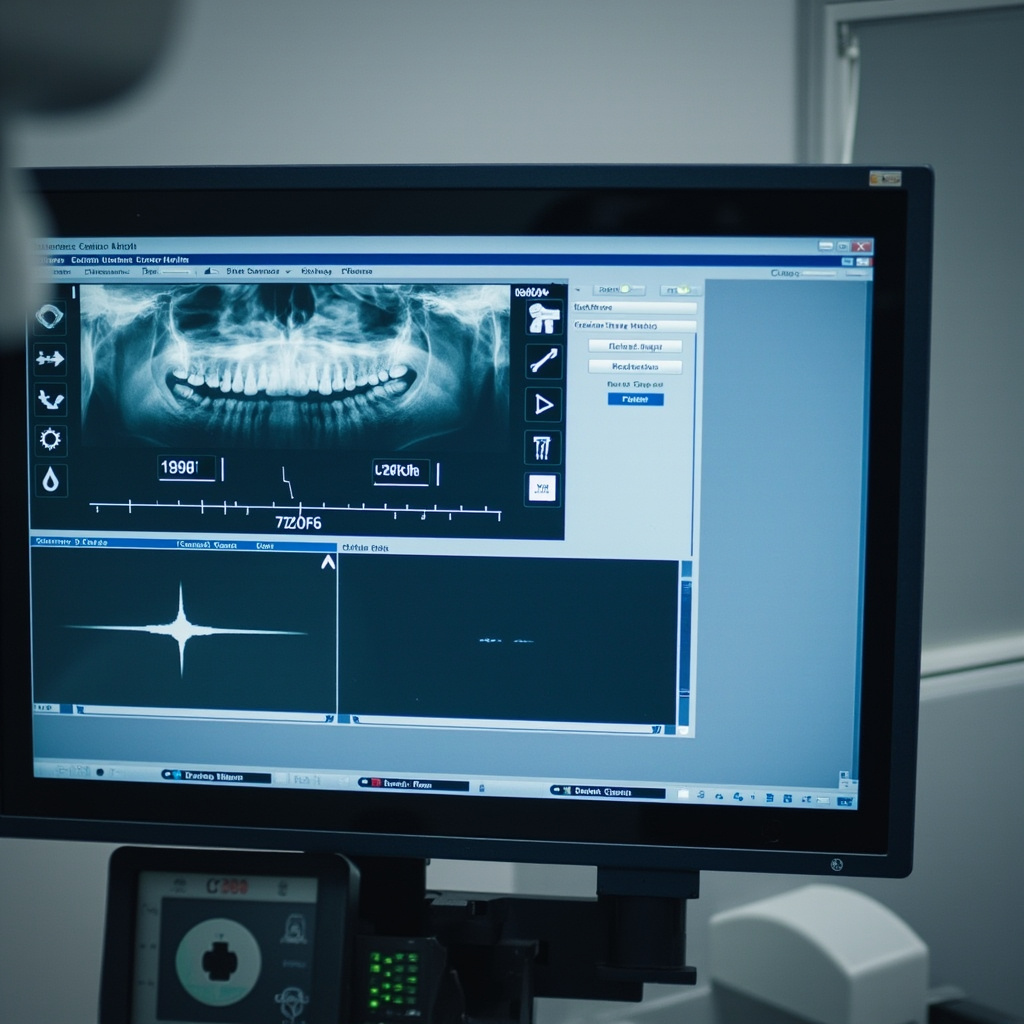
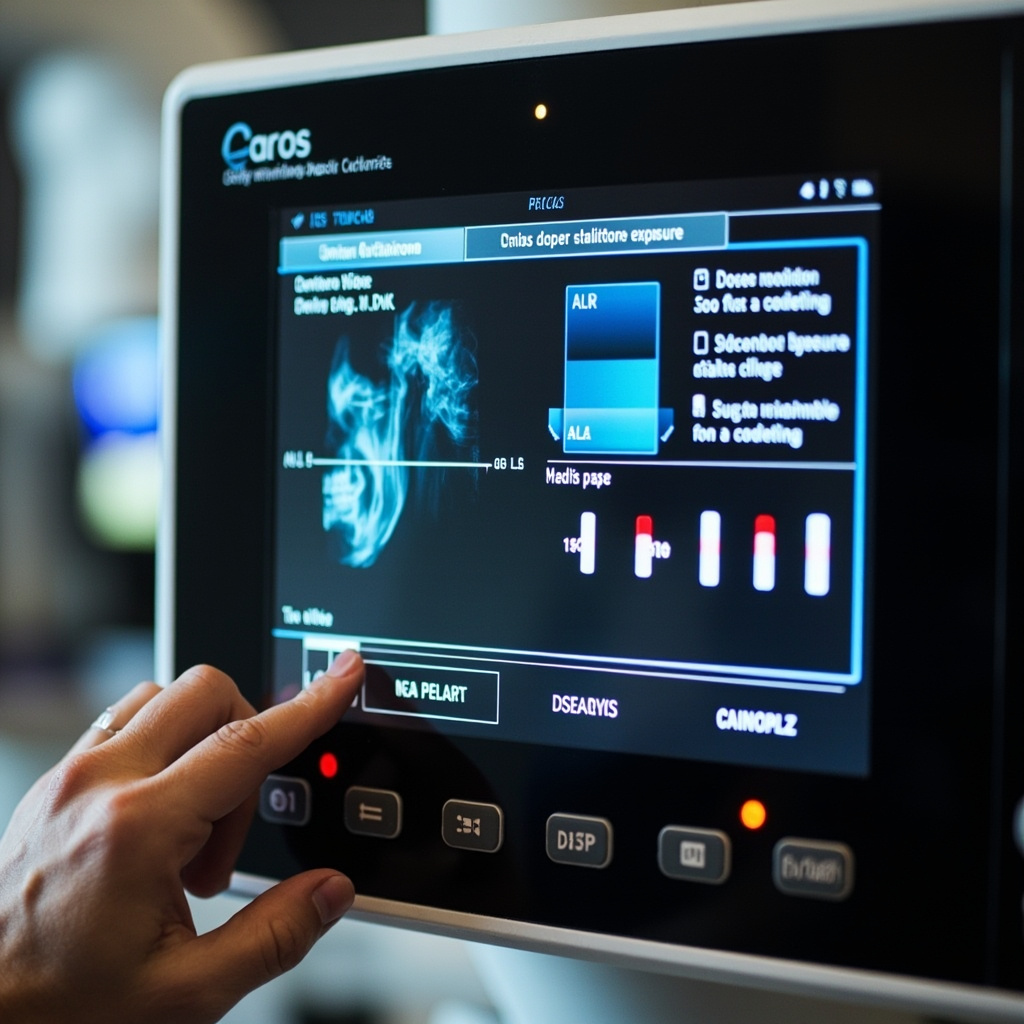
Digital Equipment Optimization

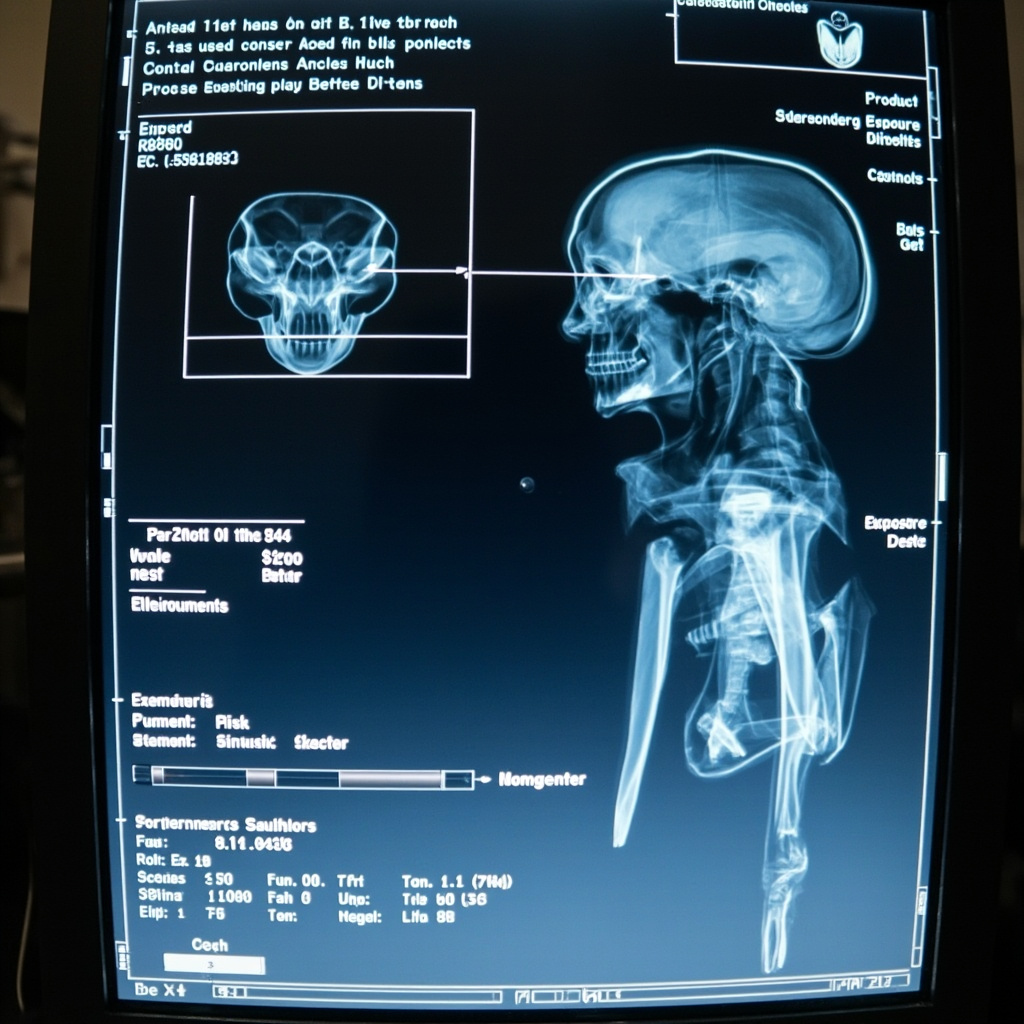
Modern digital X-ray systems offer significant dose reduction opportunities compared to traditional film-based systems. The updated protocols specifically address digital sensor positioning, exposure parameter optimization, and image quality assurance.

Digital X-ray control panel with safety settings

Critical digital system considerations include:

  • Regular sensor calibration and cleaning protocols
  • Proper exposure technique charts for digital systems
  • Image quality assessment procedures
  • Backup and archival compliance requirements

Compliance Documentation and Training

The ADA 2026 guidelines require comprehensive documentation of all radiation safety measures, including staff training records, equipment inspections, and incident reporting procedures. Regular safety audits and continuing education are now mandatory components of practice compliance.

Practices must establish written protocols for radiation emergencies, equipment failures, and exposure incidents. Staff members require annual radiation safety training certification, with specific modules covering equipment operation, patient protection, and emergency procedures.

Implementation Timeline and Resources

Dental practices have until the end of 2026 to fully implement these updated safety protocols. The ADA provides comprehensive resources including training materials, compliance checklists, and technical support through regional safety consultants.

Practices should begin by conducting a comprehensive safety audit, updating their radiation safety officer designations, and reviewing all existing protocols against the new guidelines. Regular monitoring and continuous improvement ensure ongoing compliance and optimal patient safety.

Troubleshooting Common Digital X-Ray Equipment Issues in Dental Practices

Digital radiography has revolutionized dental imaging, offering instant results and improved diagnostic accuracy. However, like any sophisticated technology, digital X-ray systems can encounter operational issues that disrupt workflow and patient care. Understanding how to quickly identify and resolve common problems is essential for maintaining efficient dental practice operations.

Most Frequent Digital X-Ray System Problems

Digital X-ray equipment failures typically fall into several categories: sensor connectivity issues, software glitches, image quality problems, and hardware malfunctions. Each requires specific diagnostic approaches and solutions to restore normal operation.

Digital X-ray sensor positioning

Sensor Connectivity and Recognition Issues

One of the most common problems dental practices encounter involves the X-ray sensor not being recognized by the imaging software. This can manifest as error messages indicating “sensor not found” or “no device connected.”

Primary troubleshooting steps include:

  • Checking all USB connections between sensor, interface box, and computer
  • Verifying proper sensor driver installation and updates
  • Testing sensor functionality with different USB ports
  • Restarting imaging software and reconnecting sensor
  • Inspecting sensor cable for damage or wear

Image Quality and Exposure Problems

Poor image quality significantly impacts diagnostic capabilities and can result from various factors including incorrect exposure settings, sensor positioning, or equipment calibration issues.

Common image quality issues:

  • Images appearing too dark or too light
  • Excessive noise or graininess
  • Blurred or distorted radiographs
  • Incomplete image capture
  • Artifacts or unusual patterns in images

Software Interface and Processing Errors

Digital radiography software occasionally experiences crashes, freezes, or processing errors that prevent normal operation. These issues often stem from system resource conflicts, outdated software versions, or corrupted image files.

Digital X-ray software troubleshooting interface

Essential Software Troubleshooting Protocol

When encountering software-related problems, follow this systematic approach:

  1. Close and restart imaging application – Many temporary glitches resolve with a simple restart
  2. Check available system memory – Large image files can overwhelm limited RAM
  3. Verify software version currency – Manufacturers regularly release bug fixes and updates
  4. Clear temporary files and cache – Accumulated temporary data can cause performance issues
  5. Test with new patient file – Corrupted patient records can cause persistent problems

Hardware Maintenance and Prevention

Preventive maintenance significantly reduces equipment downtime and extends system lifespan. Regular cleaning, proper handling, and scheduled inspections identify potential issues before they become critical failures.

Recommended maintenance schedule:

  • Daily sensor cleaning with approved disinfectants
  • Weekly cable inspection and connection verification
  • Monthly software updates and system optimization
  • Quarterly professional calibration and alignment checks
  • Annual comprehensive system evaluation and service

When to Contact Technical Support

While many digital X-ray issues can be resolved through basic troubleshooting, certain problems require professional intervention. Contact manufacturer support when experiencing persistent sensor failures, consistent image quality problems despite adjustments, software licensing errors, or any hardware damage.

Maintaining detailed logs of recurring issues helps technical support diagnose underlying problems more efficiently and can reveal patterns indicating necessary equipment upgrades or replacements.

Conclusion

Effective troubleshooting of digital X-ray equipment requires systematic approaches and thorough understanding of common failure modes. By implementing proper maintenance protocols and following structured diagnostic procedures, dental practices can minimize downtime and ensure consistent, high-quality imaging capabilities for optimal patient care.

Digital X-Ray Equipment for New Dental Clinics in 2026: Essential Buyer’s Guide

Starting a dental practice in 2026 requires strategic equipment decisions that balance immediate functionality with long-term scalability. Digital X-ray systems represent one of the most critical investments for new clinics, directly impacting diagnostic capability, workflow efficiency, and patient experience.

Modern digital radiography has evolved far beyond simple film replacement. Today’s systems integrate seamlessly with practice management software, enable instant image sharing, and provide enhanced diagnostic tools that can significantly improve treatment outcomes.

Key Technologies for 2026

Digital sensor technology continues to advance rapidly. New clinics should prioritize systems offering:

  • Wireless connectivity – Eliminates cable wear and improves patient comfort
  • High resolution imaging – Minimum 14-16 line pairs per millimeter for clear diagnostics
  • Fast image acquisition – Sub-second exposure times reduce patient movement artifacts
  • Software integration – Seamless connection with practice management platforms

Digital dental X-ray sensor technology

Intraoral vs Extraoral Systems

New practices typically need both intraoral sensors for detailed tooth imaging and panoramic systems for comprehensive jaw evaluation. The decision between purchasing new versus refurbished equipment can significantly impact startup budgets.

Intraoral Digital Sensors:

  • Size 0, 1, and 2 sensors provide full diagnostic coverage
  • Wireless models reduce infection control complexity
  • Expected lifespan of 5-7 years with proper handling
  • Cost range: $8,000-$15,000 per sensor

Panoramic Digital Systems:

  • Essential for orthodontics, implant planning, and oral surgery
  • 3D CBCT capability increasingly important
  • Integration with implant planning software
  • Cost range: $45,000-$120,000 for new systems

Workflow Integration Considerations

The most advanced equipment becomes worthless if it doesn’t integrate properly with your practice workflow. Modern digital X-ray systems should connect directly to your practice management software, enabling automated patient data synchronization and streamlined billing processes.

Dentist reviewing digital X-ray images on computer monitor

Software Requirements

Ensure your chosen digital radiography system supports:

  • DICOM standards for image portability
  • Cloud-based storage and backup
  • Mobile viewing capabilities
  • Integration with referral networks
  • Automated measurement and analysis tools

Budget Planning for New Clinics

Digital X-ray equipment represents 15-20% of total equipment investment for new dental practices. Smart budgeting involves:

Essential First-Year Equipment:

  • Basic intraoral sensor system: $12,000-$20,000
  • Panoramic system (entry-level): $50,000-$70,000
  • Imaging software license: $2,000-$5,000 annually
  • Training and installation: $3,000-$5,000

Future Expansion Options:

  • Additional sensor sizes
  • CBCT upgrade modules
  • Advanced analysis software
  • Integration with CAD/CAM systems

Maintenance and Support Considerations

Digital X-ray equipment requires ongoing maintenance to ensure optimal image quality and regulatory compliance. Factor these costs into your operational budget:

  • Annual service contracts – 8-12% of equipment cost
  • Software updates – Often included in service plans
  • Sensor replacement – Plan for replacement every 5-7 years
  • Calibration services – Required for quality assurance

Making the Right Choice

Successful equipment selection for new dental clinics requires balancing current needs with future growth plans. Digital X-ray systems purchased today should serve your practice for 7-10 years, making it crucial to choose systems with upgrade pathways and strong manufacturer support.

Consider working with equipment specialists who understand both the technical requirements and financial realities of starting a dental practice. The right digital radiography investment will enhance diagnostic capabilities, improve workflow efficiency, and contribute to long-term practice success.

Resolving Common Dental X-Ray Exposure Errors: A Troubleshooting Guide

Digital dental radiography has revolutionized diagnostic capabilities in modern dental practices, but exposure errors remain one of the most common technical challenges. Understanding how to identify and correct these issues is essential for maintaining optimal image quality and diagnostic accuracy.

Understanding Exposure Problems

Exposure errors in dental radiography typically manifest as images that are either too light (underexposed) or too dark (overexposed). These problems can significantly compromise diagnostic quality and may require retaking images, resulting in additional patient exposure and reduced practice efficiency.

Comparison of overexposed versus properly exposed dental X-rays
Proper exposure comparison showing the difference between overexposed and correctly exposed radiographs

Common Exposure Error Causes

Improper Exposure Settings

The most frequent cause of exposure errors stems from incorrect time, milliamperage (mA), or kilovoltage (kVp) settings. Many practitioners rely on factory presets without considering individual patient variations or specific diagnostic requirements.

Sensor Placement Issues

Incorrect sensor positioning can lead to uneven exposure across the image. When the sensor is not properly aligned with the X-ray beam, certain areas may appear over or underexposed even with correct exposure settings.

Patient Movement

Patient movement during exposure creates motion blur and can give the appearance of exposure problems when the actual issue is image sharpness.

Troubleshooting Steps

1. Verify Equipment Settings

Begin by checking your X-ray unit settings. Ensure the kVp, mA, and exposure time are appropriate for the patient size and area being imaged. Adult patients typically require different settings than pediatric patients.

2. Check Sensor Placement

Proper sensor positioning is crucial for consistent exposure. The sensor should be parallel to the teeth being imaged and positioned to capture the entire area of interest.

Proper digital sensor placement technique demonstration
Correct digital sensor placement technique for optimal image quality

3. Calibrate Your System

Regular calibration ensures consistent exposure across all images. If you notice systematic exposure problems, your equipment may need professional calibration or service.

Correction Techniques

For Overexposed Images:

  • Reduce exposure time by 25-50%
  • Lower the mA setting if adjustable
  • Consider reducing kVp for better contrast

For Underexposed Images:

  • Increase exposure time incrementally
  • Verify sensor sensitivity settings
  • Check for proper beam alignment

Quality Assurance Protocols

Implementing a systematic quality assurance program helps prevent exposure errors. This should include:

  • Regular equipment calibration schedules
  • Staff training on proper technique
  • Periodic image quality reviews
  • Documentation of exposure parameters

When to Seek Professional Service

If exposure problems persist despite following proper techniques, professional equipment service may be necessary. Common indicators include:

  • Inconsistent exposures with identical settings
  • Gradual drift in exposure requirements
  • Unusual noise or mechanical issues
  • Error messages on digital systems

Proper exposure technique is fundamental to diagnostic digital radiography. By understanding common causes of exposure errors and implementing systematic troubleshooting approaches, dental practices can maintain consistent image quality while minimizing patient exposure and maximizing diagnostic confidence.

Common Digital Dental X-Ray Sensor Problems and Their Solutions

Digital dental X-ray sensors are critical components in modern dental imaging systems, but they can experience various problems that disrupt workflow and affect diagnostic capabilities. Understanding common issues and their solutions can help dental professionals maintain optimal imaging performance.

Understanding Digital X-Ray Sensor Technology

Digital dental X-ray sensors convert X-ray photons into electrical signals that are processed by imaging software. These sophisticated devices contain sensitive electronic components that can be affected by various factors including environmental conditions, software conflicts, and physical damage.

Digital dental X-ray sensor with fiber optic cable

Most Common Sensor Problems

1. Sensor Not Detected by Software

This is one of the most frequent issues encountered with digital X-ray sensors. The problem typically manifests when the imaging software fails to recognize the connected sensor.

Possible Causes:

  • USB connection issues
  • Driver conflicts or outdated drivers
  • Software configuration problems
  • Hardware malfunction in the sensor

Solutions:

  • Check all USB connections and try different ports
  • Restart the imaging software and computer
  • Update or reinstall sensor drivers
  • Verify sensor compatibility with current software version

2. Calibration Failures

Calibration problems are particularly common with certain sensor models and can result in poor image quality or complete imaging failure.

Symptoms:

  • Error messages about missing calibration files
  • Images appear with incorrect contrast or brightness
  • Sensor produces blank or distorted images

Solutions:

  • Re-run the sensor calibration process
  • Ensure correct calibration files are installed for your specific sensor model
  • Contact manufacturer for updated calibration utilities
  • Verify sensor is clean and free of debris

3. Image Quality Issues

Poor image quality can significantly impact diagnostic capabilities and may indicate various underlying problems.

Common Quality Problems:

  • White or overexposed images
  • Dark or underexposed images
  • Static or noise in images
  • Blurry or distorted images

Dental technician troubleshooting X-ray sensor software

Troubleshooting Steps

Basic Troubleshooting Checklist

  1. Check Physical Connections: Ensure all cables are securely connected and not damaged
  2. Restart Systems: Restart both the imaging software and computer
  3. Verify Software Settings: Check sensor settings and configuration in the imaging software
  4. Test Different Sensors: If multiple sensors are available, test with a different unit
  5. Update Drivers: Ensure all sensor drivers and software are up to date

Advanced Troubleshooting

When basic troubleshooting fails to resolve issues, more advanced diagnostic steps may be necessary:

  • Registry Cleaning: Remove old sensor entries from Windows registry
  • Hardware Testing: Use manufacturer diagnostic tools to test sensor functionality
  • Network Diagnostics: For networked systems, check network connectivity and settings
  • Environmental Factors: Consider temperature, humidity, and electromagnetic interference

Prevention and Maintenance

Regular maintenance can prevent many common sensor problems:

  • Regular Cleaning: Clean sensor surfaces with appropriate disinfectants
  • Careful Handling: Train staff on proper sensor handling techniques
  • Software Updates: Keep imaging software and drivers current
  • Environmental Control: Maintain appropriate temperature and humidity levels
  • Regular Backups: Backup sensor calibration and configuration files

When to Seek Professional Help

Some sensor problems require professional intervention:

  • Physical damage to sensor housing or cables
  • Persistent calibration failures despite following troubleshooting steps
  • Repeated software crashes or system instability
  • Warranty-covered issues that require manufacturer support

Conclusion

Digital dental X-ray sensors are sophisticated devices that require proper care and maintenance to function optimally. By understanding common problems and their solutions, dental professionals can minimize downtime and ensure consistent, high-quality diagnostic imaging. Regular maintenance, proper handling, and prompt attention to issues can significantly extend sensor lifespan and maintain imaging quality.

For persistent problems or complex issues beyond basic troubleshooting, consult with qualified service technicians or the sensor manufacturer to ensure proper diagnosis and repair.

Essential Maintenance Guide for Dental X-Ray Equipment

Maintaining optimal performance of your dental X-ray equipment requires a systematic approach to preventive care. Regular maintenance not only ensures patient safety and image quality but also extends the lifespan of your valuable digital radiography investment.

Essential Daily Maintenance Tasks

Start each day with a basic inspection of your X-ray equipment. Check for any visible damage to the tubehead, positioning arms, and control panel. Ensure all cables and connections are secure and undamaged. Clean the positioning devices and bite blocks according to infection control protocols using approved disinfectants.

The digital sensors require special attention. Gently clean sensor surfaces with approved wipes, avoiding harsh chemicals that could damage the protective covering. Check sensor cables for kinks, bends, or fraying that could compromise image quality or pose safety risks.

Weekly Calibration and Quality Checks

Dental technician performing maintenance on digital X-ray sensor equipment

Weekly quality assurance testing ensures consistent image quality and proper equipment function. Perform step-wedge tests to verify appropriate contrast and density settings. Document exposure times and verify they match manufacturer specifications across different anatomical regions.

Check the collimation accuracy using appropriate test tools. Misaligned collimation can result in unnecessary radiation exposure and poor image quality. Verify that the positioning indicator device (PID) alignment matches the actual X-ray beam path.

Monthly System Inspections

Monthly inspections should include thorough examination of mechanical components. Check the tubehead suspension system for smooth operation and proper counterbalancing. Lubricate moving parts according to manufacturer specifications, typically using medical-grade lubricants.

Inspect the electrical systems, including control panel functions, timer accuracy, and emergency stop mechanisms. Test all safety interlocks to ensure they function properly. Document any irregularities for further investigation.

Sensor Care and Storage

Close-up of dental X-ray imaging sensors and digital radiography components

Digital sensors represent a significant investment requiring careful handling. Store sensors in protective cases when not in use, avoiding extreme temperatures and humidity. Regularly inspect sensor housings for cracks or wear that could allow moisture intrusion.

Keep spare protective sleeves and positioning accessories stocked. Replace worn positioning devices promptly to maintain patient comfort and image consistency. Consider rotating sensors between operatories to distribute wear evenly.

Professional Service Requirements

Annual professional servicing by qualified technicians remains essential despite regular in-house maintenance. These inspections include radiation output measurements, safety system verification, and comprehensive mechanical assessments beyond typical practice capabilities.

Professional services typically include X-ray output calibration, safety shutter function testing, and collimation accuracy verification. They also perform electrical safety inspections and update firmware or software as needed.

Troubleshooting Common Issues

Image quality problems often trace to maintenance oversights. Dark or light images may indicate exposure setting drift or generator issues. Blurry images frequently result from patient movement, but can also indicate mechanical instability in the positioning system.

Sensor connectivity problems typically involve cable damage or connection corrosion. Regular cable inspection and gentle handling prevent most sensor-related issues. Keep backup sensors available for critical situations.

Documentation and Record Keeping

Maintain detailed maintenance logs documenting all inspections, tests, and service activities. Include dates, findings, corrective actions, and technician signatures. These records demonstrate regulatory compliance and help identify recurring issues.

Track exposure parameters, image quality metrics, and equipment performance trends. This data proves invaluable for warranty claims, regulatory inspections, and equipment replacement planning.

Cost-Effective Maintenance Strategies

Preventive maintenance costs significantly less than emergency repairs or premature equipment replacement. Budget approximately 3-5% of equipment value annually for maintenance activities, including professional services and replacement parts.

Consider service contracts for complex digital systems, particularly during warranty periods. These agreements often provide priority service response and predictable maintenance costs, crucial for busy practices.

Training and Staff Responsibilities

Ensure all staff members understand proper equipment handling procedures. Regular training updates keep everyone current on manufacturer recommendations and regulatory requirements. Designate specific maintenance responsibilities to qualified team members.

Create clear protocols for reporting equipment problems or performance changes. Early detection and correction prevent minor issues from becoming major failures affecting patient care and practice productivity.

Essential Guide to Dental X-Ray Equipment Calibration: Ensuring Accurate Diagnostics

Proper calibration of dental X-ray equipment is critical for accurate diagnostics, patient safety, and regulatory compliance. This comprehensive guide covers the essential steps and best practices for maintaining optimal X-ray performance in your dental practice.

Why Calibration Matters

Dental X-ray machines must be calibrated regularly to ensure consistent image quality and accurate exposure parameters. Improper calibration can lead to:

  • Poor image quality affecting diagnostic accuracy
  • Excessive radiation exposure to patients
  • Regulatory compliance issues
  • Equipment damage from incorrect settings

Professional standards require dental X-ray equipment to be inspected and calibrated at regular intervals, typically annually or as specified by local regulations.

Digital X-ray sensor calibration

Essential Calibration Equipment

Before beginning calibration procedures, ensure you have the necessary equipment:

  • Calibration phantom or test object
  • Dosimetry equipment for exposure measurement
  • Step wedge for contrast evaluation
  • Resolution test patterns
  • Digital measurement tools

Step-by-Step Calibration Process

1. Initial Equipment Assessment

Begin by documenting current machine settings and performance baselines. Check for any obvious mechanical issues or wear patterns that might affect calibration results.

2. Exposure Parameter Verification

Verify that exposure settings match the intended values using appropriate measurement equipment. Common parameters to check include:

  • Tube voltage (kVp) accuracy
  • Exposure time precision
  • Beam filtration effectiveness
  • Collimation alignment

3. Image Quality Assessment

Using standardized phantoms, evaluate image quality parameters including contrast resolution, spatial resolution, and noise characteristics. Document any deviations from acceptable ranges.

X-ray control panel settings

Common Calibration Issues and Solutions

Exposure Inconsistencies

If exposure readings vary significantly from set values:

  • Check tube aging and replace if necessary
  • Verify generator calibration
  • Inspect high-voltage cables for damage
  • Review timer accuracy

Image Quality Problems

Poor image quality may indicate:

  • Misaligned beam collimation
  • Inadequate filtration
  • Sensor calibration drift
  • Processing parameter errors

Maintaining Calibration Records

Proper documentation is essential for regulatory compliance and equipment tracking. Maintain detailed records including:

  • Calibration dates and procedures performed
  • Measured values and acceptable ranges
  • Corrective actions taken
  • Equipment serial numbers and service history

Professional Service Recommendations

While routine checks can be performed in-house, comprehensive calibration should be conducted by qualified service technicians. Schedule professional calibration:

  • Annually for most equipment
  • After major repairs or component replacement
  • When performance issues are detected
  • As required by local regulations

Quality Assurance Best Practices

Implement ongoing quality assurance protocols to maintain calibration between service visits:

  • Daily constancy checks using reference images
  • Weekly exposure reproducibility tests
  • Monthly image quality assessments
  • Quarterly comprehensive performance reviews

Regular calibration and quality assurance ensure your dental X-ray equipment continues to provide accurate, high-quality diagnostic images while maintaining optimal patient safety. When in doubt, consult with qualified service professionals to address any calibration concerns.

Digital X-Ray Sensor Troubleshooting: Common Problems and Quick Solutions

Digital X-ray sensors have revolutionized dental imaging, but they can present unique challenges that require specific troubleshooting approaches. Understanding the most common sensor problems and their solutions can save valuable chair time and prevent patient inconvenience.

Most Common Digital Sensor Issues

Digital X-ray sensors typically experience problems related to connectivity, image quality, positioning errors, and software communication. These issues often manifest as sensor not detected errors, poor image quality, or complete system failures.

Close-up view of digital X-ray sensor showing USB connection

Sensor Not Detected Problems

When your digital X-ray sensor is not being recognized by the imaging software, the issue is usually related to:

  • USB Connection Issues: Loose or damaged USB cables are the most frequent culprit. Check all connections and try a different USB port.
  • Driver Problems: Outdated or corrupted sensor drivers can prevent proper communication between the sensor and computer.
  • Software Conflicts: Multiple imaging programs running simultaneously can create conflicts that prevent sensor detection.
  • Power Management Settings: Windows power management can disable USB ports to save energy, causing intermittent sensor failures.

Quick Fix Steps

Start with these immediate troubleshooting steps:

  1. Disconnect and reconnect the USB cable firmly
  2. Try a different USB port, preferably a USB 2.0 port
  3. Restart the imaging software completely
  4. Check Device Manager for yellow warning icons
  5. Disable USB selective suspend in Power Options

Image Quality Problems

Poor image quality from digital sensors often relates to exposure settings, sensor positioning, or environmental factors affecting the sensor itself.

Dental professional analyzing X-ray image quality on computer screen

Exposure Setting Corrections

Digital sensors require different exposure parameters compared to traditional film:

  • Reduced Exposure Time: Digital sensors are more sensitive than film, requiring 50-80% less exposure time
  • kVp Adjustments: Higher kVp settings (70-90 kVp) often produce better digital images
  • mA Settings: Consistent milliamperage settings help maintain image quality across different patients

Sensor Positioning Best Practices

Proper sensor placement is critical for diagnostic quality images:

  • Ensure the sensor is parallel to the long axis of teeth being imaged
  • Use appropriate sensor holders to minimize movement
  • Check that the sensor is not bent or twisted during placement
  • Verify the X-ray tube is properly aligned with the sensor

Preventive Maintenance

Regular maintenance can prevent many common sensor problems:

  • Daily Cleaning: Use appropriate disinfectant wipes designed for digital sensors
  • Cable Management: Avoid sharp bends or kinks in USB cables
  • Software Updates: Keep imaging software and sensor drivers current
  • Regular Calibration: Follow manufacturer recommendations for sensor calibration frequency

When to Call for Service

Some problems require professional service intervention:

  • Consistent poor image quality despite proper settings
  • Repeated sensor failure messages
  • Physical damage to the sensor or cable
  • Intermittent connectivity issues that persist after troubleshooting

Professional service can diagnose hardware failures, perform specialized calibrations, and replace damaged components that cannot be addressed through basic troubleshooting.

Documentation for Service Calls

When contacting service support, document:

  • Specific error messages or symptoms
  • Steps already attempted
  • When the problem first occurred
  • Any recent software or hardware changes
  • Patient volume and usage patterns

Digital X-ray sensors are sophisticated devices that require proper handling and maintenance. By understanding common problems and implementing systematic troubleshooting approaches, dental practices can maintain optimal imaging performance and minimize downtime.

Common Digital Dental X-ray Sensor Problems and How to Fix Them

Digital dental X-ray sensors have revolutionized modern dentistry, providing instant high-quality images while reducing radiation exposure. However, like all electronic devices, digital sensors can experience various problems that disrupt workflow and patient care. Understanding common sensor issues and their solutions can help dental practices maintain optimal imaging performance.

Sensor Detection and Connection Issues

One of the most frequent problems dental practices encounter is when the imaging software fails to detect the digital sensor. This typically manifests as error messages stating “sensor not found” or “no device detected.” The issue often stems from loose USB connections, faulty cables, or driver conflicts.

Digital dental X-ray sensor close-up

Troubleshooting steps:

  • Check all cable connections and ensure they are firmly seated
  • Try a different USB port on the computer
  • Restart the imaging software and computer
  • Update or reinstall sensor drivers
  • Test with a known working cable if available

Image Quality Problems

Poor image quality can significantly impact diagnostic accuracy. Common image quality issues include:

  • White or overexposed images: Often caused by sensor misfiring or pre-triggering
  • Dark or underexposed images: Usually indicates insufficient X-ray exposure
  • Static or noise: Can result from electromagnetic interference or sensor malfunction
  • Partial images or cone cuts: Typically caused by improper positioning

Many image quality problems can be resolved by adjusting exposure settings, ensuring proper sensor positioning, and checking for external interference sources such as cell phones or other electronic devices.

Software and Calibration Issues

Digital radiography systems require proper calibration to function optimally. When sensors lose calibration, images may appear distorted, have incorrect contrast, or display unusual artifacts.

X-ray diagnostic computer screen

Common software-related problems include:

  • Sensor calibration drift over time
  • Compatibility issues after software updates
  • Incorrect exposure settings for specific sensor types
  • Integration problems with practice management software

Physical Sensor Damage

Digital sensors are delicate instruments that can be damaged through normal use. Physical damage often occurs from:

  • Patient biting down too hard on the sensor
  • Dropping the sensor on hard surfaces
  • Excessive bending or twisting of cables
  • Exposure to moisture or sterilization solutions

Signs of physical damage include cracked sensor housings, visible cable damage, or permanent dead pixels in images. Physical damage typically requires professional repair or sensor replacement.

Preventive Maintenance

Proper maintenance can prevent many sensor problems and extend equipment lifespan:

  • Handle sensors gently and use protective sheaths
  • Clean sensors according to manufacturer guidelines
  • Store sensors in designated holders when not in use
  • Regularly check cables for wear or damage
  • Keep imaging software updated
  • Schedule regular calibration checks

When to Call for Professional Help

While many sensor problems can be resolved in-house, certain issues require professional technical support:

  • Persistent hardware failures after basic troubleshooting
  • Sensor calibration problems that cannot be corrected
  • Physical damage to sensors or cables
  • Recurring software crashes or system instability
  • Integration problems with existing dental software

By understanding these common digital X-ray sensor problems and their solutions, dental practices can minimize downtime and maintain consistent imaging quality. Regular maintenance and proper handling procedures are essential for maximizing the lifespan and reliability of digital radiography equipment.