Dental X-Ray Sensor Calibration: Essential Troubleshooting Guide for 2026

Proper calibration of dental X-ray sensors is critical for accurate diagnostics and regulatory compliance. This comprehensive guide addresses the most common calibration issues and provides step-by-step troubleshooting solutions for dental practices in 2026.

Understanding Sensor Calibration Requirements

All dental X-ray machines must be inspected and calibrated at regular intervals according to regulatory standards. Calibration ensures accurate output, proper collimation, and optimal image quality while minimizing patient radiation exposure.

Dental technician calibrating X-ray sensor equipment

Common Calibration Problems and Solutions

1. Output Variations

Inconsistent radiation output is one of the most frequent issues. Check timing accuracy, mA settings, and kVp stability. Use calibrated dosimetry equipment to measure actual output versus displayed settings.

2. Collimation Issues

Improper beam alignment can cause inconsistent exposures. Verify light beam alignment with the actual X-ray beam using test tools and adjust accordingly.

3. Tubehead Drift

Mechanical stability problems affect positioning accuracy. Inspect tubehead mounting hardware and replace worn components that allow unwanted movement.

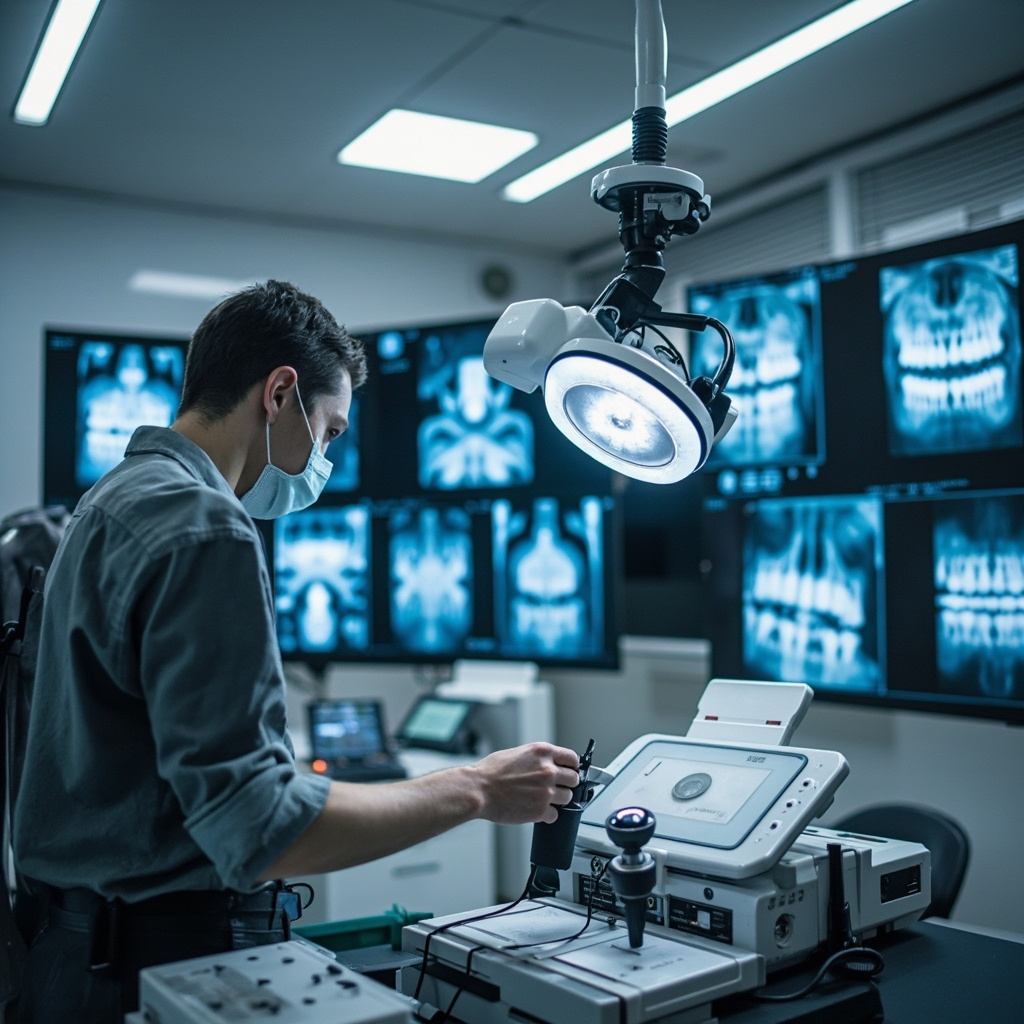
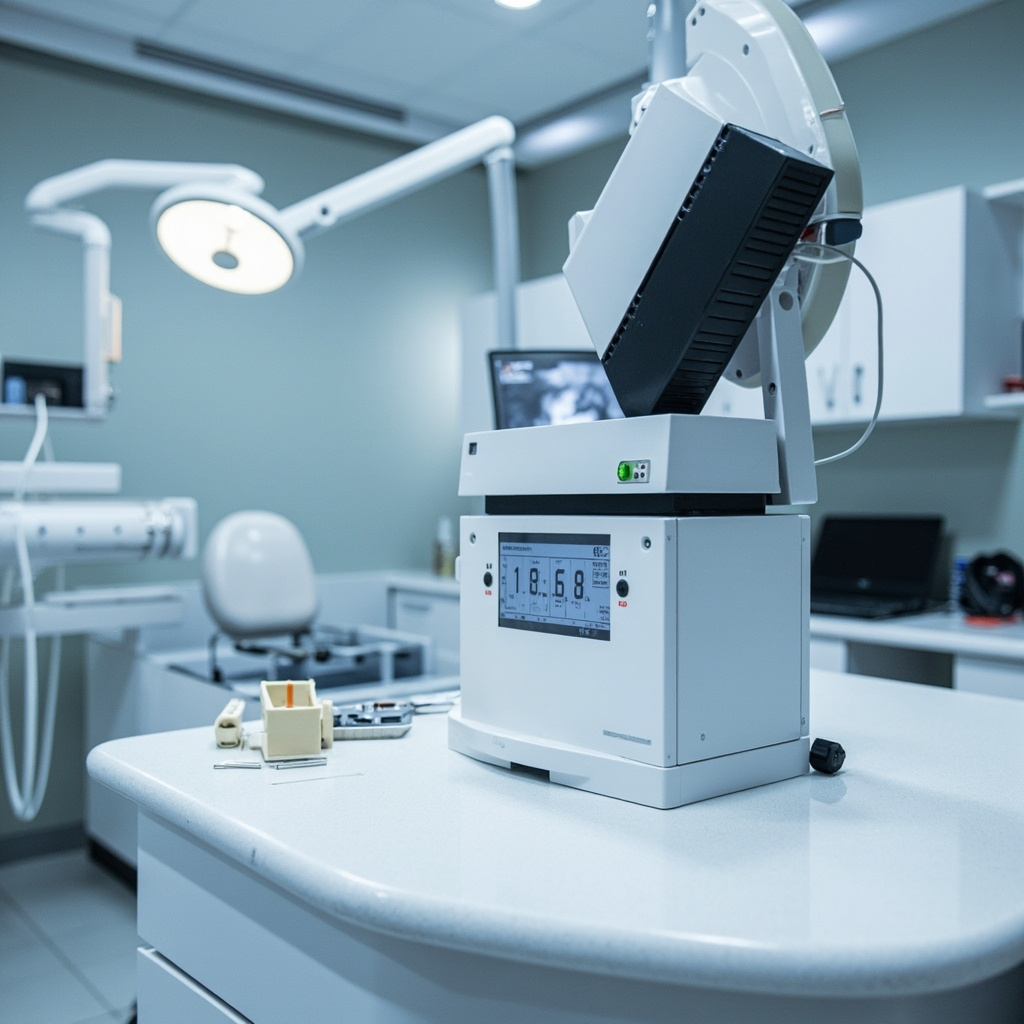
Calibration Testing Protocol

Modern calibration requires specialized phantoms and measurement devices. The Unfors Xi system represents current best practice for comprehensive testing, providing precise measurements across all critical parameters.

Dental X-ray calibration phantom showing test results

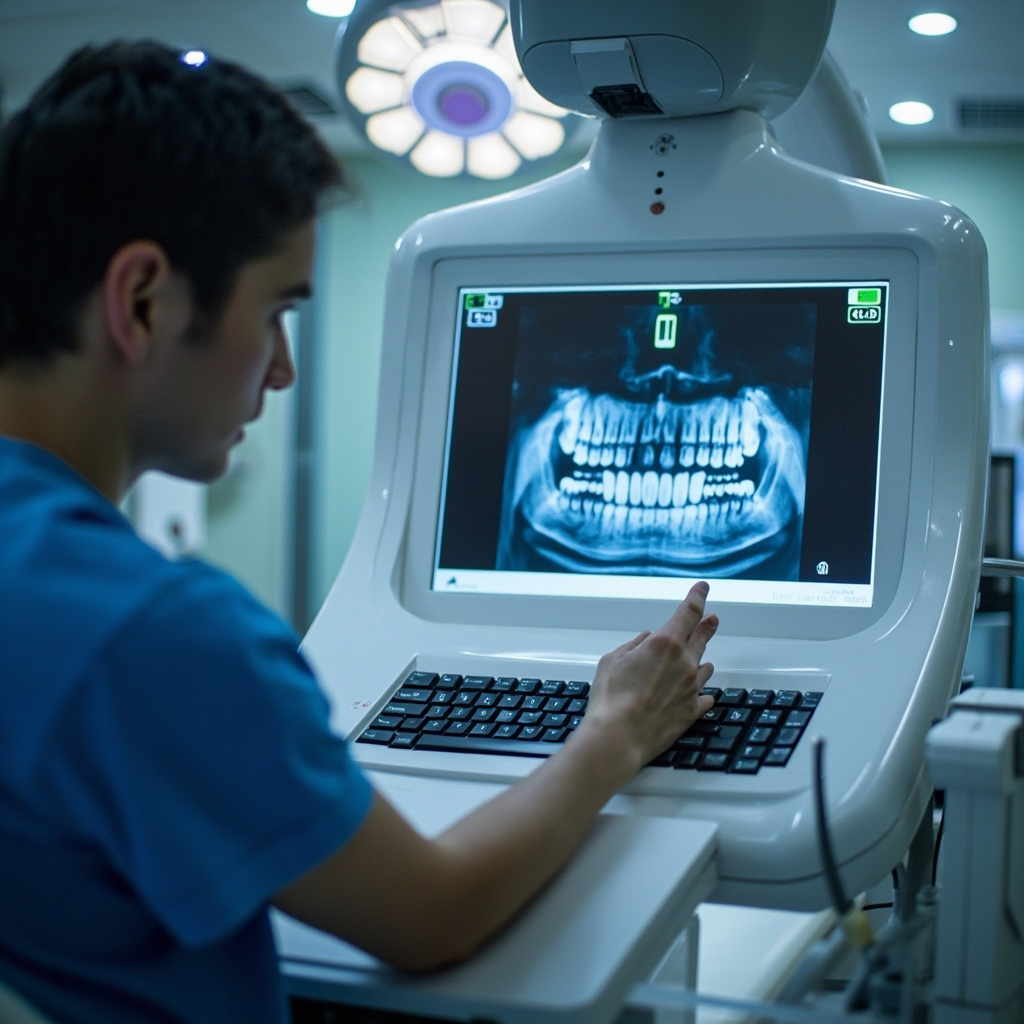
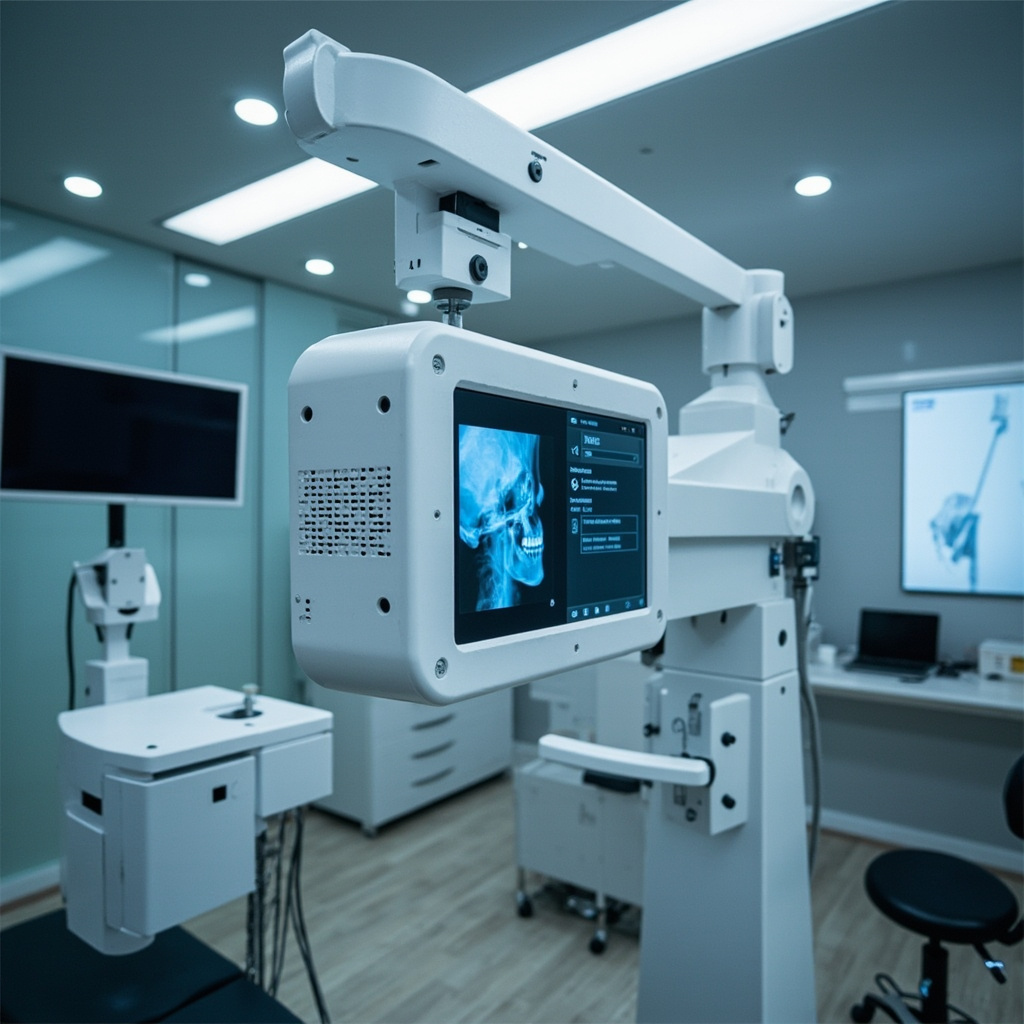
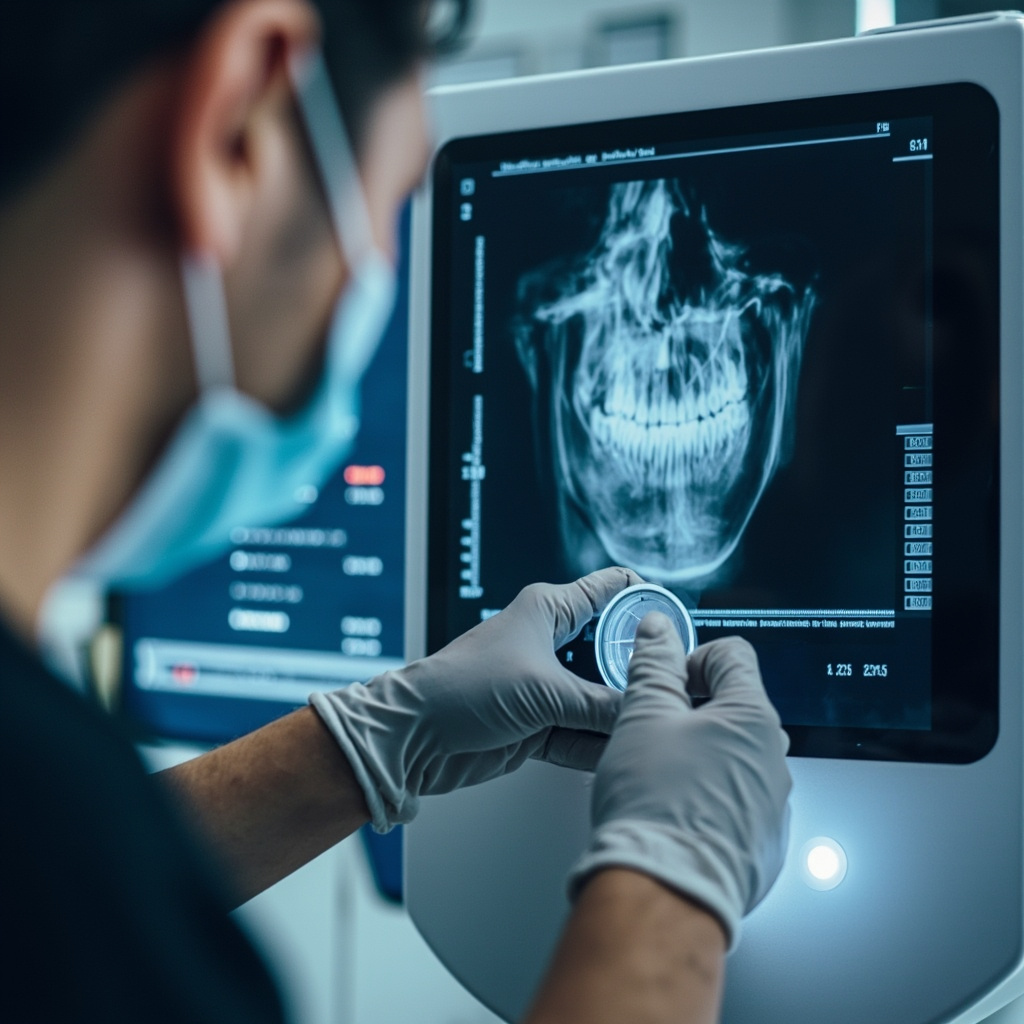
Digital Sensor Specific Issues

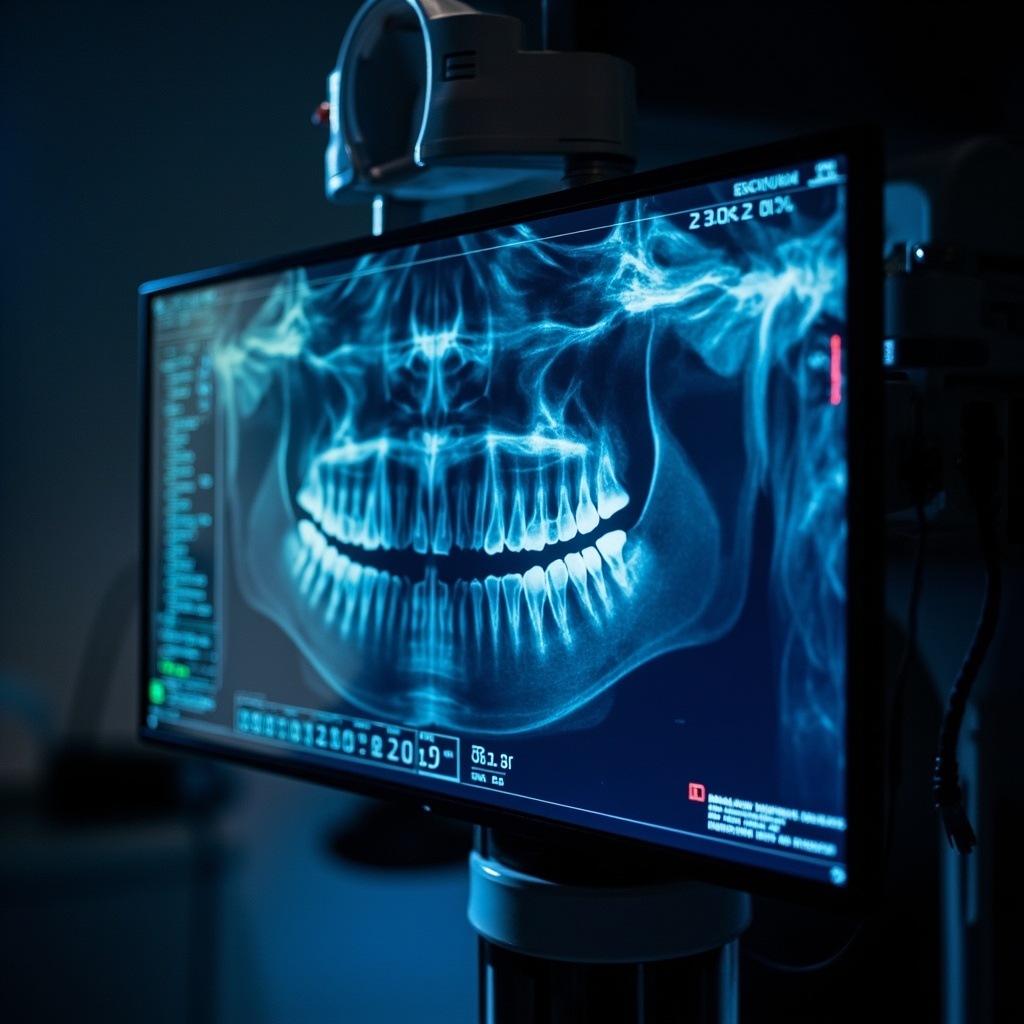
Image Quality Degradation

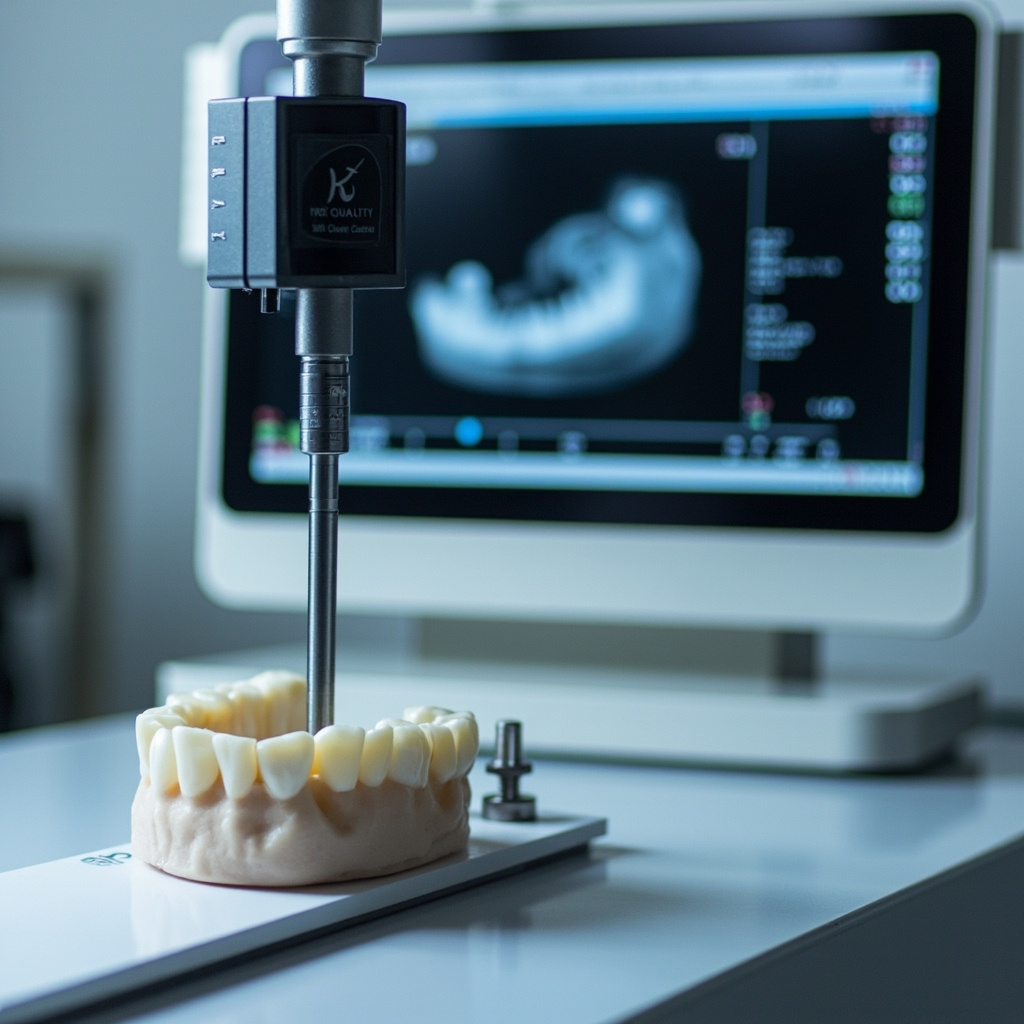
Digital sensors can develop dead pixels, sensitivity variations, or calibration drift over time. Regular quality control testing using standardized phantoms helps identify these issues early.

Exposure Parameter Optimization

Each sensor type requires specific exposure parameters. Improper settings can result in over-exposure, under-exposure, or increased noise levels that compromise diagnostic quality.

Preventive Maintenance Schedule

Establish a routine calibration schedule:

  • Annual comprehensive calibration by certified technician
  • Quarterly quality control testing
  • Monthly visual inspection of equipment
  • Weekly image quality assessment

Regulatory Compliance

Maintain detailed calibration records for regulatory inspections. Document all test results, corrective actions, and equipment modifications. These records demonstrate compliance with safety regulations and quality standards.

When to Call for Professional Service

Contact qualified service technicians when:

  • Calibration values exceed acceptable tolerances
  • Repeated failures occur despite troubleshooting
  • Hardware modifications are required
  • Annual certification is due

Proper calibration ensures optimal diagnostic quality while maintaining patient safety. Regular testing and prompt attention to calibration issues keeps your X-ray system operating at peak performance.

X-Ray Equipment Maintenance: Essential Protocols for Optimal Performance

Proper maintenance of dental X-ray equipment is critical for ensuring consistent image quality, patient safety, and regulatory compliance. A comprehensive maintenance program protects your investment while maintaining the highest standards of diagnostic imaging.

Preventive Maintenance Fundamentals

Regular preventive maintenance prevents costly breakdowns and ensures optimal equipment performance:

  • Daily Cleaning Protocols: Proper disinfection and cleaning procedures
  • Weekly System Checks: Basic functionality and performance verification
  • Monthly Inspections: Comprehensive system evaluation and calibration
  • Annual Professional Service: Complete system analysis and certification

Daily Maintenance Procedures

Consistent daily maintenance ensures reliable equipment operation:

Cleaning and Disinfection

  • Sensor Protection: Use appropriate barrier sleeves and handle sensors carefully
  • Surface Disinfection: Clean all contact surfaces with approved disinfectants
  • Cable Management: Inspect cables for damage and ensure proper storage
  • Control Panel Care: Clean displays and control surfaces without liquid infiltration

Operational Checks

Verify essential system functions daily:

  • Power-on self-test completion
  • Exposure indicator functionality
  • Patient positioning device operation
  • Emergency stop button testing

Sensor Care and Handling

Digital sensors require special attention to maintain optimal performance:

  • Gentle Handling: Avoid dropping or excessive pressure on sensors
  • Proper Storage: Store sensors in protective cases when not in use
  • Cable Protection: Prevent excessive bending or twisting of sensor cables
  • Regular Cleaning: Follow manufacturer protocols for sensor disinfection

Common Sensor Problems

Recognize early warning signs of sensor issues:

  • Image Artifacts: Spots, lines, or distortions in images
  • Connectivity Issues: Intermittent sensor recognition
  • Calibration Drift: Changes in image brightness or contrast
  • Physical Damage: Cracks, chips, or cable damage

Quality Assurance Testing

Regular quality assurance protocols ensure consistent imaging performance:

Image Quality Assessment

  • Phantom Testing: Regular evaluation using standardized test phantoms
  • Exposure Reproducibility: Verification of consistent radiation output
  • Image Resolution: Assessment of spatial resolution and contrast
  • Artifact Evaluation: Detection and correction of image artifacts

Professional Service Requirements

Annual professional service ensures regulatory compliance and optimal performance:

  • Radiation Safety Inspection: Verification of proper radiation shielding and safety systems
  • Calibration Verification: Precise measurement and adjustment of system parameters
  • Software Updates: Installation of latest firmware and software versions
  • Documentation: Complete service records for regulatory compliance

Troubleshooting Common Issues

Understand solutions for frequent equipment problems:

Image Quality Problems

  • Blurred Images: Check patient movement and positioning
  • Over/Under Exposure: Verify exposure settings and sensor calibration
  • Positioning Errors: Review positioning techniques and patient instruction

System Malfunctions

  • Failed Exposures: Check power supply and control connections
  • Software Crashes: Verify system requirements and memory availability
  • Network Connectivity: Troubleshoot network settings and connections

Documentation and Record Keeping

Maintain comprehensive maintenance records:

  • Daily cleaning logs and operational checks
  • Monthly inspection reports and calibration results
  • Service history and repair documentation
  • Quality assurance test results and trending

Proper maintenance protocols ensure your X-ray equipment operates at peak performance while maintaining the safety and quality standards essential for modern dental practice.

Digital X-Ray Systems: Transforming Dental Diagnostics in 2026

Digital radiography has become the gold standard in modern dental practice, offering superior image quality, instant results, and enhanced patient care. As we advance through 2026, digital X-ray systems continue to evolve, providing unprecedented diagnostic capabilities and operational efficiency.

The Digital Advantage

Digital X-ray systems offer compelling benefits over traditional film-based radiography:

  • Instant Image Acquisition: Images appear immediately on screen, eliminating development time
  • Superior Image Quality: Enhanced contrast and resolution with digital manipulation capabilities
  • Reduced Radiation Exposure: Up to 90% less radiation compared to conventional film
  • Environmental Benefits: No chemical processing or film waste

Advanced Imaging Technologies

Modern digital systems incorporate cutting-edge technologies that enhance diagnostic accuracy:

Sensor Technology

Current digital sensors offer remarkable improvements:

  • CCD Sensors: Excellent image quality with proven reliability
  • CMOS Technology: Lower power consumption and faster image processing
  • Photostimulable Phosphor Plates: Flexible sizing options for various anatomical areas
  • Wireless Systems: Enhanced patient comfort and positioning flexibility

Clinical Applications and Benefits

Digital radiography enhances multiple aspects of dental practice:

Diagnostic Capabilities

  • Caries Detection: Enhanced visualization of early decay stages
  • Periodontal Assessment: Precise measurement of bone levels and changes
  • Endodontic Evaluation: Detailed root anatomy and working length determination
  • Oral Surgery Planning: Accurate assessment of anatomical structures

Patient Communication

Digital imaging revolutionizes patient education and treatment acceptance:

  • Immediate image review with patients
  • Enhancement tools for better visualization
  • Comparison capabilities for monitoring progression
  • Electronic transmission for referrals and consultations

Integration and Workflow Optimization

Modern digital X-ray systems seamlessly integrate with practice management systems:

  • DICOM Compatibility: Universal standard for medical imaging
  • Cloud Storage: Secure backup and multi-location access
  • AI-Assisted Diagnostics: Computer-aided detection of pathology
  • Mobile Integration: Access to images on tablets and smartphones

Quality Assurance and Maintenance

Digital systems require specific quality assurance protocols:

  • Regular sensor calibration and testing
  • Monitor quality assessment and calibration
  • Software updates and security patches
  • Backup system verification

Troubleshooting Common Issues

Understanding common digital radiography problems ensures optimal system performance:

  • Image Artifacts: Identifying and eliminating digital noise
  • Sensor Problems: Recognizing signs of sensor degradation
  • Software Issues: Maintaining system stability and performance
  • Network Connectivity: Ensuring reliable data transmission

Future Developments

The future of digital radiography continues to evolve with emerging technologies like artificial intelligence integration, improved sensor materials, and enhanced image processing algorithms.

Digital X-ray technology remains essential for modern dental practices, providing the foundation for accurate diagnosis, effective treatment planning, and exceptional patient care in our increasingly digital healthcare environment.

CBCT Revolution: How 3D Imaging Transforms Dental Practice Safety

Cone Beam Computed Tomography (CBCT) has revolutionized dental diagnostics, offering unprecedented imaging capabilities that enhance both treatment accuracy and patient safety. This technology represents a paradigm shift from traditional 2D radiography to comprehensive 3D visualization.

Understanding CBCT Technology

CBCT systems use a cone-shaped X-ray beam that rotates around the patient to capture hundreds of images from different angles. These images are then reconstructed into detailed 3D models that provide complete anatomical information.

  • 3D Visualization: Complete spatial relationships between teeth, bone, and soft tissues
  • High Resolution: Submillimeter accuracy for precise treatment planning
  • Lower Radiation: Significantly less exposure compared to traditional medical CT scans
  • Fast Imaging: Complete scan typically takes 10-40 seconds

Clinical Applications in Modern Dentistry

CBCT technology has expanded the diagnostic capabilities of dental practices across multiple specialties:

Implant Planning

CBCT provides critical information for successful implant placement:

  • Bone Density Assessment: Accurate measurement of available bone volume
  • Anatomical Mapping: Identification of vital structures like nerves and sinuses
  • Virtual Planning: Computer-guided surgical placement
  • Prosthetic Integration: Optimal positioning for final restoration

Endodontic Treatment

Root canal therapy benefits significantly from 3D imaging:

  • Complex root canal anatomy visualization
  • Detection of missed canals and fractures
  • Assessment of periapical pathology
  • Evaluation of treatment outcomes

Safety Advantages

Modern CBCT systems incorporate advanced safety features that protect both patients and operators:

  • Dose Optimization: Automatic exposure control based on patient size
  • Collimation: Precise beam limitation to area of interest
  • Image Quality Monitoring: Real-time assessment prevents repeat exposures
  • Safety Protocols: Built-in compliance with radiation protection standards

Integration with Digital Workflows

CBCT seamlessly integrates with other digital technologies:

  • CAD/CAM restorative workflows
  • 3D printing for surgical guides
  • Virtual treatment planning software
  • Digital impressions and models

Enhanced Patient Communication

3D imaging dramatically improves patient understanding and acceptance of treatment plans. Visual representation of conditions and proposed treatments increases case acceptance and patient confidence.

Equipment Considerations

When selecting CBCT equipment, consider factors such as field of view options, image resolution requirements, space constraints, and integration capabilities with existing practice management systems.

CBCT technology continues to evolve, with improvements in image quality, reduced radiation exposure, and enhanced diagnostic capabilities making it an increasingly essential tool for comprehensive dental care.

Digital X-Ray Sensor Troubleshooting: Common Problems and Solutions for 2025

Digital dental X-ray sensors have revolutionized imaging in dental practices, but like any sophisticated technology, they can encounter various issues that affect image quality and workflow efficiency. Understanding common problems and their solutions is crucial for maintaining optimal diagnostic capabilities in your practice.

Most Common Digital Sensor Issues

Digital X-ray sensors face several recurring problems that can disrupt daily operations. The most frequently reported issues include sensor connectivity problems, image quality degradation, software compatibility conflicts, and hardware failures. Recognizing these problems early can prevent costly downtime and ensure consistent patient care.

Dental technician diagnosing X-ray sensor problems with computer diagnostics

Connectivity and Detection Issues

One of the most frustrating problems practitioners face is when digital sensors fail to be detected by imaging software. This issue often manifests as “sensor not found” error messages or complete lack of communication between the sensor and computer system.

USB Connection Problems

USB connectivity issues are among the most common culprits. Check all physical connections first, ensuring the USB cable is securely connected to both the sensor and computer. Damaged or worn USB cables can cause intermittent connectivity issues that may worsen over time.

Try connecting the sensor to different USB ports, preferably USB 3.0 ports for optimal data transfer speeds. If the sensor works with some ports but not others, the problem may be with specific USB controllers on your computer.

Driver and Software Conflicts

Outdated or corrupted drivers frequently cause sensor detection problems. Ensure you have the latest drivers installed for your specific sensor model. Uninstall and reinstall the sensor software if necessary, following the manufacturers step-by-step instructions.

Image Quality Problems

Poor image quality can significantly impact diagnostic accuracy. Common image quality issues include excessive noise, poor contrast, artifacts, and inconsistent exposure levels.

Comparison of correct vs problematic dental X-ray images with technical analysis

Exposure and Calibration Issues

Incorrect exposure settings remain a leading cause of poor image quality. Modern digital sensors are more sensitive than traditional film, requiring precise calibration with your X-ray generator. Review your exposure charts and ensure they are optimized for your specific sensor model.

Regular calibration checks should be performed according to manufacturer recommendations. Many practices find that quarterly calibration reviews help maintain consistent image quality standards.

Static and Interference Problems

Digital sensors can be susceptible to electromagnetic interference, which appears as static, lines, or random artifacts on images. This interference can come from various sources including nearby electronic equipment, fluorescent lighting, or improperly grounded electrical systems.

Environmental Factors

Temperature and humidity fluctuations can affect sensor performance. Ensure your sensors are stored and operated within manufacturer-specified environmental parameters. Extreme temperatures can cause temporary or permanent sensor damage.

Sensor Damage and Wear

Physical damage to sensors is unfortunately common due to their frequent handling and the demands of clinical use. Signs of sensor damage include dead pixels, permanent artifacts, or complete sensor failure.

Protective Measures

Implementing proper handling protocols can significantly extend sensor lifespan. Use protective sleeves for infection control, handle sensors gently, and avoid dropping or bending the cables. Train all staff on proper sensor care and handling procedures.

Software Integration Problems

Integration issues between sensors and practice management software can cause workflow disruptions. These problems often arise after software updates or when adding new equipment to existing systems.

Compatibility Verification

Before purchasing new sensors or updating software, verify compatibility with your existing systems. Contact manufacturers directly to confirm integration capabilities and any required configuration changes.

Preventive Maintenance Best Practices

Regular maintenance can prevent many common sensor problems. Establish a routine that includes daily visual inspections, weekly cable checks, and monthly calibration verifications. Document any issues or unusual behavior to identify patterns that might indicate developing problems.

When to Seek Professional Help

While many sensor issues can be resolved in-house, certain problems require professional intervention. Contact technical support when experiencing consistent hardware failures, software conflicts that prevent normal operation, or when simple troubleshooting steps fail to resolve issues.

Professional sensor repair services can often restore functionality to damaged sensors at a fraction of replacement cost, making them a cost-effective option for extending equipment lifespan.

AI & 3D Imaging Advances Transform Dental X-Ray Equipment in 2025

The dental X-ray industry is undergoing a revolutionary transformation in 2025, driven by artificial intelligence integration and advanced 3D imaging technologies. These innovations are setting new standards for diagnostic accuracy while significantly reducing patient radiation exposure.

AI Integration Enhances Diagnostic Precision

Modern dental X-ray equipment now features sophisticated AI algorithms that can detect anomalies and potential issues that might be missed by the human eye. Machine learning models trained on millions of dental images provide instant analysis, highlighting areas of concern and suggesting potential diagnoses. This technology not only improves accuracy but also speeds up the diagnostic process considerably.

3D cone beam CT dental imaging system with AI analysis

3D Imaging and Cone Beam Technology

Cone Beam Computed Tomography (CBCT) systems represent the cutting edge of dental imaging technology. These systems provide three-dimensional views of dental structures, enabling practitioners to see beyond what traditional 2D radiographs can reveal. The detailed cross-sectional images are invaluable for complex procedures such as implant planning, orthodontic assessment, and endodontic treatment.

The latest CBCT systems offer improved resolution with shorter scan times, making them more comfortable for patients while providing superior diagnostic information. Integration with treatment planning software allows for precise surgical guides and predictable outcomes.

Spectral Imaging Technology

One of the most exciting developments in dental radiography is spectral imaging technology. This advanced technique uses multiple energy levels to create images that provide enhanced contrast and detail. Spectral imaging can differentiate between various tissue types more effectively, making it easier to identify pathological conditions in their early stages.

High-resolution digital X-ray sensors with spectral imaging display

Enhanced Digital Sensor Technology

The evolution of digital sensors continues to drive improvements in image quality and processing speed. Modern sensors feature higher pixel density, improved dynamic range, and faster data transfer rates. These enhancements result in clearer images with better contrast resolution, enabling more accurate diagnoses.

Reduced Radiation Exposure

Patient safety remains a top priority, and 2025 has seen significant advances in radiation dose reduction without compromising image quality. New sensor technologies and AI-powered image enhancement algorithms work together to produce diagnostic-quality images with up to 50% less radiation exposure compared to previous generations.

Workflow Integration and Digital Connectivity

Modern dental X-ray systems seamlessly integrate with practice management software and electronic health records. This connectivity enables instant image sharing, automated report generation, and streamlined workflow processes. Cloud-based storage solutions ensure that images are accessible from anywhere while maintaining HIPAA compliance.

Future Outlook

As we progress through 2025, the trend toward AI-enhanced, low-dose, high-resolution imaging continues to accelerate. Upcoming developments include real-time image analysis, predictive diagnostics, and even more sophisticated 3D reconstruction capabilities. These advances promise to make dental radiography safer, more accurate, and more efficient than ever before.

Dental practices investing in these advanced X-ray technologies are not only improving patient care but also positioning themselves at the forefront of modern dentistry. The combination of AI intelligence, 3D imaging capabilities, and enhanced digital sensors creates a powerful diagnostic toolset that benefits both practitioners and patients alike.

Digital Sensor Maintenance: Protecting Your Most Expensive Investment

Digital intraoral sensors have revolutionized dental radiography, but they remain one of the most expensive and delicate pieces of equipment in your practice. With proper care and maintenance, these sensors can provide years of reliable service and exceptional image quality. However, improper handling and cleaning are among the leading causes of premature sensor failure, costing practices thousands in replacement costs.

Understanding Digital Sensor Vulnerability

Unlike traditional film, digital sensors contain sophisticated electronic components that are sensitive to moisture, chemicals, and physical damage. The sensor’s active area houses millions of pixels made from complementary metal-oxide-semiconductor (CMOS) or charge-coupled device (CCD) technology, protected only by a thin fiber optic plate.

Common Damage Patterns:

  • Pixel degradation from chemical exposure
  • Moisture infiltration causing electrical shorts
  • Scratches on the protective surface affecting image quality
  • Cable strain and connector corrosion
  • Residual disinfectant buildup creating artifacts

The Critical Importance of Proper Cleaning Protocols

Digital radiography sensors cannot be autoclaved, making infection control more challenging than traditional instruments. However, they still require thorough cleaning and disinfection between patients to prevent cross-contamination.

CDC Recommended Protocol:

  • Use EPA-registered intermediate-level (tuberculocidal) disinfectants
  • Clean sensors immediately after each use
  • Allow proper contact time for disinfection
  • Protect cables and connectors during cleaning
  • Use barrier protection when possible

Step-by-Step Cleaning Process

Pre-Cleaning Preparation:

  • Remove the sensor from barrier sleeves if used
  • Inspect for visible damage or debris
  • Handle by the cable, not the sensor body
  • Work over a soft surface to prevent drops

Cleaning Phase:

  • Use lint-free, pre-moistened disinfectant wipes
  • Gently wipe the sensor surface in one direction
  • Clean the cable from sensor to connector
  • Pay special attention to crevices and seams
  • Never submerge the sensor in liquid

Disinfection Phase:

  • Apply disinfectant with appropriate contact time
  • Ensure complete surface coverage
  • Avoid pooling of liquids around connectors
  • Use fresh disinfectant for each sensor

Selecting the Right Disinfectants

Not all disinfectants are suitable for digital sensors. Some chemicals can cause permanent damage to the sensor’s protective coating or electronic components.

Safe Disinfectant Options:

  • Isopropyl alcohol (70% concentration)
  • Quaternary ammonium compounds
  • Phenolic compounds (low concentration)
  • EPA-registered surface disinfectants

Avoid These Chemicals:

  • Bleach solutions (sodium hypochlorite)
  • Glutaraldehyde-based disinfectants
  • Highly alkaline cleaners
  • Abrasive cleaning compounds
  • Alcohol concentrations above 85%

Preventing Common Maintenance Mistakes

Many practices unknowingly damage their sensors through well-intentioned but incorrect maintenance practices.

Mistake #1: Excessive Moisture Exposure

Solution: Use damp, not wet, cleaning materials. Immediately dry any moisture around connectors and cable entry points.

Mistake #2: Abrasive Cleaning Materials

Solution: Use only lint-free, non-abrasive wipes. Paper towels and rough cloths can scratch the sensor surface.

Mistake #3: Chemical Pooling

Solution: Apply disinfectants sparingly and wipe excess immediately. Never allow liquids to accumulate around electrical connections.

Mistake #4: Cable Stress

Solution: Support the cable during cleaning. Avoid pulling, twisting, or placing weight on the cable during use and storage.

Advanced Sensor Care Techniques

Weekly Deep Cleaning:

  • Inspect all sensor surfaces under magnification
  • Check cable integrity for wear or kinks
  • Test image quality with calibration images
  • Document any changes in performance

Monthly Quality Assurance:

  • Perform standardized image quality tests
  • Check for pixel defects or artifacts
  • Verify proper software calibration
  • Review infection control compliance

Storage and Handling Best Practices

Proper storage protects sensors during idle periods and prevents accidental damage.

Storage Environment:

  • Clean, dust-free environment
  • Stable temperature and humidity
  • Protected from impact and pressure
  • Away from electromagnetic interference

Handling Protocols:

  • Always use two hands when possible
  • Support the sensor body, not just the cable
  • Avoid bending or twisting movements
  • Keep spare sensors available for high-use periods

Troubleshooting Image Quality Issues

Poor maintenance often manifests as image quality problems before complete sensor failure.

Artifact Patterns and Causes:

White Spots or Streaks:

  • Cause: Disinfectant residue or mineral deposits
  • Solution: Thorough cleaning with distilled water rinse

Dark Lines or Bands:

  • Cause: Scratches on sensor surface
  • Solution: Professional sensor refinishing or replacement

Intermittent Image Loss:

  • Cause: Moisture in cable or connector corrosion
  • Solution: Cable replacement or connector cleaning

Reduced Image Contrast:

  • Cause: Degraded scintillator layer
  • Solution: Professional evaluation and possible replacement

Implementing a Sensor Maintenance Program

Daily Protocols:

  • Clean and disinfect after each patient
  • Inspect for obvious damage
  • Store properly when not in use
  • Document any issues immediately

Weekly Reviews:

  • Quality assurance image testing
  • Staff compliance auditing
  • Equipment functionality checks
  • Maintenance log updates

Monthly Assessments:

  • Comprehensive performance evaluation
  • Preventive maintenance scheduling
  • Staff retraining if needed
  • Budget planning for replacements

Cost-Benefit Analysis of Proper Maintenance

Investing in proper sensor maintenance yields significant financial returns:

Maintenance Costs (Annual):

  • Appropriate cleaning supplies: $200-400
  • Staff training time: $300-500
  • Quality control procedures: $100-200

Replacement Costs (Per Sensor):

  • Size 0 sensor: $4,000-6,000
  • Size 1 sensor: $4,500-6,500
  • Size 2 sensor: $5,000-7,000

Proper maintenance can extend sensor life from 3-5 years to 7-10 years, representing savings of $15,000-25,000 per sensor over its extended lifetime.

Future Trends in Sensor Technology

Emerging sensor technologies are addressing many current maintenance challenges:

Improved Durability:

  • Enhanced protective coatings
  • Better moisture resistance
  • Reinforced cable designs
  • Self-diagnostic capabilities

Easier Maintenance:

  • Antimicrobial surface treatments
  • Simplified cleaning protocols
  • Reduced chemical sensitivity
  • Wireless connectivity options

Proper maintenance of digital radiography sensors is not just about protecting equipment—it’s about ensuring consistent diagnostic quality, patient safety, and practice profitability. By implementing comprehensive maintenance protocols and training staff properly, practices can maximize their investment in digital radiography technology while providing the highest quality patient care.