Panoramic X-Ray Positioning Errors: Common Patient Placement Issues and Troubleshooting Solutions
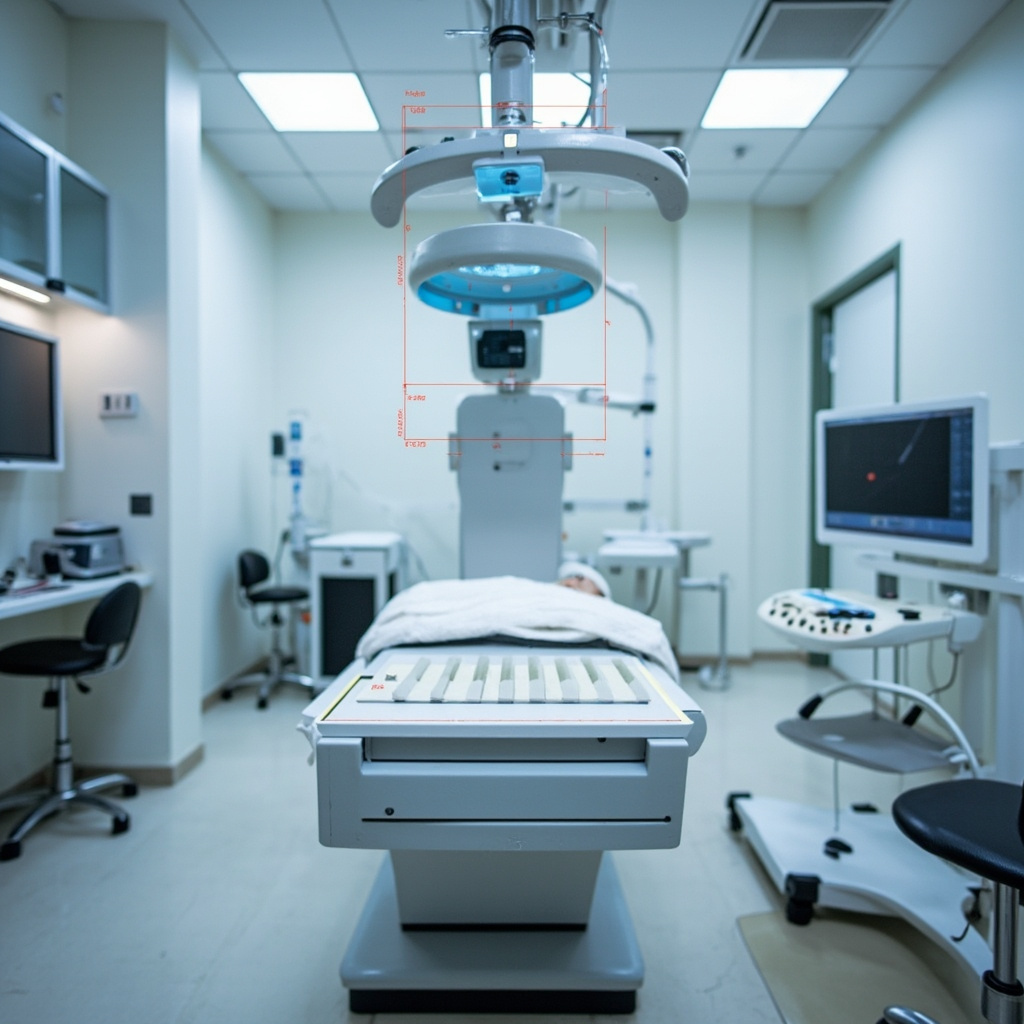
Panoramic radiography is one of the most commonly performed imaging procedures in dental practice, providing a comprehensive view of the oral and maxillofacial structures in a single image. However, patient positioning errors represent the leading cause of diagnostically inadequate panoramic radiographs, resulting in retakes that expose patients to unnecessary radiation and reduce clinical efficiency.
Understanding and preventing these positioning errors is crucial for dental professionals to ensure optimal image quality while minimizing patient exposure. This comprehensive guide examines the most frequent positioning mistakes and provides practical troubleshooting solutions for each scenario.
Understanding the Focal Trough Concept
The focal trough is a three-dimensional curved zone where structures appear sharp and properly sized in the panoramic image. Patient positioning errors typically result from improper placement relative to this focal trough, causing various artifacts and diagnostic challenges.
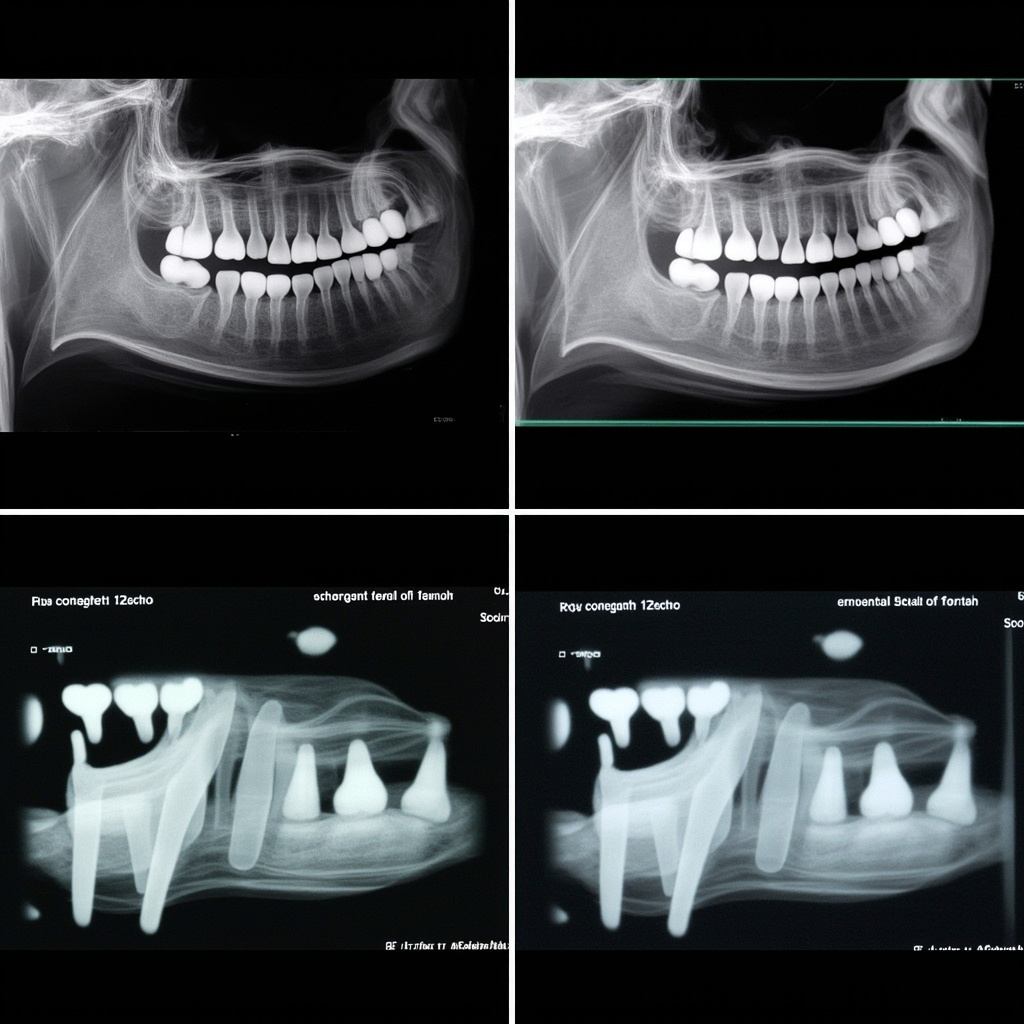
When patients are positioned correctly within the focal trough, the anterior teeth appear normal in size and sharpness. However, deviations from proper positioning create predictable patterns of image distortion that can be identified and corrected.

Most Common Positioning Errors
Chin Position Problems
Chin Tipped Too High: When the patient’s chin is positioned too high, the hard palate appears as a large radiopaque band across the maxillary teeth, obscuring the apical regions. The mandibular anterior teeth may appear elongated and blurred. This error occurs when the Frankfort horizontal plane isn’t parallel to the floor.
Chin Tipped Too Low: An excessively low chin position causes the mandibular symphysis to appear as a dense radiopaque shadow over the lower anterior teeth. The cervical spine may also superimpose over the ramus area, reducing diagnostic value.
Anterior-Posterior Positioning Issues
Patient Too Far Forward: When patients are positioned anterior to the focal trough, the anterior teeth appear narrow and blurred. The premolars may overlap, and overall magnification is reduced. This commonly occurs when patients aren’t properly guided to the bite block.
Patient Too Far Backward: Posterior positioning makes the anterior teeth appear wide and magnified with reduced sharpness. The maxillary and mandibular anterior teeth may not overlap properly, creating gaps in the arch continuity.
Tongue Positioning Failures
The most frequent error in panoramic imaging is failure to position the tongue against the hard palate. When the tongue isn’t properly positioned, a large radiolucent area appears over the maxillary teeth, obscuring root structures and making periapical assessment impossible.
This error significantly impacts diagnostic quality because the air space created by improper tongue placement mimics pathology and can mask actual dental conditions.
Patient Movement and Stability Issues
Patient movement during the 12-20 second exposure time creates characteristic horizontal streaking artifacts across the image. Modern panoramic units with shorter exposure times have reduced this problem, but patient coaching remains essential.
Troubleshooting and Prevention Strategies
Pre-Exposure Patient Preparation
Clear Instructions: Provide step-by-step verbal guidance about proper positioning. Explain the importance of remaining still and maintaining tongue position throughout the exposure.
Physical Positioning Aids: Use bite blocks, chin rests, and head restraints properly. Ensure the bite block groove aligns with the patient’s anterior teeth and that lateral head supports are snug but comfortable.
Breathing Instructions: Instruct patients to breathe normally through their nose and swallow once before beginning the exposure to ensure proper tongue position.
Operator Techniques
Visual Alignment Checks: Verify that the midsagittal plane is perpendicular to the floor and the Frankfort horizontal plane is parallel to the floor. Use the machine’s alignment lights to confirm proper positioning.
Height Adjustments: Ensure the patient’s height places the occlusal plane at the appropriate level for the specific panoramic unit. Most manufacturers provide height guidelines based on patient measurements.
Stability Monitoring: Watch for patient movement during positioning and provide additional support or instruction as needed. Consider using foam blocks or additional stabilization for anxious patients.
Quality Control Measures
Immediate Image Review: Examine each image immediately after exposure to identify positioning errors. This allows for immediate retakes when necessary and provides learning opportunities.
Error Pattern Documentation: Keep records of common positioning errors to identify operator training needs and equipment calibration issues.
Regular Calibration: Ensure panoramic equipment alignment lights and positioning guides are properly calibrated according to manufacturer specifications.
Specific Correction Techniques
For Chin Position Errors
Use the Frankfort horizontal plane (imaginary line from the ear canal to the lower border of the orbit) as your primary reference. This line should be parallel to the floor. Adjust the chin rest height and angle to achieve proper alignment.
For Anterior-Posterior Positioning
The bite block groove should align with the patient’s incisal edges. Use gentle but firm guidance to ensure proper anterior tooth placement. For patients with missing anterior teeth, use alternative positioning references such as the canines.
For Tongue Position
Demonstrate proper tongue placement by asking the patient to make a ‘clicking’ sound with their tongue, then instruct them to keep their tongue in that raised position. Have patients practice this before beginning the exposure.
Managing Difficult Cases
Certain patient populations require modified positioning techniques:
Pediatric Patients: Use shorter exposure times when available and provide clear, age-appropriate instructions. Consider parental assistance for very young children.
Patients with Limited Mobility: Wheelchair-accessible panoramic units or modified positioning techniques may be necessary. Ensure adequate support while maintaining proper alignment.
Patients with TMJ Disorders: Be aware that jaw opening limitations may affect bite block placement. Use the smallest comfortable bite block and consider alternative positioning aids.
Cost and Efficiency Considerations
Positioning errors directly impact practice efficiency and patient care costs. Retakes due to positioning errors:
- Double radiation exposure for patients
- Reduce appointment efficiency
- Increase operator workload
- Delay diagnosis and treatment
- Impact patient confidence in the practice
Investing time in proper positioning technique training and equipment calibration pays dividends in improved image quality and reduced retake rates.
Conclusion
Panoramic positioning errors are largely preventable through proper training, consistent technique, and attention to detail. By understanding the relationship between patient position and image quality, dental professionals can significantly improve their diagnostic imaging outcomes.
Regular review of positioning techniques, ongoing staff training, and systematic quality control measures ensure optimal panoramic radiographic results. Remember that proper positioning is not just about image quality—it’s about providing the best possible patient care while minimizing radiation exposure.
The key to successful panoramic imaging lies in consistent application of positioning principles, clear patient communication, and immediate quality assessment of each image. With these fundamentals in place, positioning errors become rare occurrences rather than routine challenges.