Digital X-Ray Sensor Troubleshooting: Common Problems and Quick Solutions
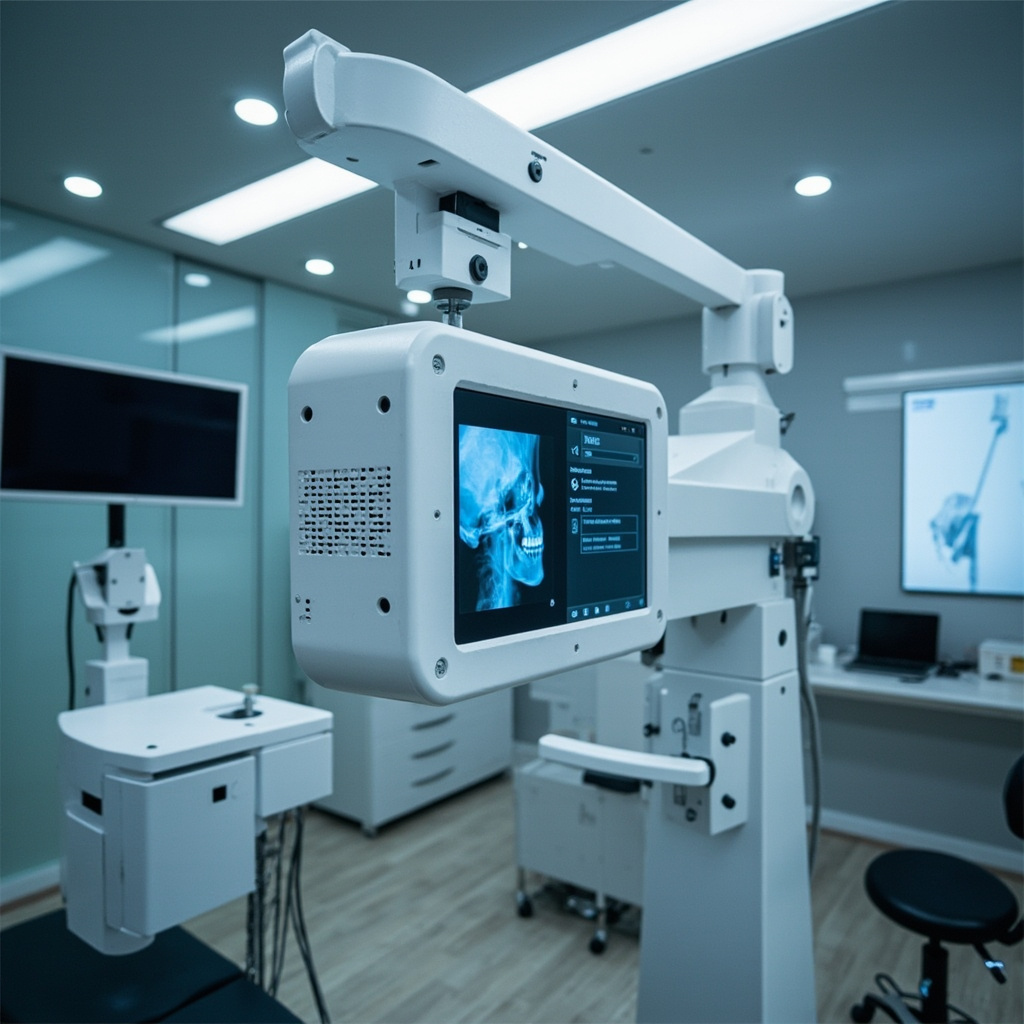
Digital X-ray sensors have revolutionized dental imaging, but they can present unique challenges that require specific troubleshooting approaches. Understanding the most common sensor problems and their solutions can save valuable chair time and prevent patient inconvenience.
Most Common Digital Sensor Issues
Digital X-ray sensors typically experience problems related to connectivity, image quality, positioning errors, and software communication. These issues often manifest as sensor not detected errors, poor image quality, or complete system failures.
Sensor Not Detected Problems
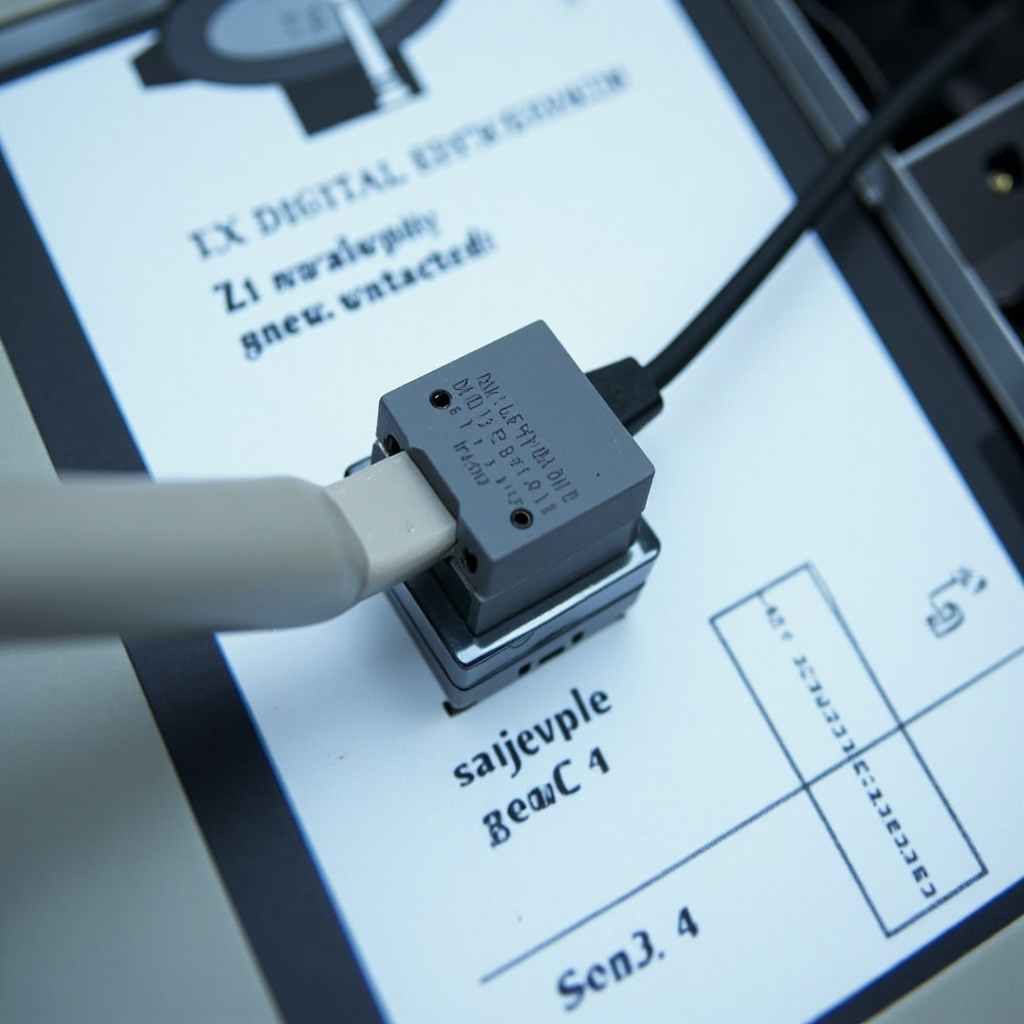
When your digital X-ray sensor is not being recognized by the imaging software, the issue is usually related to:
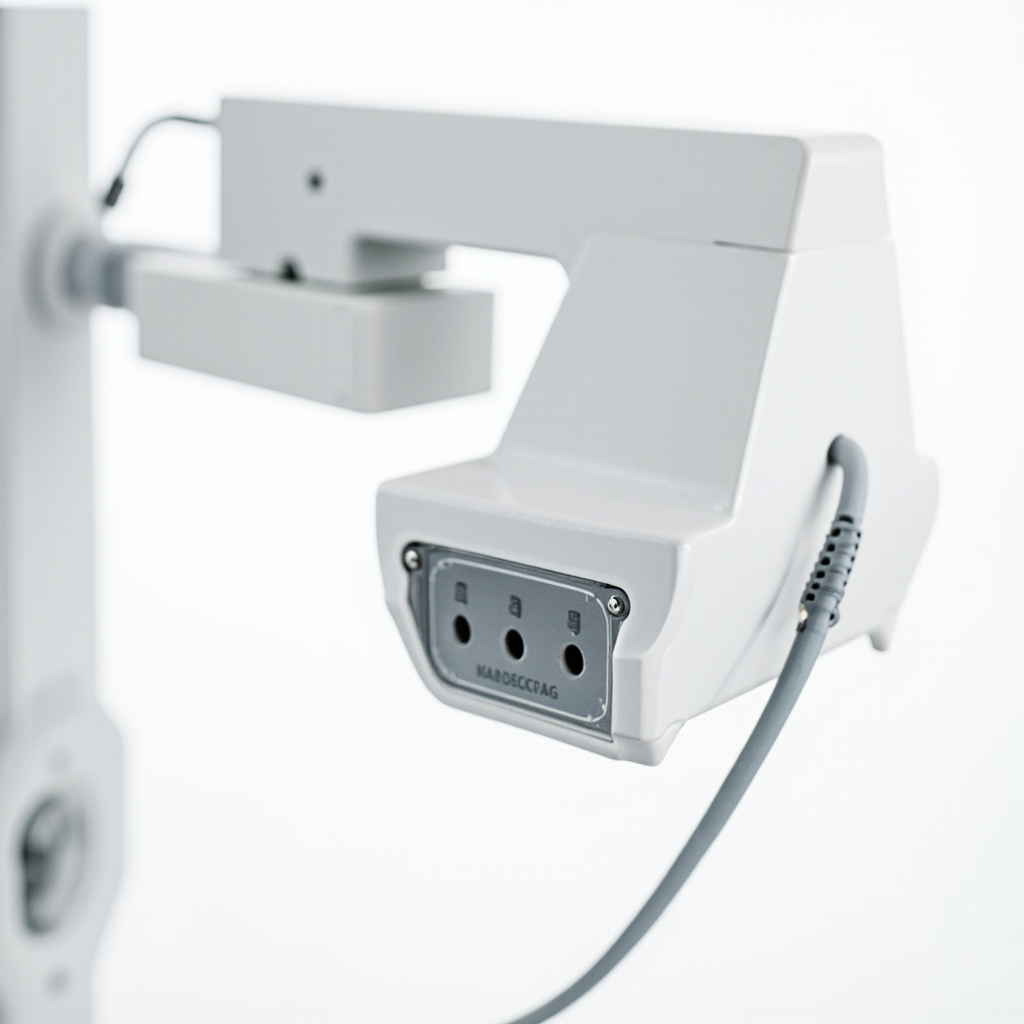
- USB Connection Issues: Loose or damaged USB cables are the most frequent culprit. Check all connections and try a different USB port.
- Driver Problems: Outdated or corrupted sensor drivers can prevent proper communication between the sensor and computer.
- Software Conflicts: Multiple imaging programs running simultaneously can create conflicts that prevent sensor detection.
- Power Management Settings: Windows power management can disable USB ports to save energy, causing intermittent sensor failures.
Quick Fix Steps
Start with these immediate troubleshooting steps:
- Disconnect and reconnect the USB cable firmly
- Try a different USB port, preferably a USB 2.0 port
- Restart the imaging software completely
- Check Device Manager for yellow warning icons
- Disable USB selective suspend in Power Options
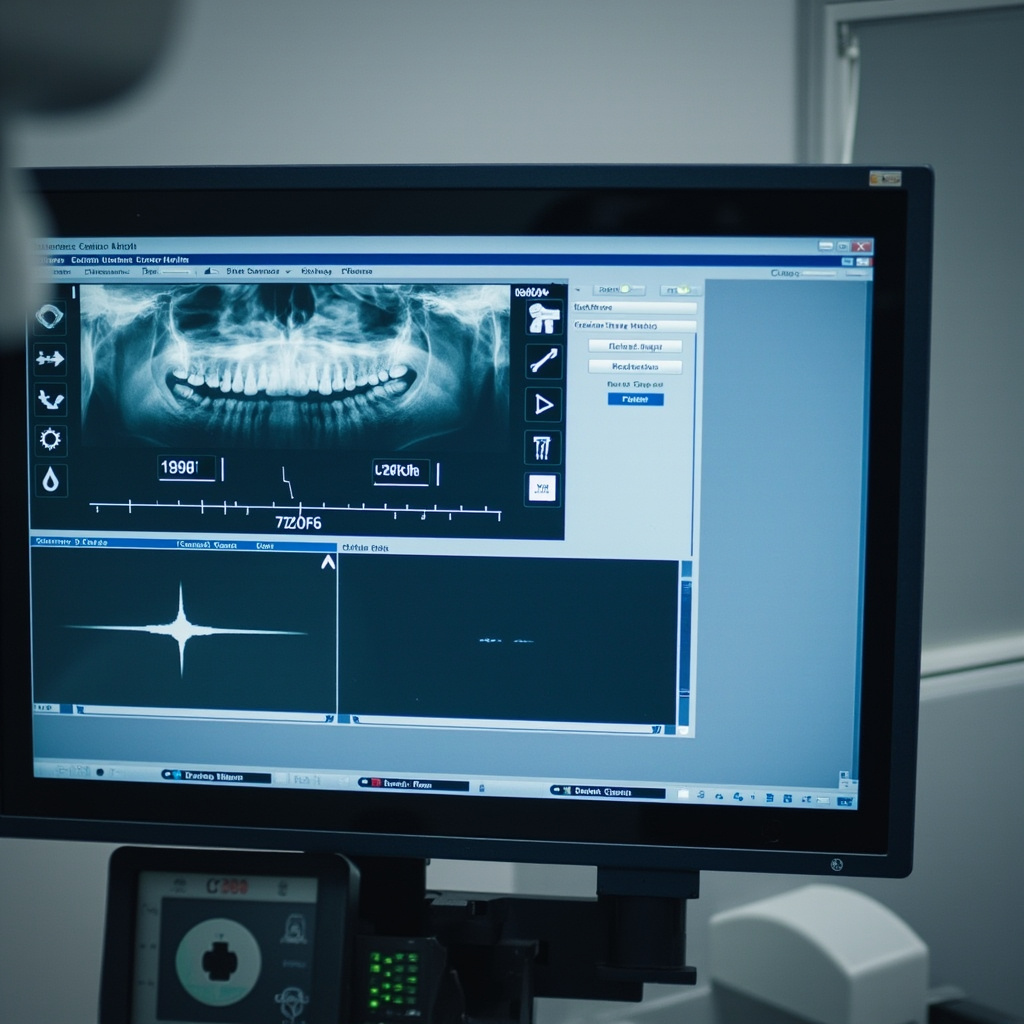
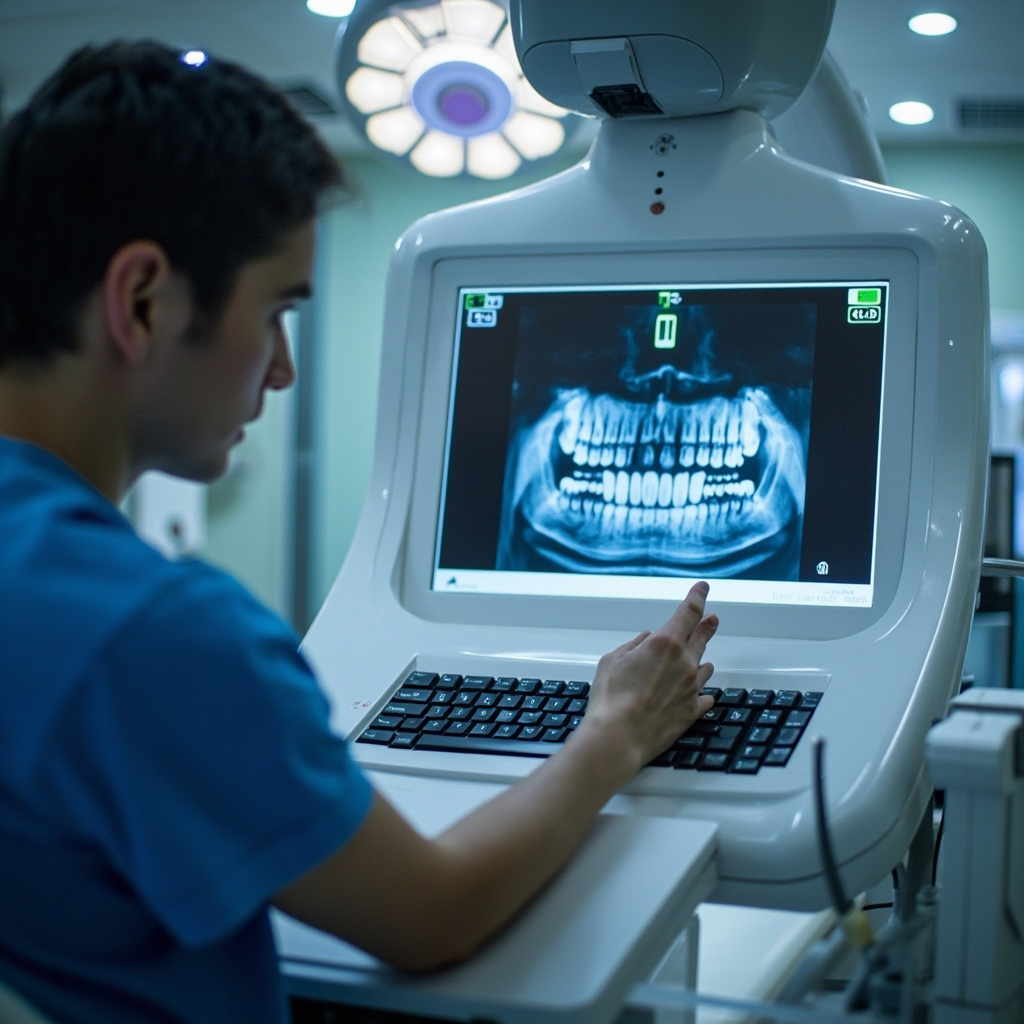
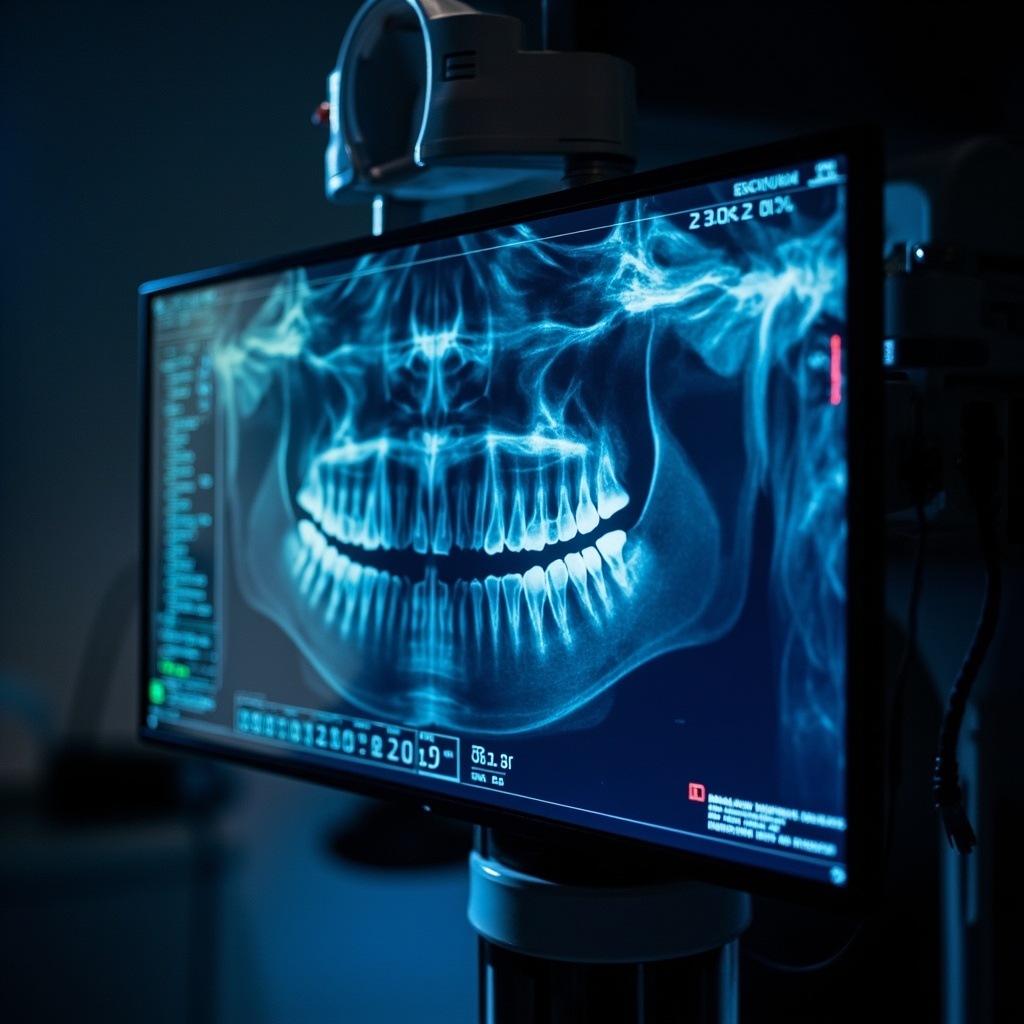
Image Quality Problems
Poor image quality from digital sensors often relates to exposure settings, sensor positioning, or environmental factors affecting the sensor itself.

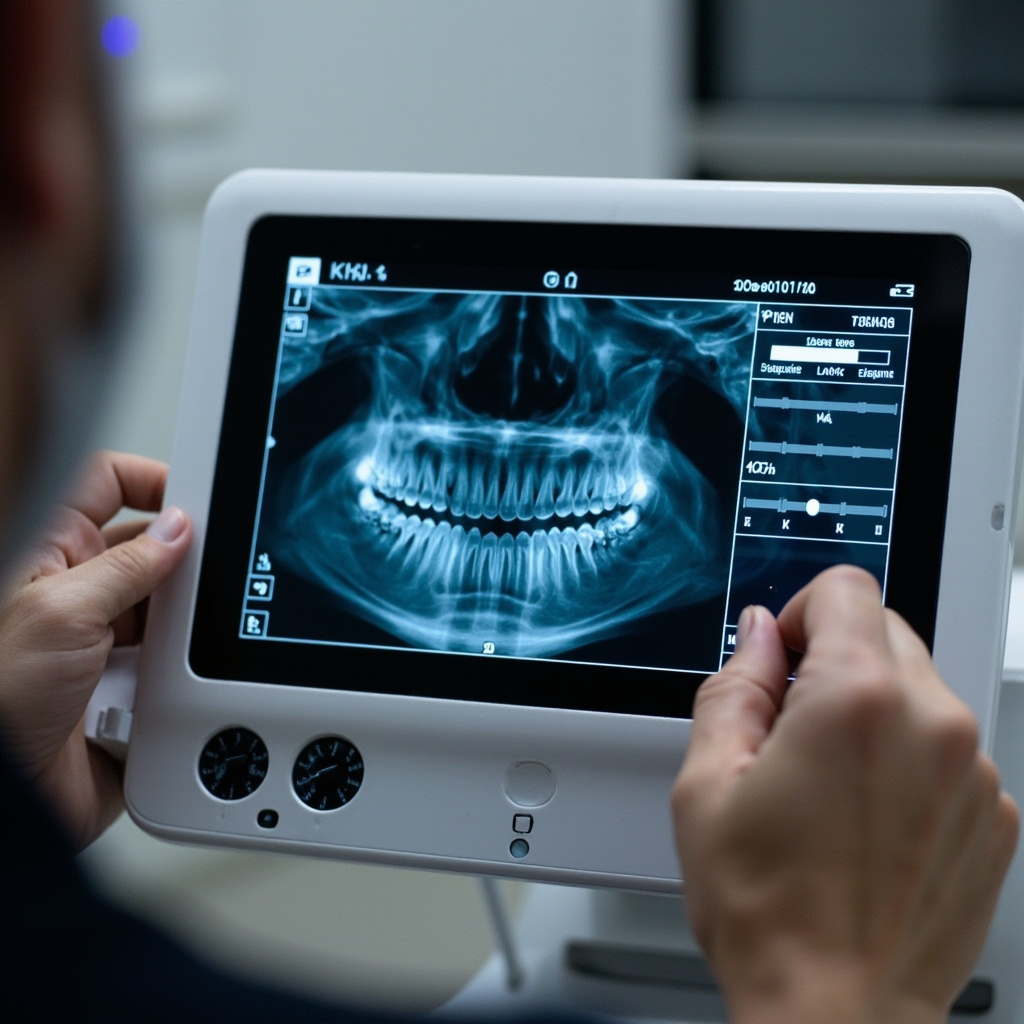
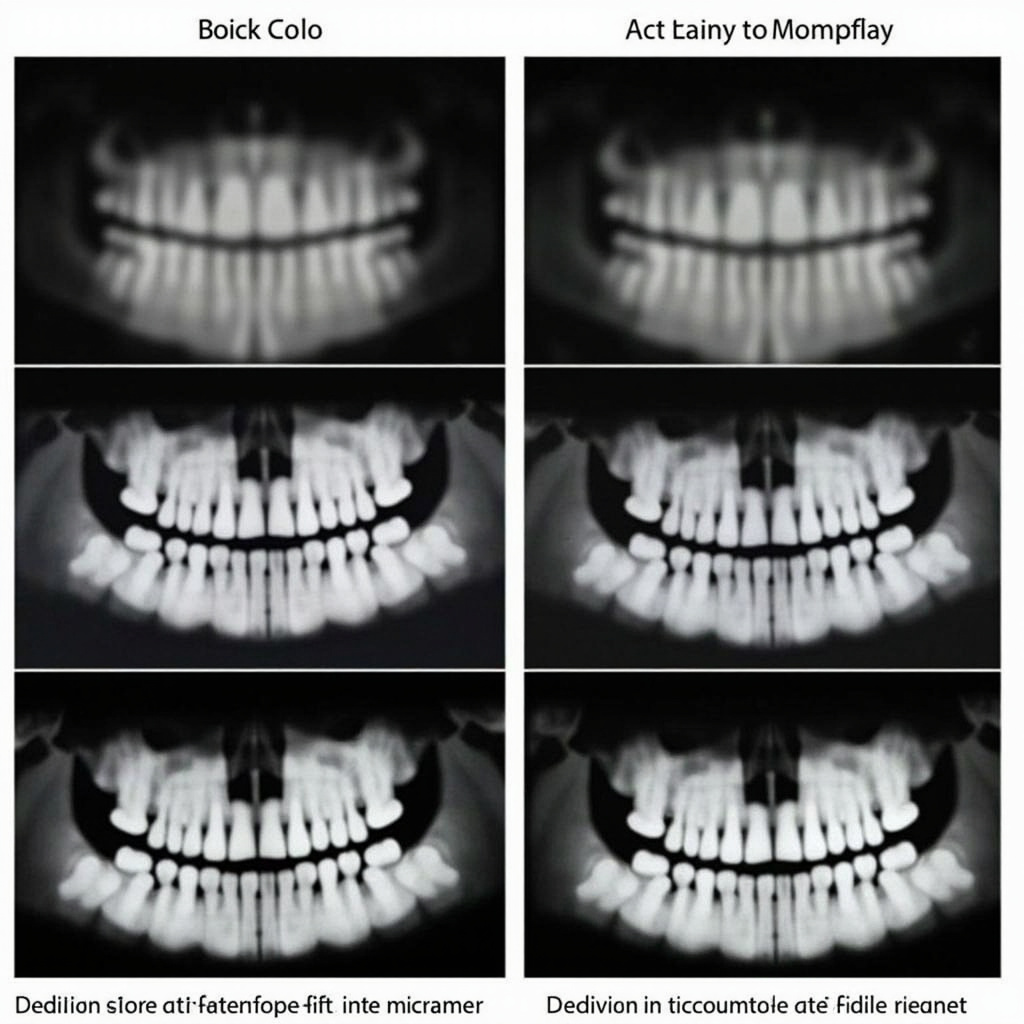
Exposure Setting Corrections
Digital sensors require different exposure parameters compared to traditional film:
- Reduced Exposure Time: Digital sensors are more sensitive than film, requiring 50-80% less exposure time
- kVp Adjustments: Higher kVp settings (70-90 kVp) often produce better digital images
- mA Settings: Consistent milliamperage settings help maintain image quality across different patients
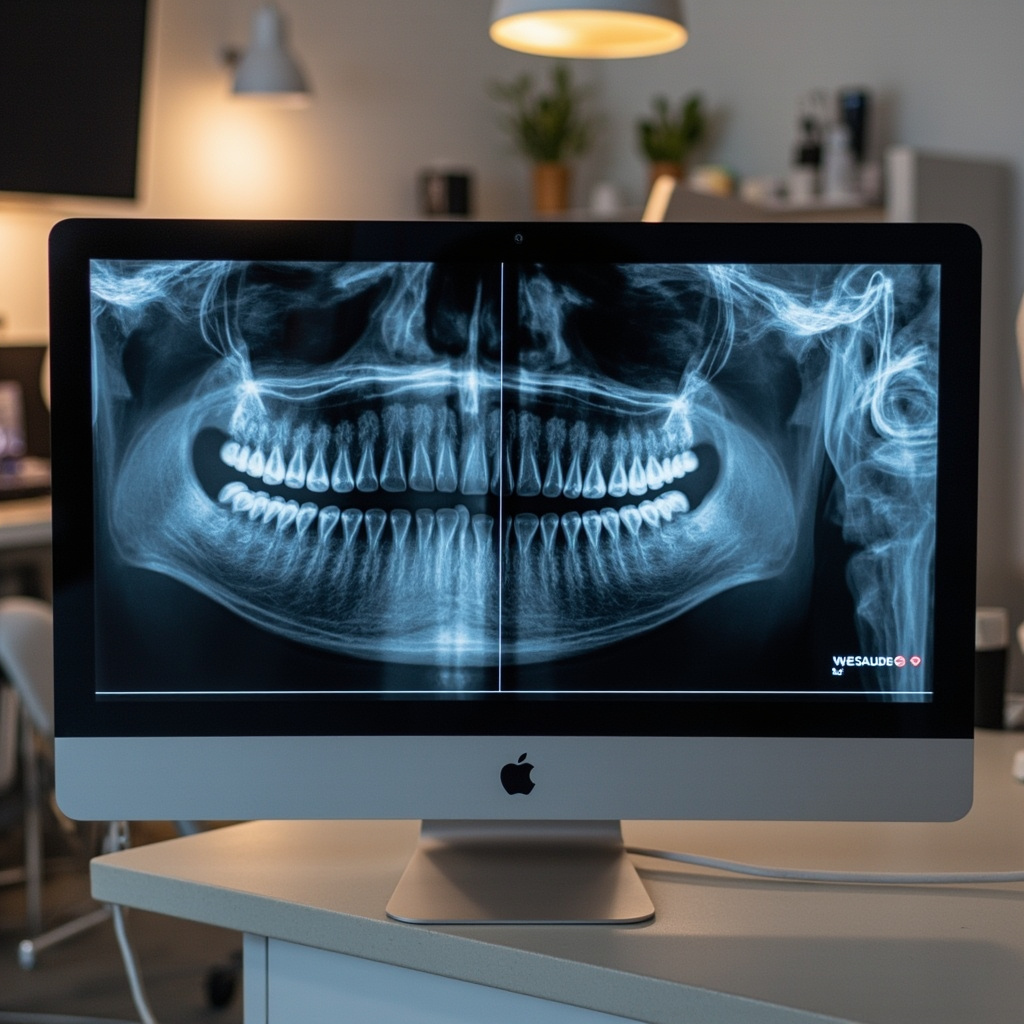
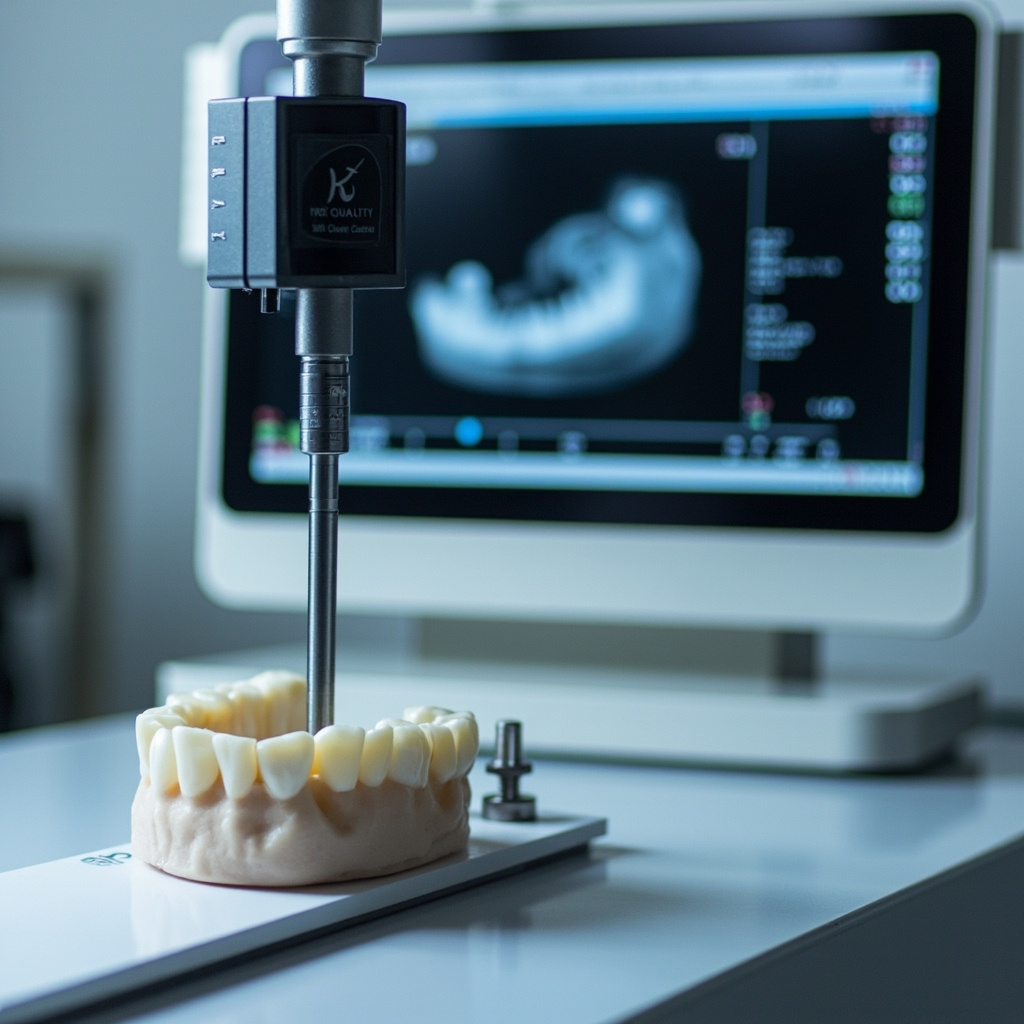
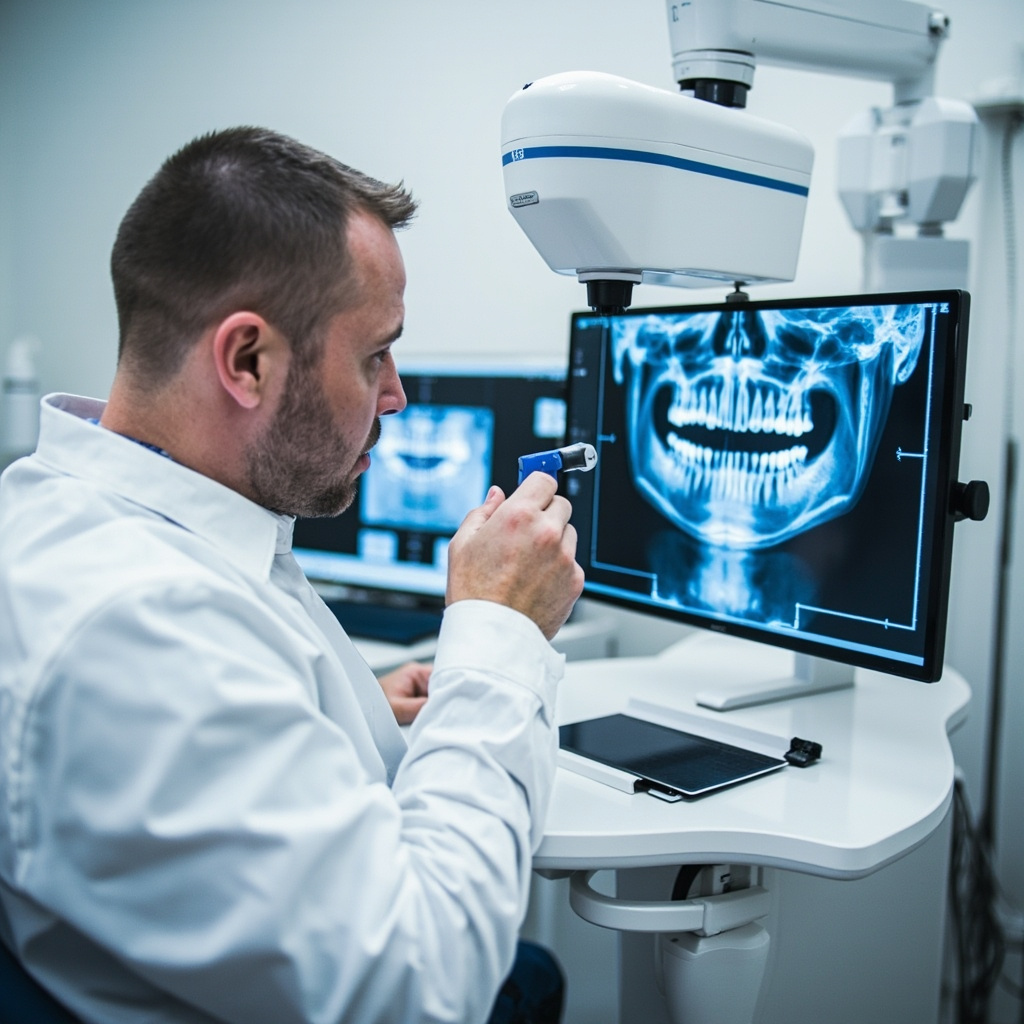
Sensor Positioning Best Practices
Proper sensor placement is critical for diagnostic quality images:
- Ensure the sensor is parallel to the long axis of teeth being imaged
- Use appropriate sensor holders to minimize movement
- Check that the sensor is not bent or twisted during placement
- Verify the X-ray tube is properly aligned with the sensor
Preventive Maintenance
Regular maintenance can prevent many common sensor problems:
- Daily Cleaning: Use appropriate disinfectant wipes designed for digital sensors
- Cable Management: Avoid sharp bends or kinks in USB cables
- Software Updates: Keep imaging software and sensor drivers current
- Regular Calibration: Follow manufacturer recommendations for sensor calibration frequency
When to Call for Service
Some problems require professional service intervention:
- Consistent poor image quality despite proper settings
- Repeated sensor failure messages
- Physical damage to the sensor or cable
- Intermittent connectivity issues that persist after troubleshooting
Professional service can diagnose hardware failures, perform specialized calibrations, and replace damaged components that cannot be addressed through basic troubleshooting.
Documentation for Service Calls
When contacting service support, document:
- Specific error messages or symptoms
- Steps already attempted
- When the problem first occurred
- Any recent software or hardware changes
- Patient volume and usage patterns
Digital X-ray sensors are sophisticated devices that require proper handling and maintenance. By understanding common problems and implementing systematic troubleshooting approaches, dental practices can maintain optimal imaging performance and minimize downtime.