Tubehead Drift: Diagnosing and Fixing a Dental X-Ray Arm That Won’t Hold Position

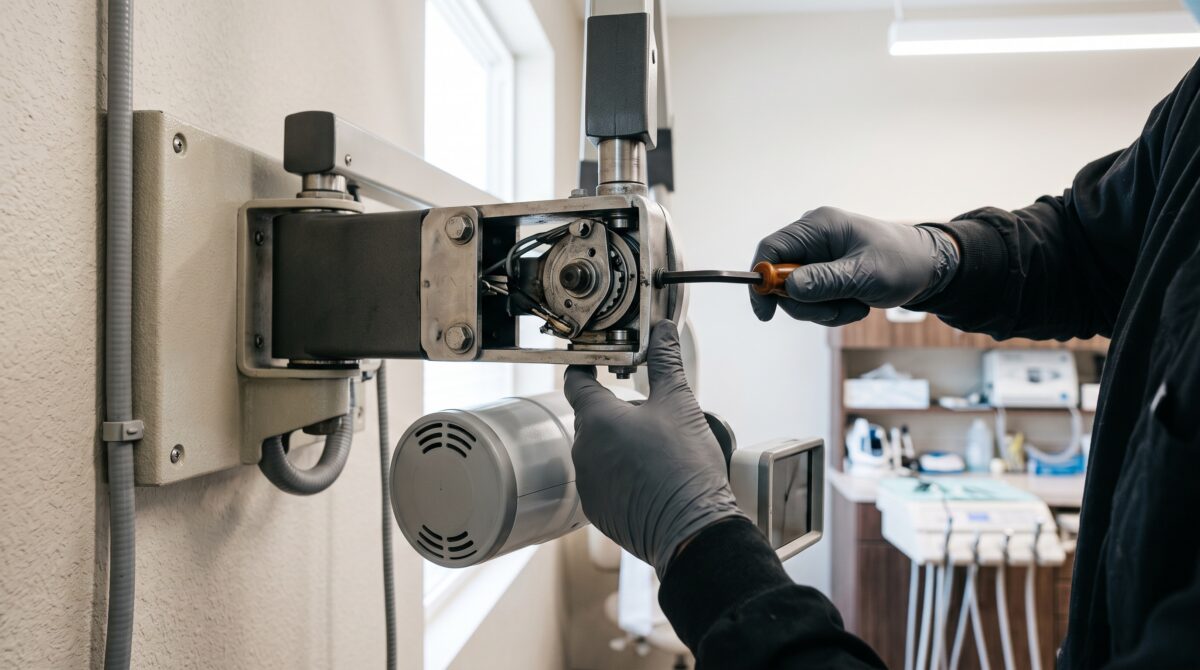
You have seen it, and so has every assistant who has ever fought a stubborn X-ray unit: the operator carefully lines up the tubehead, releases it, and watches the whole assembly sag, creep sideways, or slowly nod toward the floor. During the exposure the PID drifts off aim, and the result is a cone-cut, a blurred apex, or a retake. Tubehead drift is one of the most common and most under-reported faults we service on wall-mounted dental X-ray systems, and it almost never fixes itself. Left alone, it gets worse. Here is how an experienced technician thinks about it, from first symptom to lasting repair.
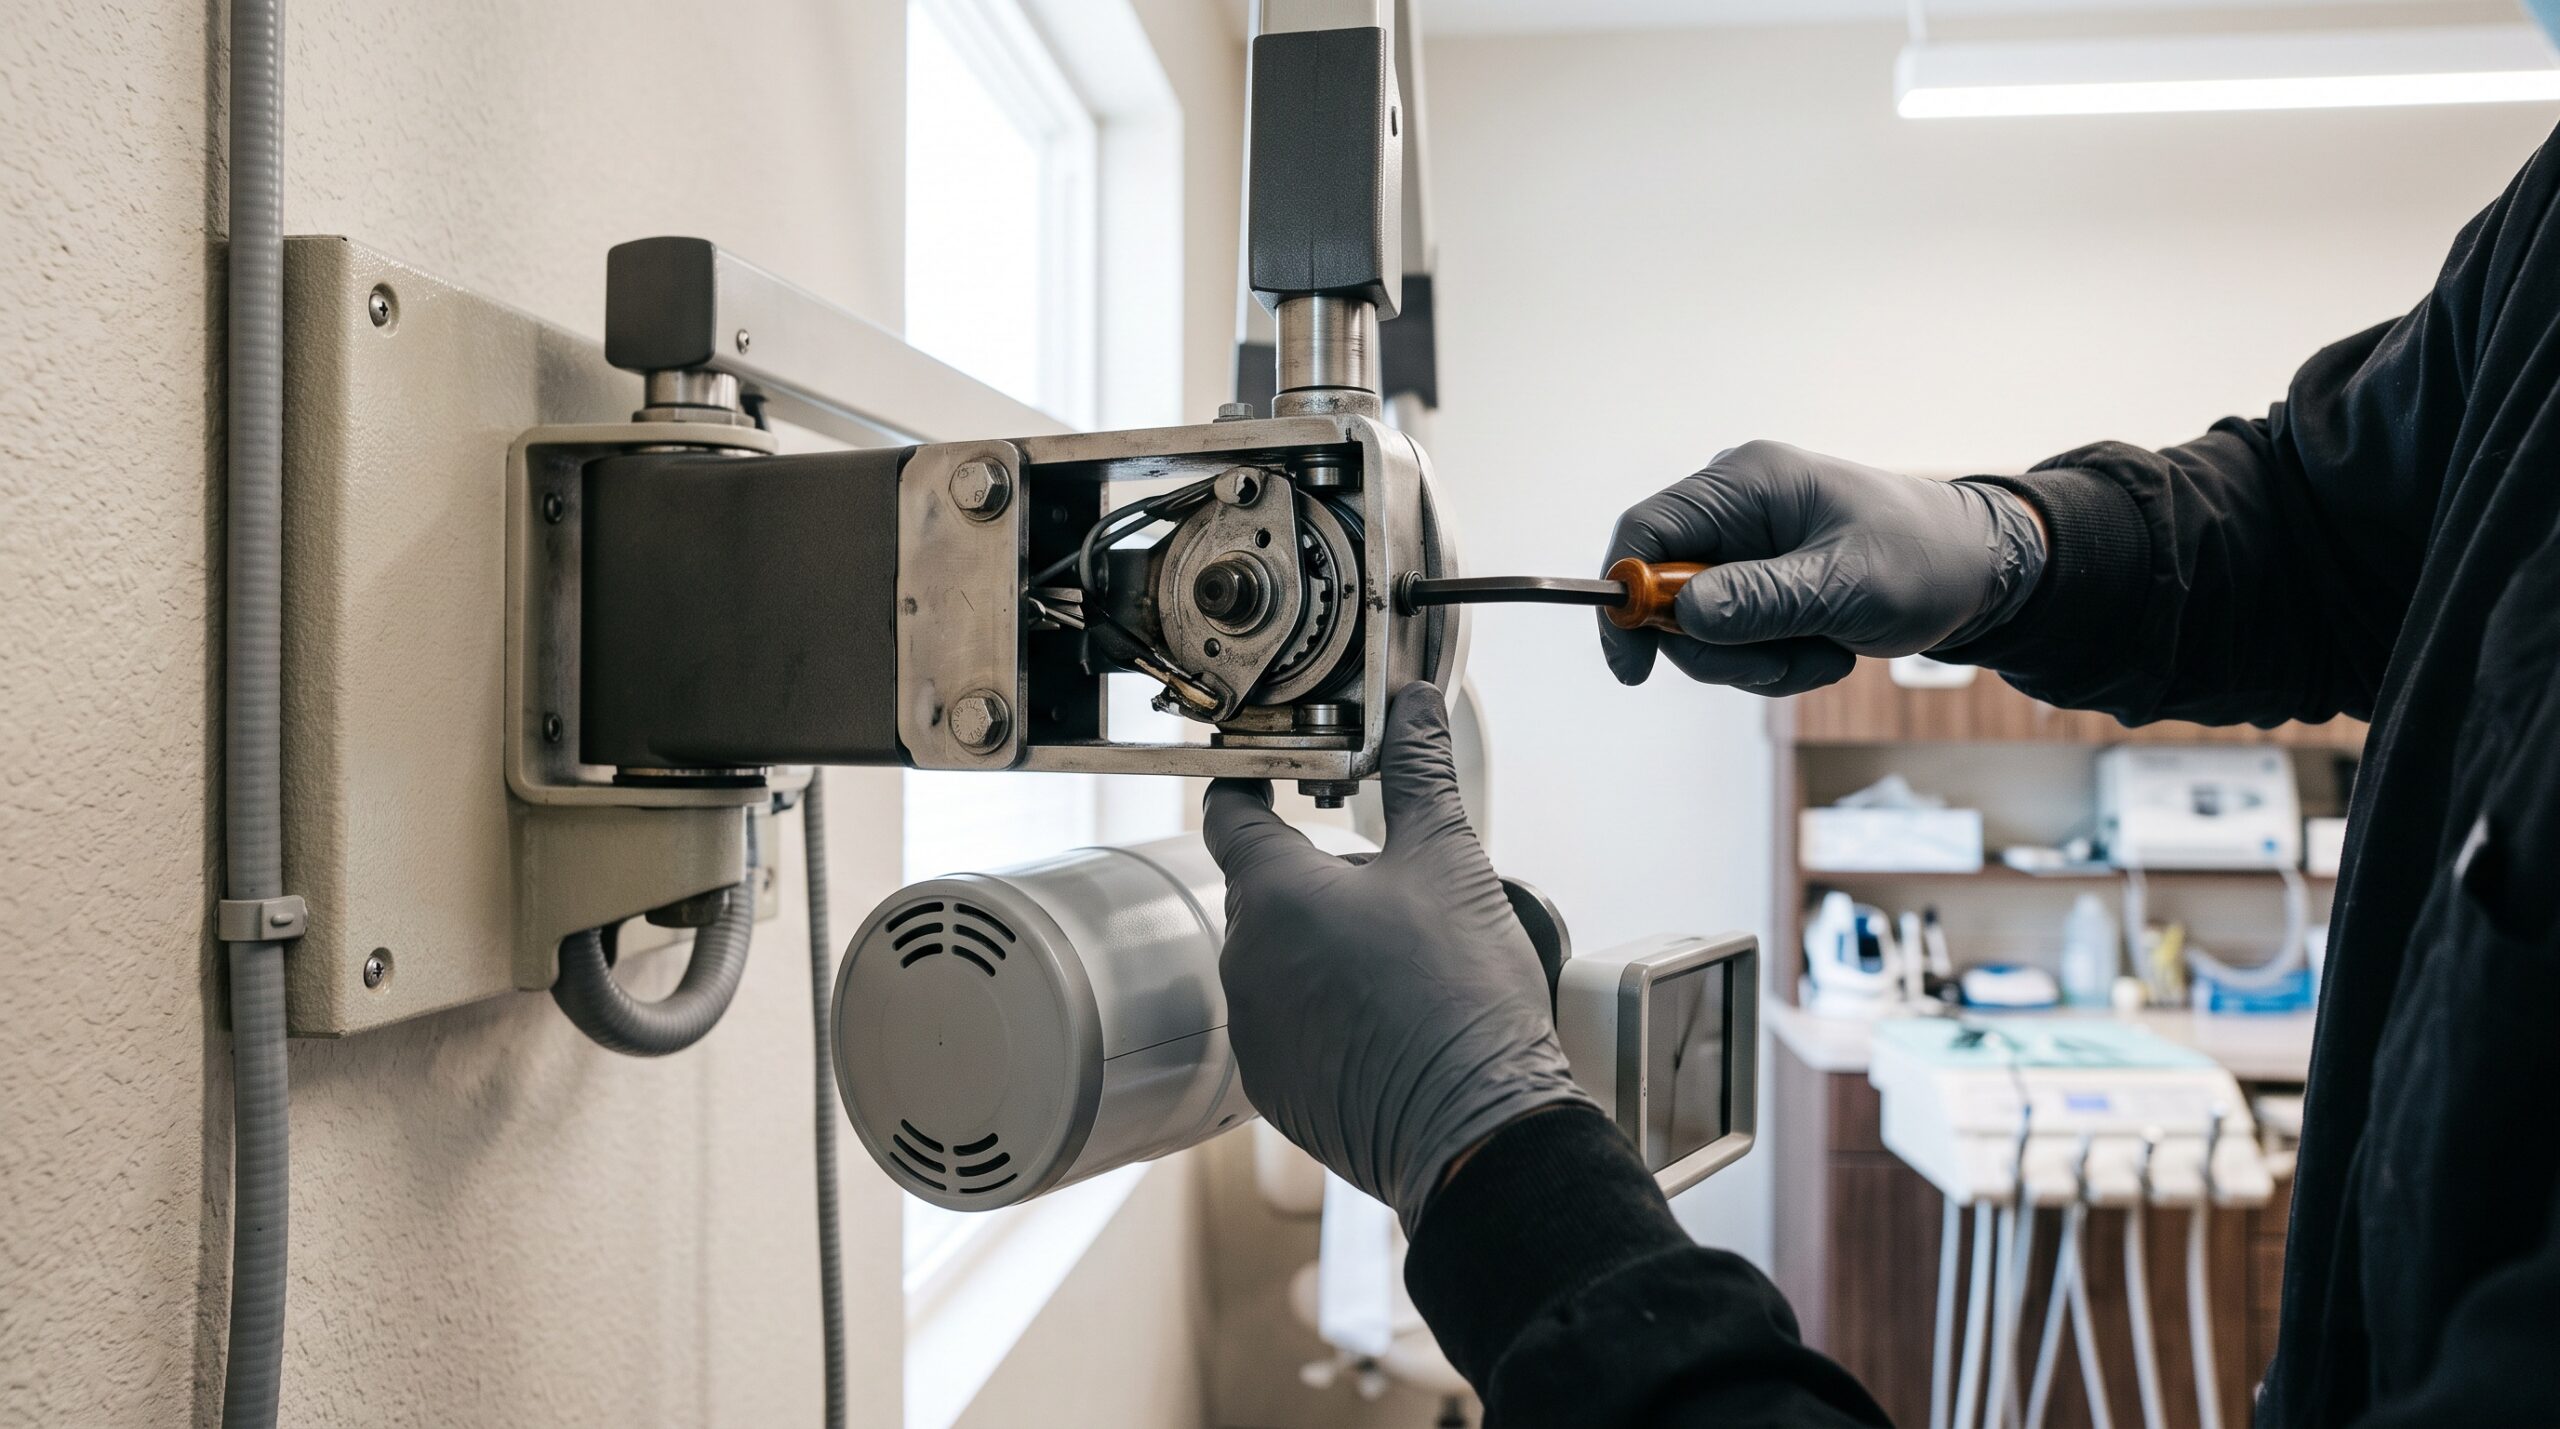
The Symptom: Why a Drifting Head Matters
A tubehead that will not stay put is both an image-quality problem and a workflow problem. When the head drops or rotates after positioning, the beam no longer aligns with the receptor. That produces cone-cuts, foreshortened or elongated images, and non-diagnostic films that must be retaken. Every retake means another exposure to the patient and lost chair time for the practice. Multiply that across a busy schedule and a single drifting arm quietly erodes both patient safety and daily productivity.
Operators often adapt without reporting it. They learn to hold the head, to nudge it up before pressing the button, or to work quickly before it moves. That workaround masks a mechanical fault that is steadily degrading, and it hides the problem from the person who could fix it. When you hear “the assistants have just gotten used to it,” treat that as a service call waiting to happen.
How the Arm Actually Holds Position
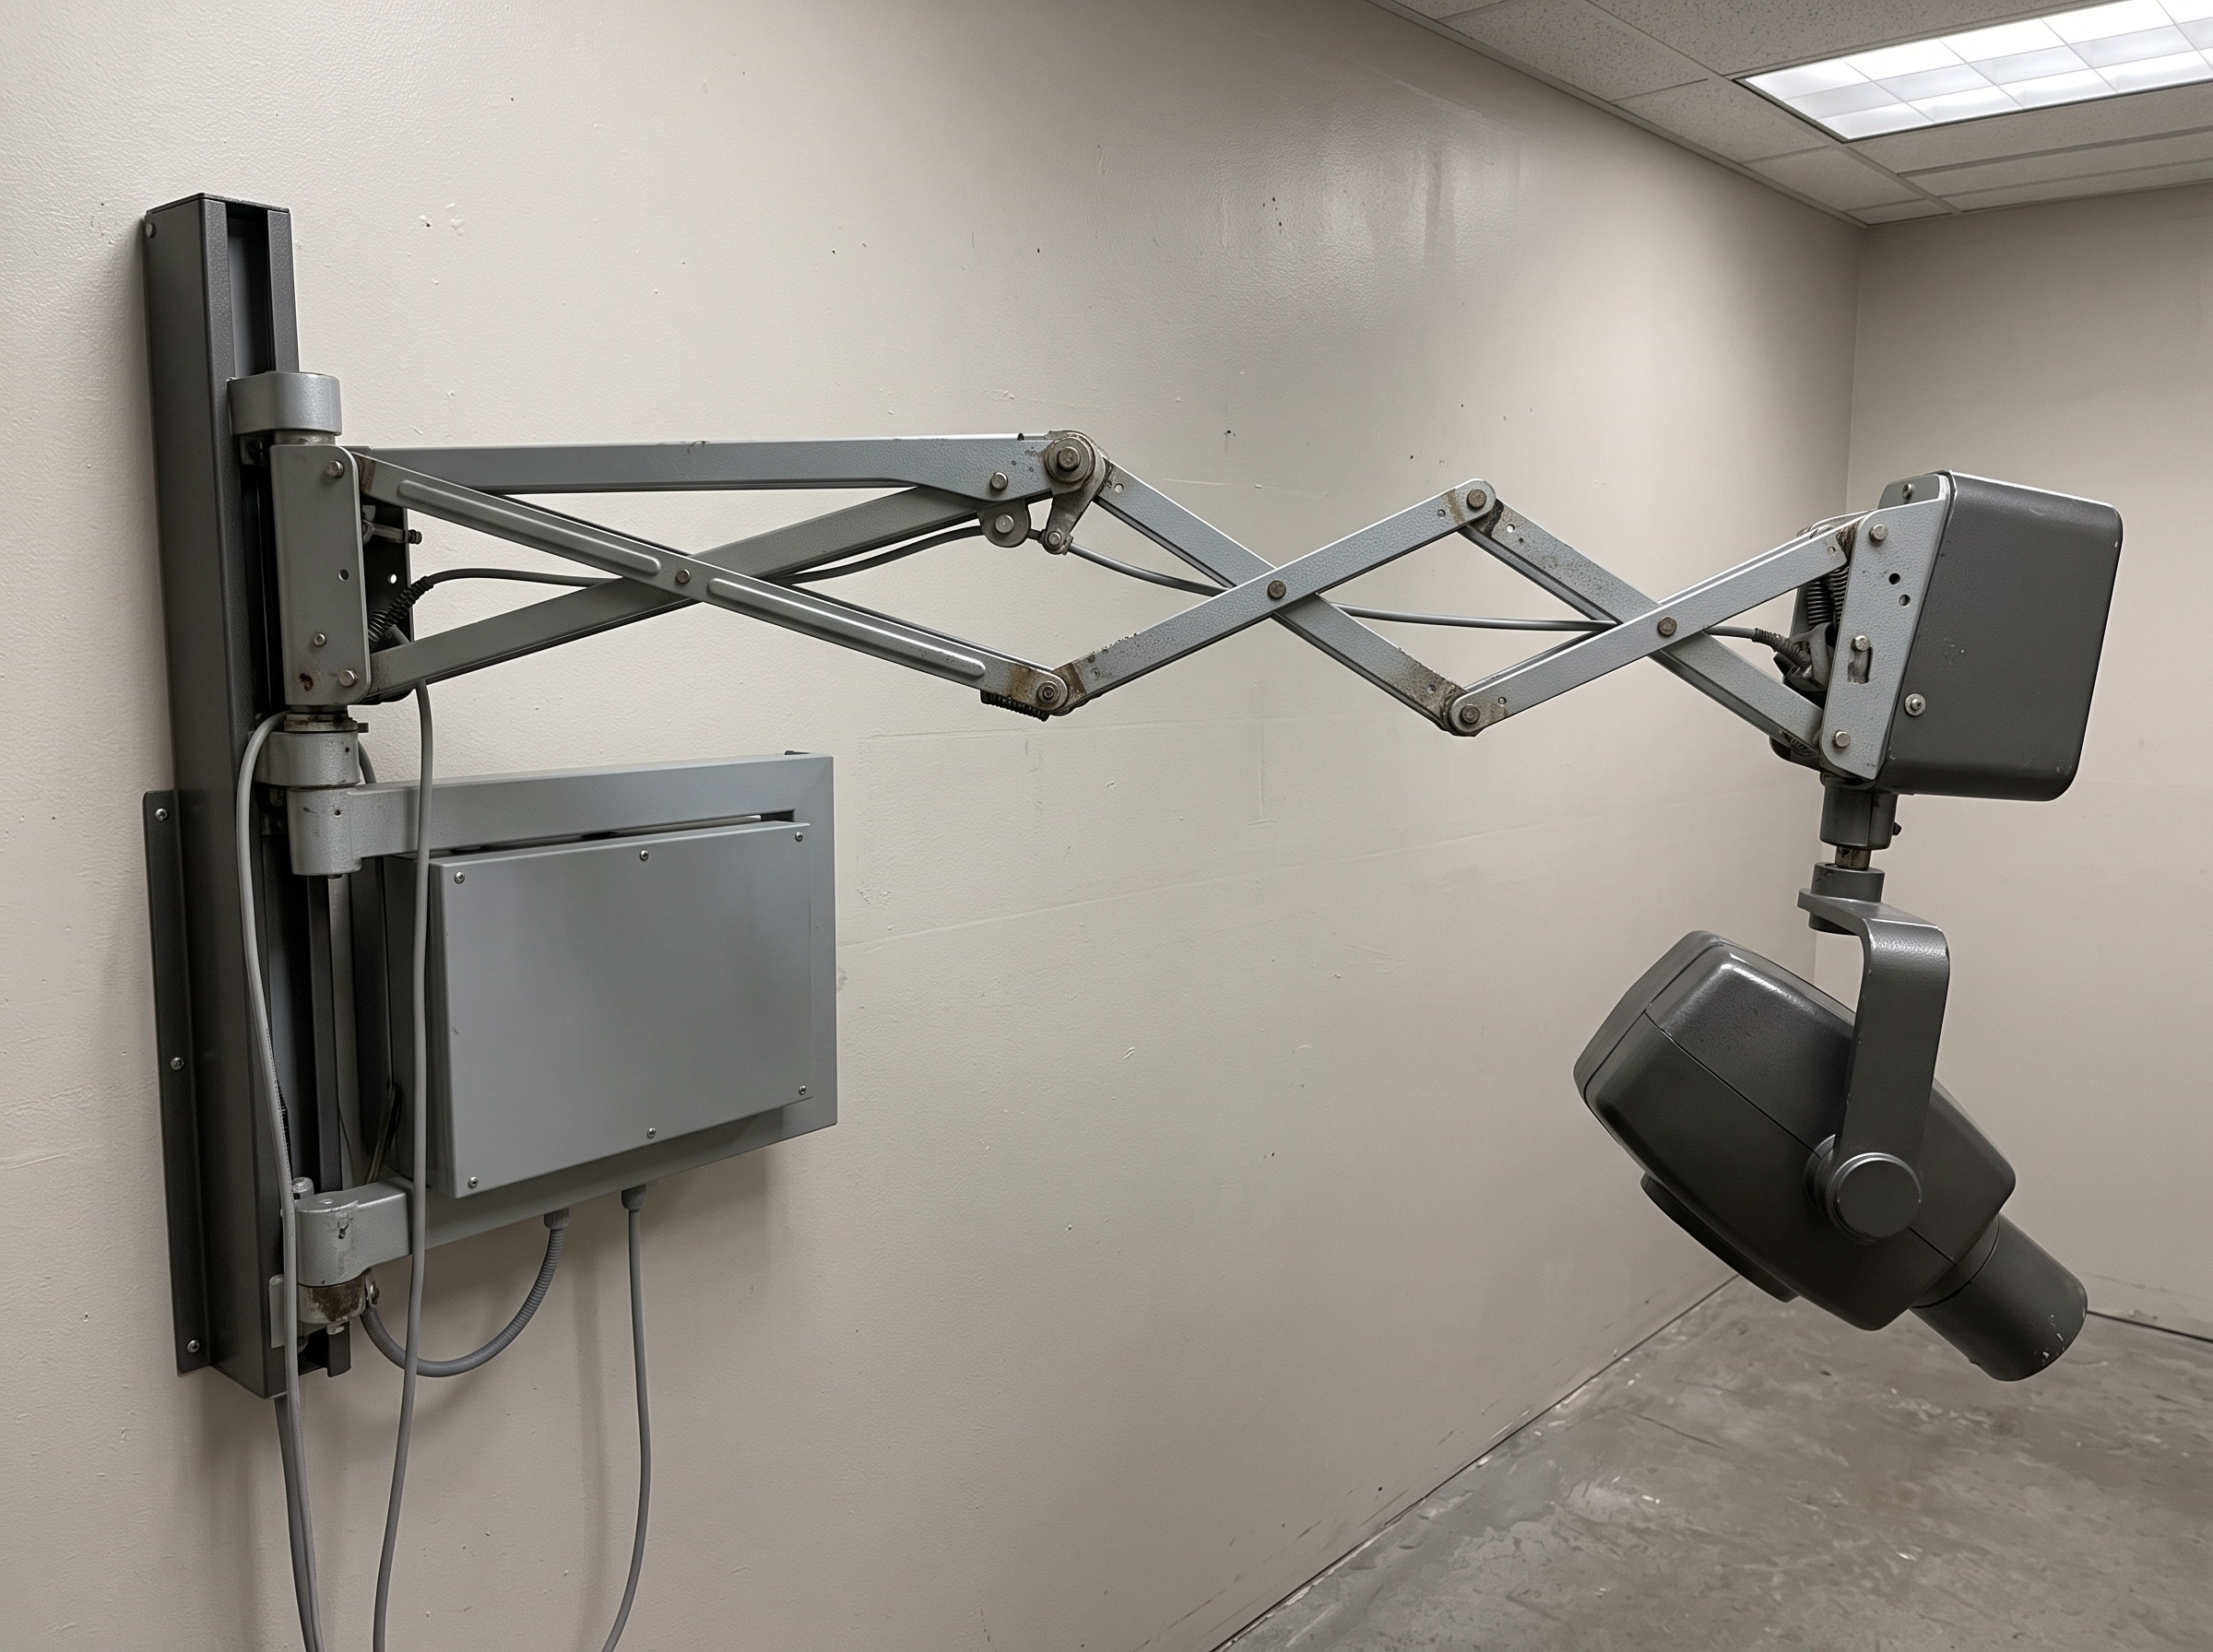
To diagnose drift you have to understand what is holding the head still in the first place. A wall-mounted dental X-ray unit has two or three degrees of freedom that all rely on stored mechanical tension. The horizontal scissor or extension arm carries the weight of the tubehead out from the wall, and it is held at height by an internal counterbalance spring. The yoke and tubehead joints let the head rotate and tilt, and they are held by friction mechanisms, tension washers, and clutch plates rather than by springs.
None of this is powered. There are no motors keeping the head aloft. Everything depends on the balance between the load of the tubehead and the counterbalancing spring, plus enough friction at each joint to resist gravity. Over years of thousands of positioning cycles, springs fatigue and lose force, friction surfaces polish, wear, or pick up contamination, and adjustment hardware loosens. When the holding force drops below the load, the head drifts. That is the whole story in one sentence.
Diagnostic Step One: Reproduce and Localize
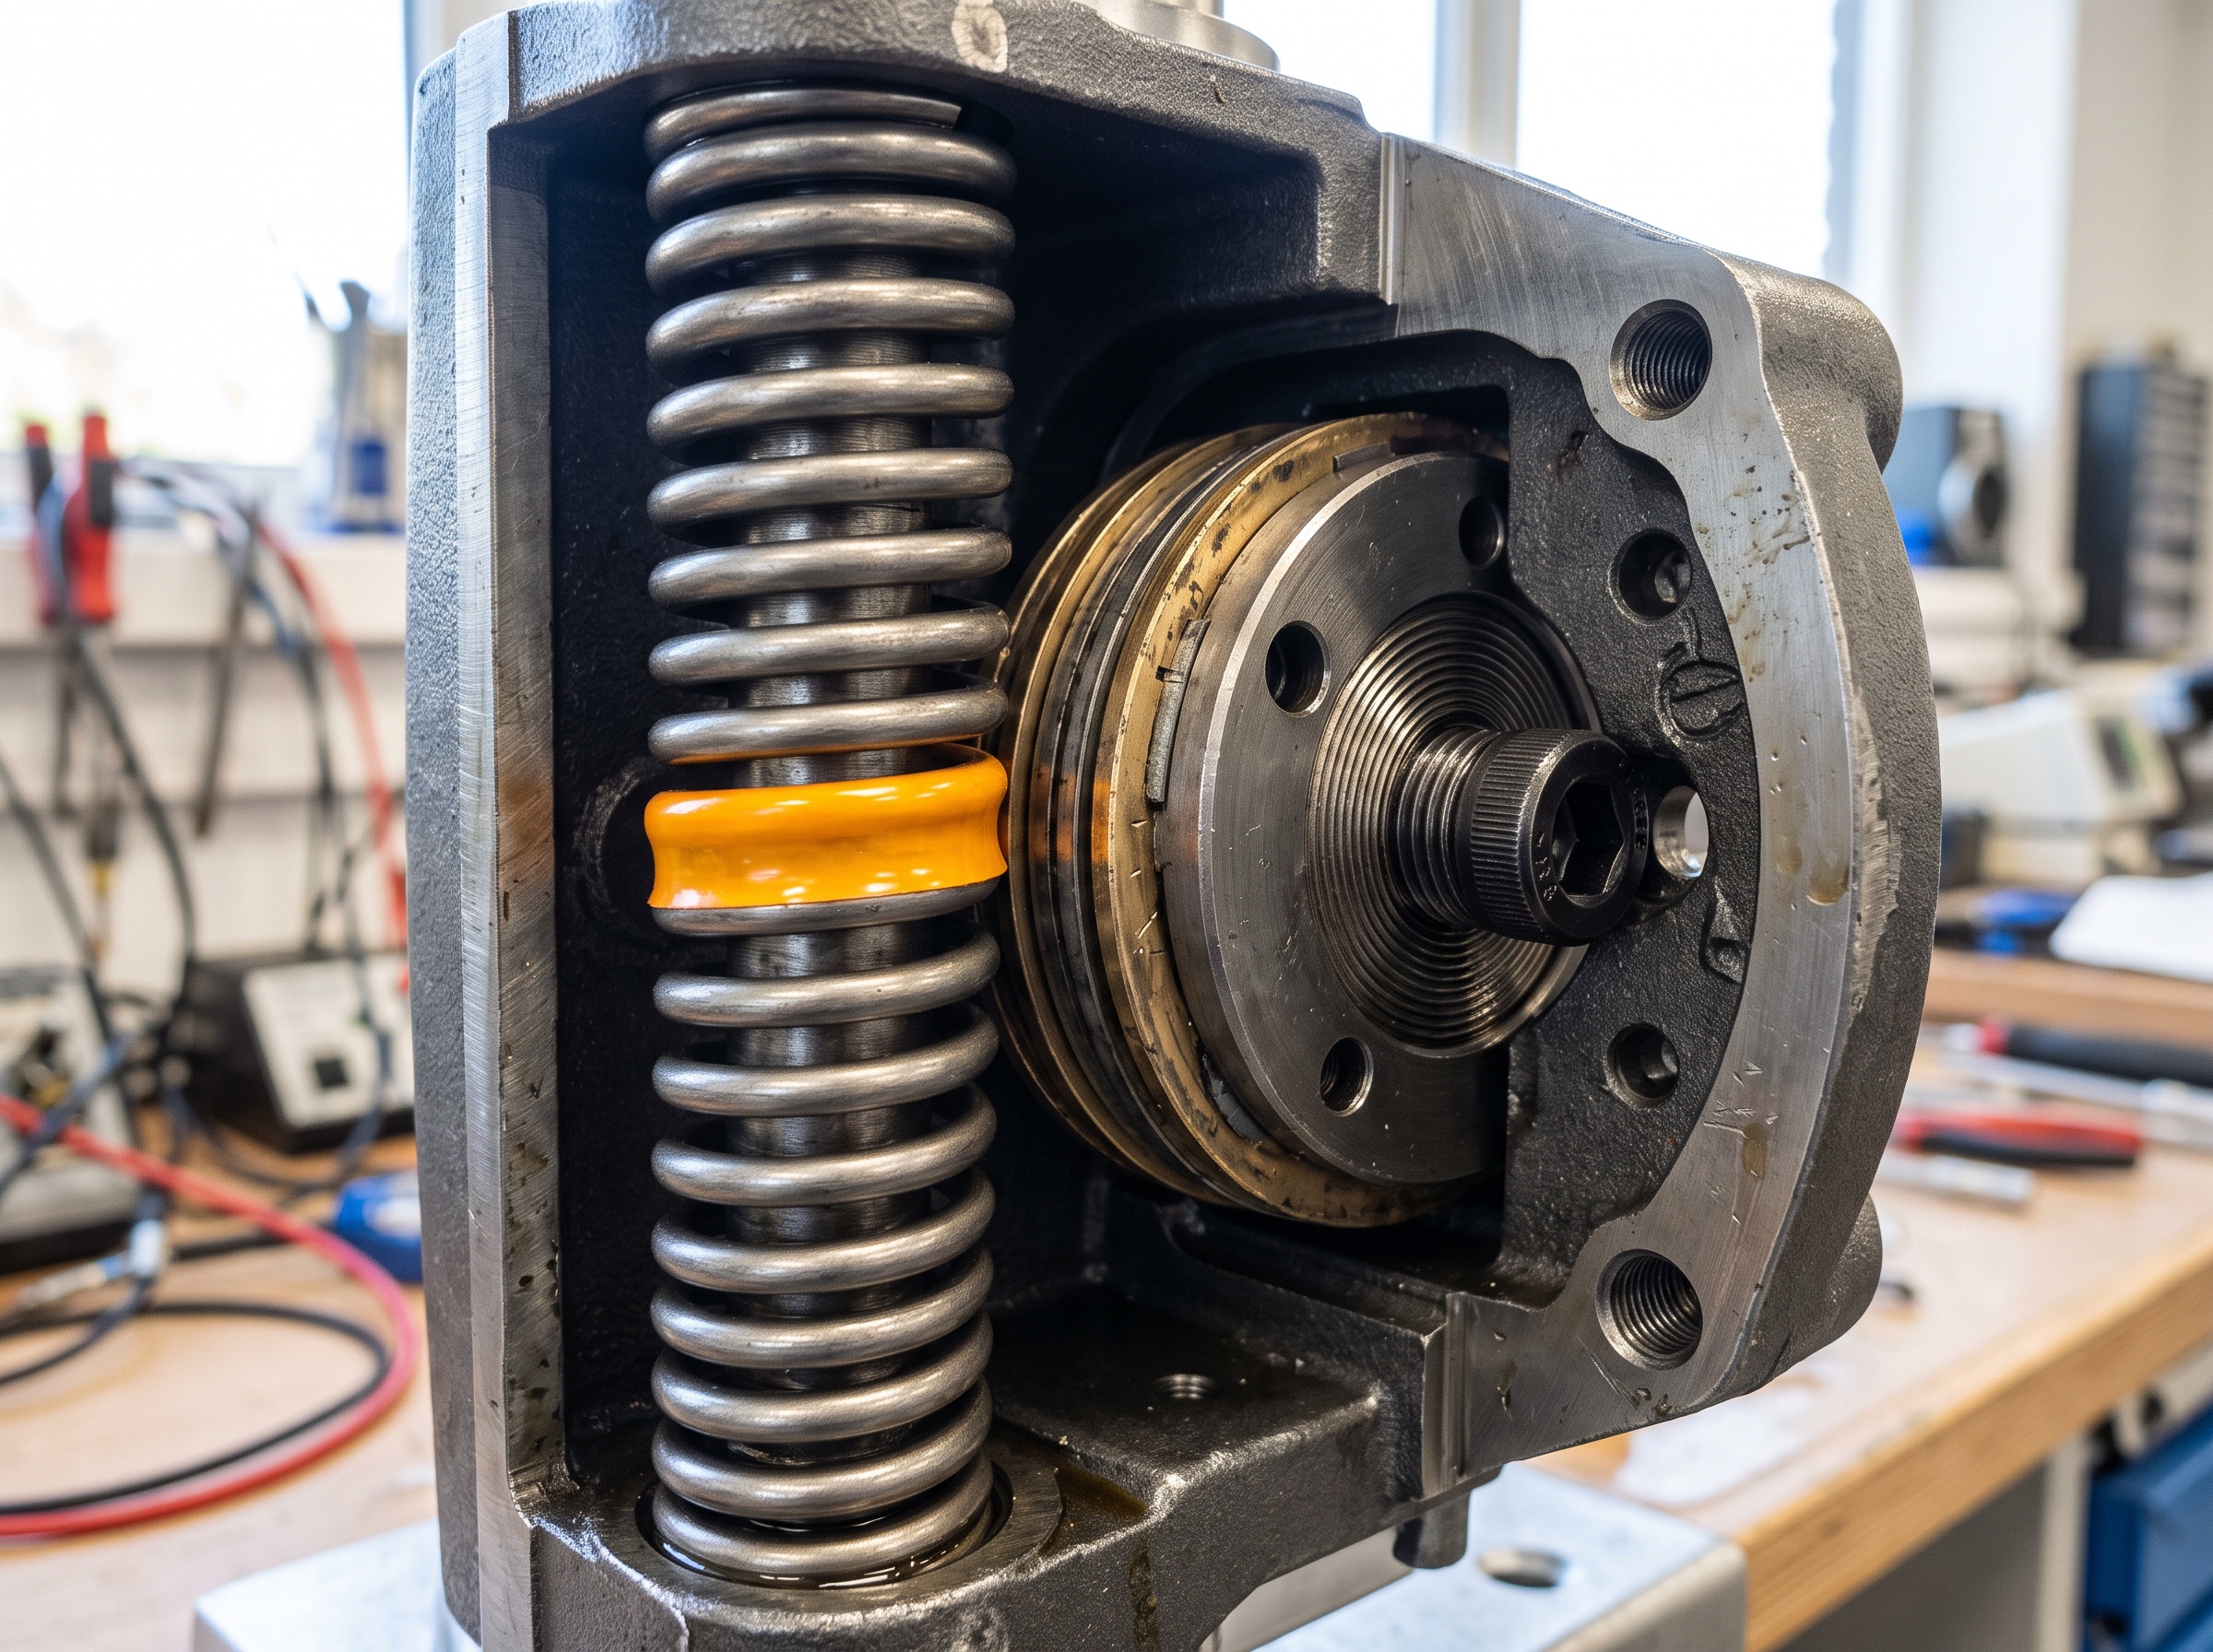
Do not adjust anything until you know exactly what is moving. Position the head at several points through its range and let go each time. Watch carefully and localize the motion. Is the horizontal arm dropping in height? Is the yoke rotating around the vertical axis? Is the tubehead itself tilting forward or back? Each of these points to a different mechanism, and treating the wrong joint wastes time and can cause harm.
Next, distinguish looseness from weakness. Grasp the head and gently test each joint. A joint that feels sloppy or has visible play points toward loose or worn friction hardware and clutch components. A joint that is smooth and tight but simply cannot hold the weight points toward a fatigued counterbalance spring. Slow, gravity-driven creep in one direction is classic spring or friction fatigue; a sudden bounce or free-swing usually means a failed clutch or a seriously loose fastener.
Diagnostic Step Two: Rule Out the Impostors
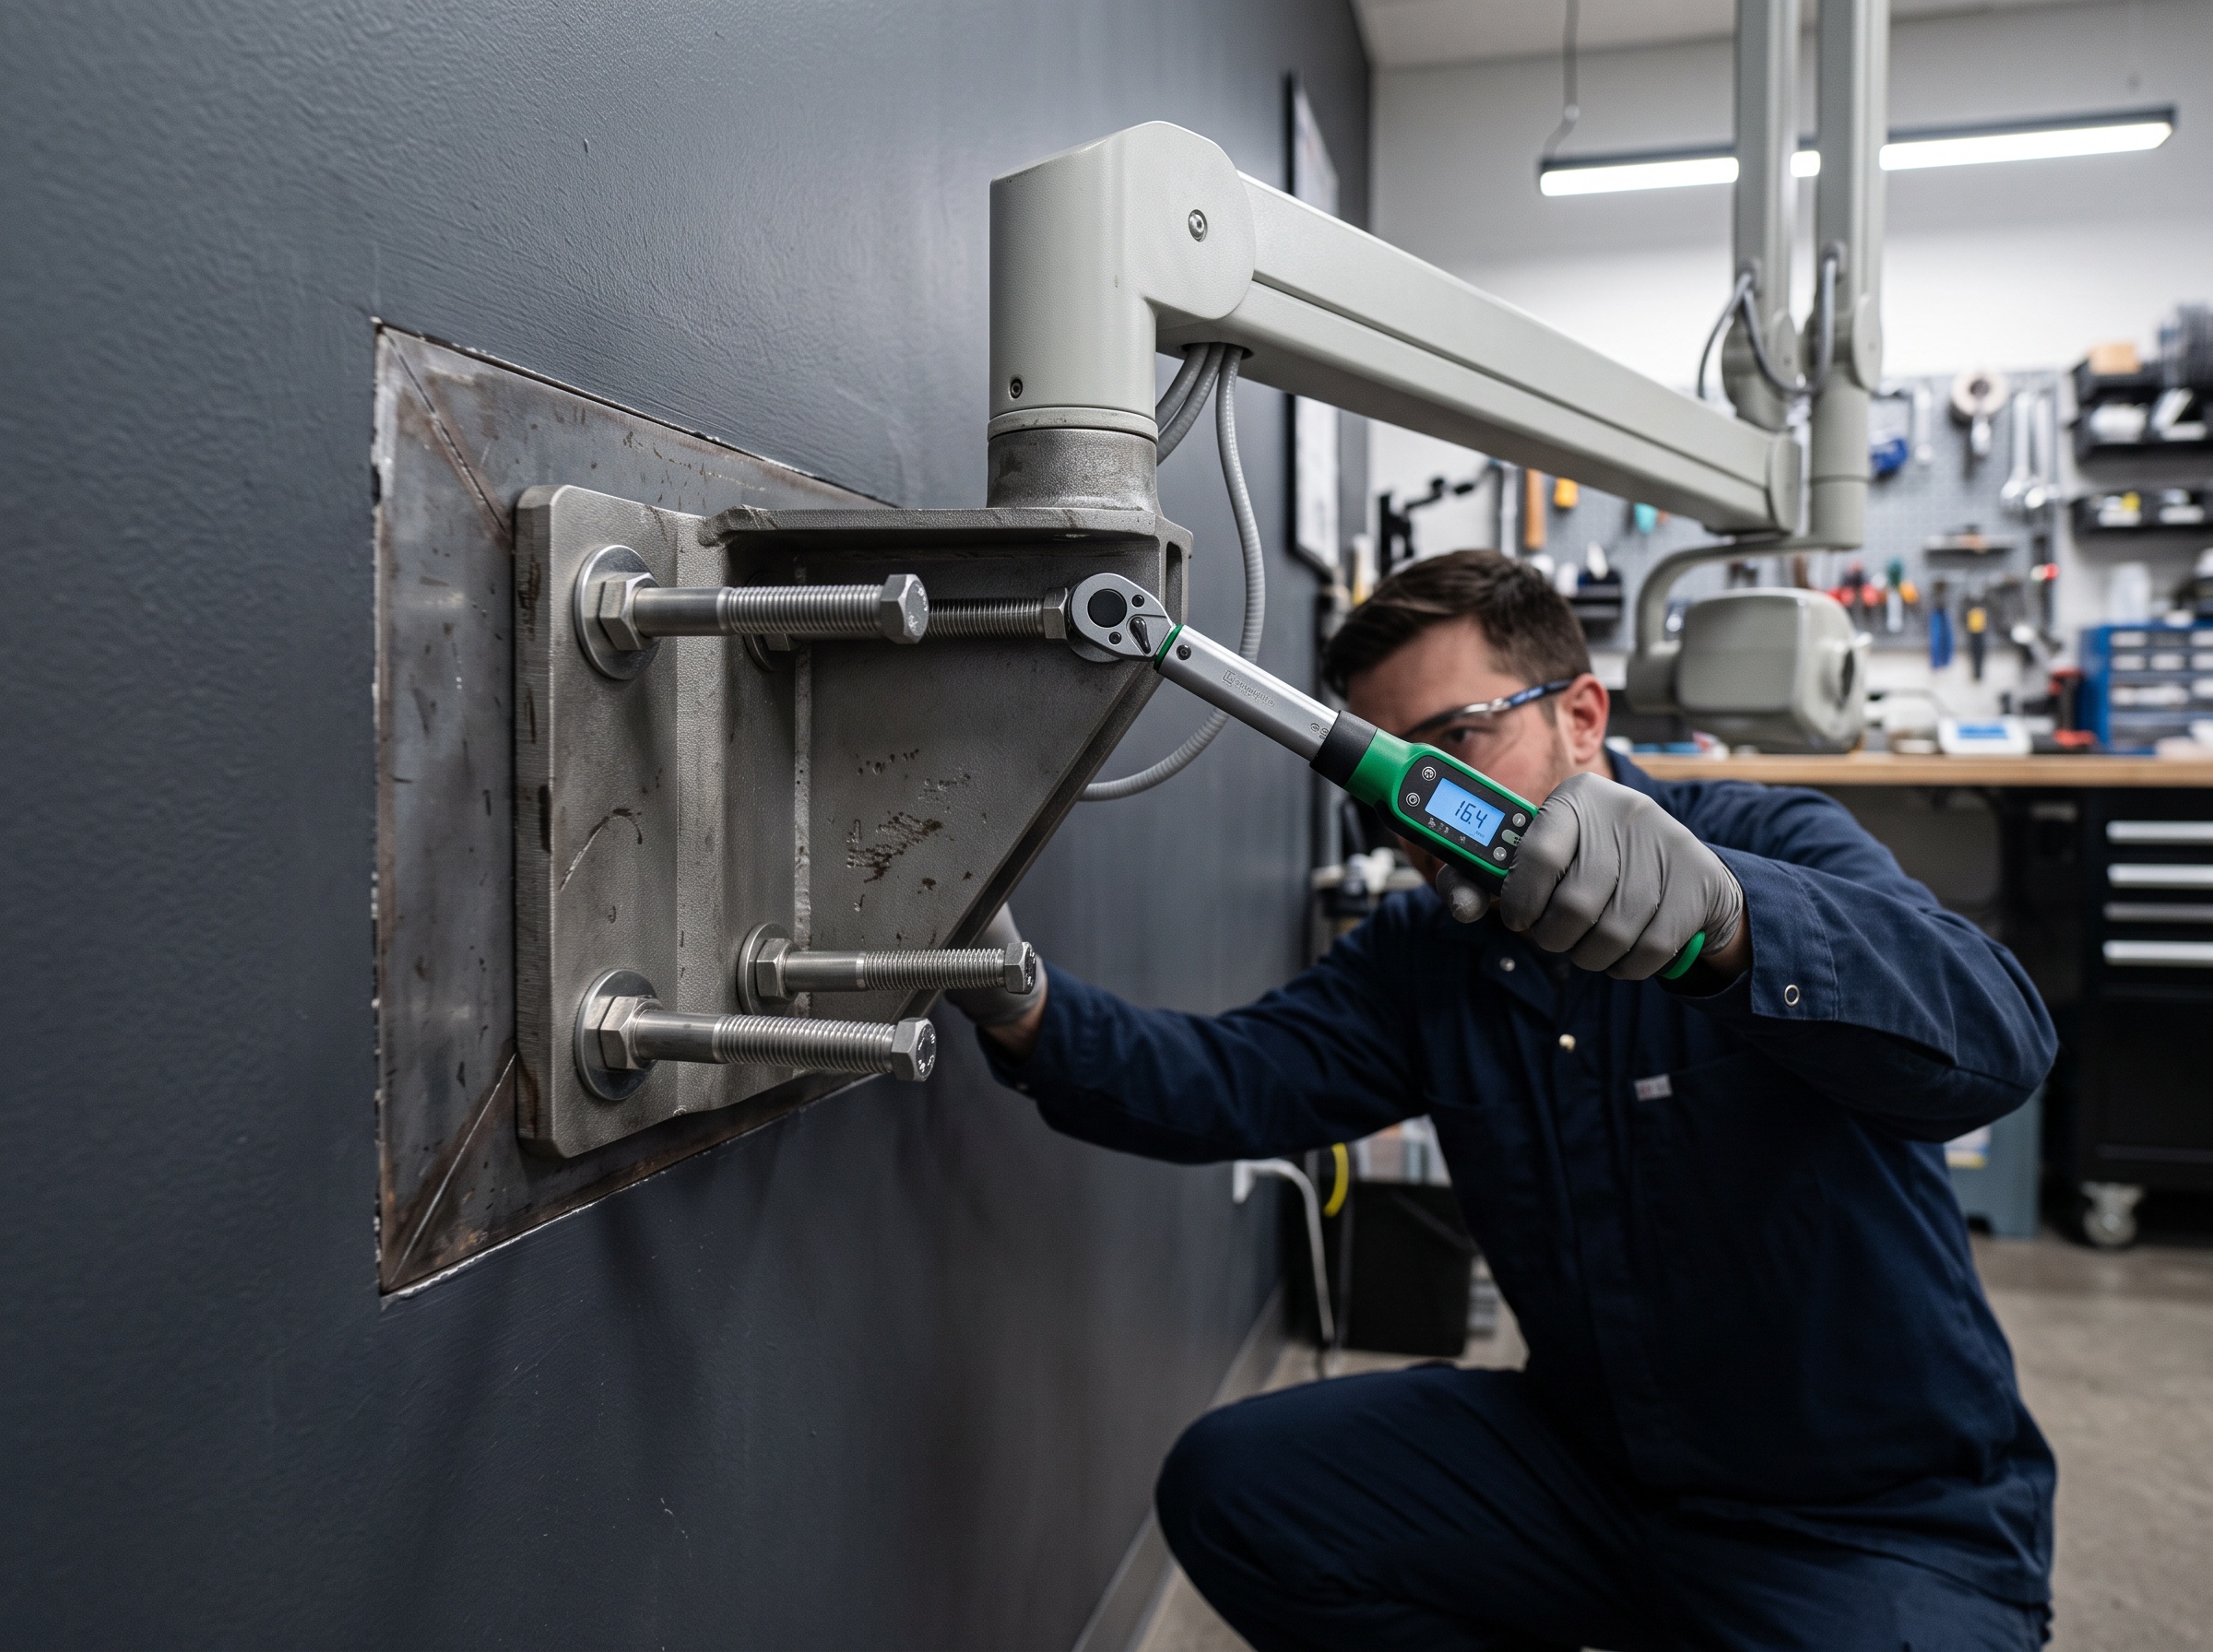
Before you open any mechanism, check the things that mimic arm drift. Inspect the wall-mount bracket. A wall plate that has worked loose in its anchors, or was originally fastened into drywall instead of structural backing, will let the entire unit sway and settle in a way that feels exactly like arm drift. Grip the mounting bracket and test for movement independent of the arm joints. Also watch any cable-management arm or spring-arm cover; a binding or misrouted cable can drag the head off position and be mistaken for a tension fault.
The Five Cause Categories
Almost every drift complaint resolves to one of five root causes. First, weakened or fatigued balance springs in the horizontal arm that no longer support the tubehead load. Second, a loose or worn friction and tension adjustment; many arms have adjustable set screws or knobs that back off over time. Third, worn clutch plates and washers at the yoke, where the holding surfaces have polished smooth. Fourth, loose mounting or bracket hardware, or a failing wall anchor. Fifth, contamination, where oil, grease migration, or dust has reduced the coefficient of friction at a joint that depends on it.
Identifying which category you are in determines whether the fix is a five-minute adjustment or a spring replacement. Guessing leads to over-tightening, which trades one failure for another.
The Repair: Adjust, Replace, Re-secure
Many arms are designed to be re-tensioned in the field. The manufacturer specifies a tension-adjustment screw or clutch nut, a sequence, and often a torque value. Follow it exactly. Over-tightening a friction clutch does not just make positioning stiff; it can crush washers, deform the clutch, and permanently damage the mechanism. Adjust in small increments, test the hold, and stop as soon as the head stays put through its full range.
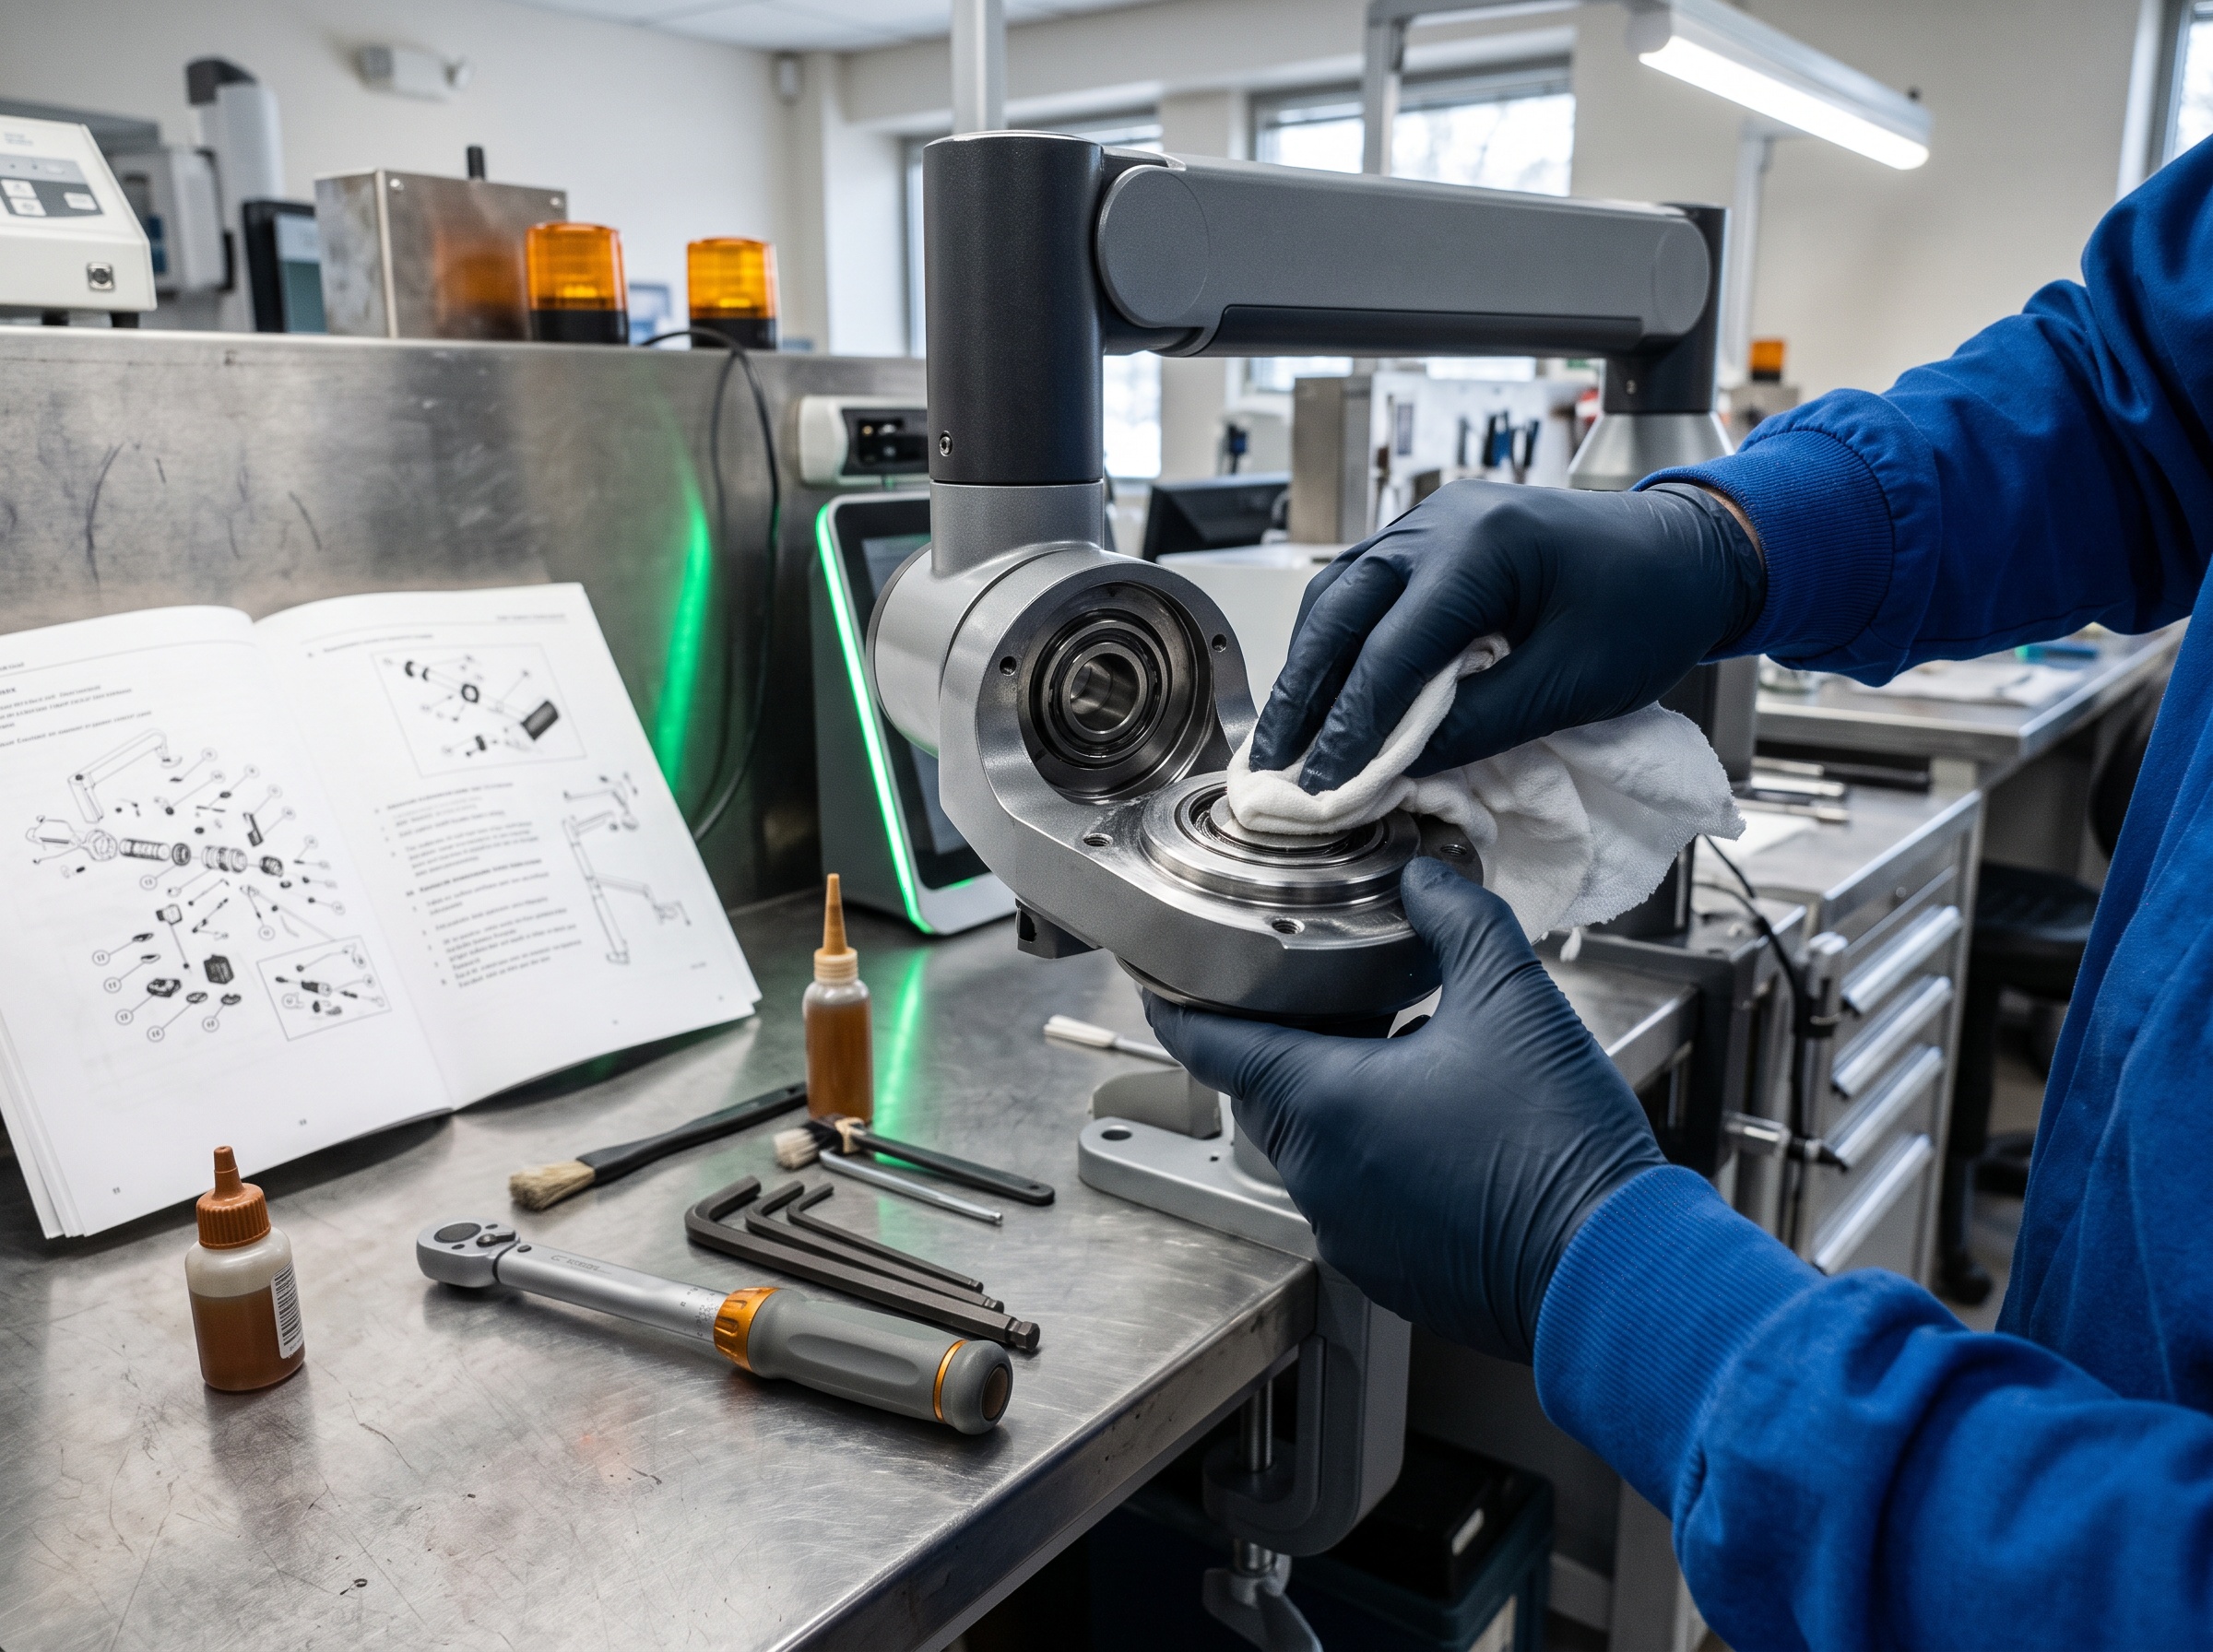
When adjustment is not enough, the fix is replacement. Fatigued balance springs, worn friction washers, and glazed clutch plates should be replaced with the correct manufacturer service kit rather than shimmed or improvised. Where the counterbalance is a sealed cartridge unit, you do not open it; you replace the whole cartridge. Loose mounting hardware gets re-secured into solid structural backing, not drywall, and torqued to spec. Contaminated friction surfaces are cleaned to the manufacturer’s specification, which for a friction joint usually means removing oil, not adding it.
A Serious Safety Note
Read this before you open any arm. A counterbalance spring is a stored-energy device, and a loaded spring can release suddenly and with real force if the mechanism is disassembled out of sequence or a retaining component is removed under load. This is a genuine injury hazard. Always consult the manufacturer service manual for the specific model, follow lockout procedures, de-energize the unit, and respect the disassembly sequence that safely captures spring tension. If the procedure calls for special tooling or a spring-decompression fixture you do not have, stop. Some of these repairs are correctly left to qualified service technicians, and there is no shame in that call.
Prevention: Keep the Head Where It Is Placed
Drift is largely preventable and always easier to correct early. Build a tension check into every preventive-maintenance visit: cycle each joint, confirm the head holds at multiple positions, and adjust before the operators start compensating. Train staff not to let the head slam to its extremes or fling the arm, which accelerates spring fatigue and loosens hardware. Ensure any new install or relocation is mounted into structural backing and torqued correctly. Keep friction mechanisms clean and free of migrating oil and dust. Most important, log drift the moment it appears; a joint that has just started to creep is a quick adjustment, while one ignored for a year may need a full clutch and spring kit.
If your tubehead has started drifting and a manufacturer-guided tension adjustment does not hold it, or if the repair involves a loaded counterbalance spring, that is the point to bring in professional service. The team at x-ray.support diagnoses, adjusts, and rebuilds dental X-ray arms to manufacturer specification, safely and with the correct parts, so your operators can place the head once and trust it to stay.