Panoramic X-Ray Patient Positioning: Common Errors and Image Quality Solutions

Panoramic X-ray imaging is a critical diagnostic tool in dental practices, providing comprehensive views of the entire oral and maxillofacial region. However, achieving optimal image quality depends heavily on proper patient positioning. Understanding and addressing common positioning errors can significantly improve diagnostic accuracy and reduce the need for retakes.

Understanding Panoramic X-Ray Mechanics

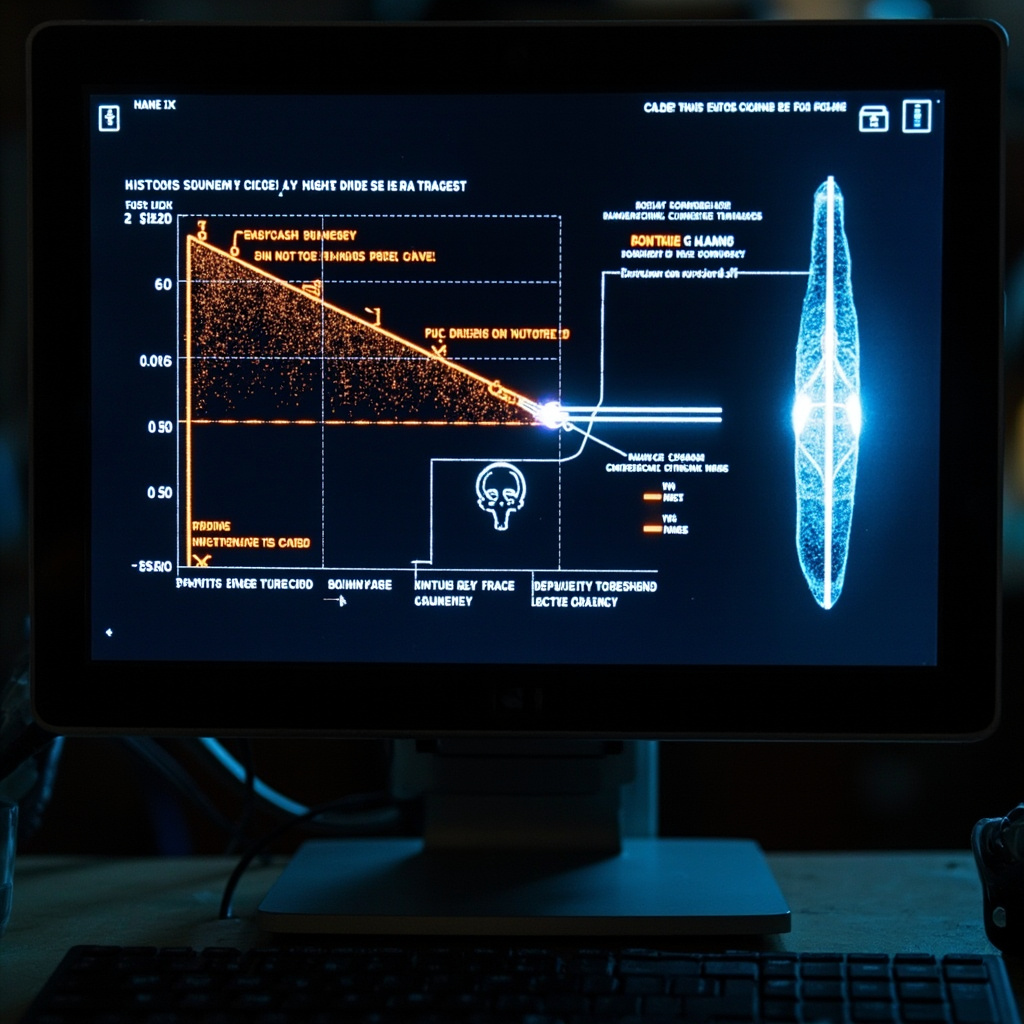
Panoramic radiography utilizes a rotating X-ray source and detector that move around the patient’s head in a predetermined arc. The success of this imaging technique relies on precise patient positioning within the machine’s focal trough – a three-dimensional curved zone where structures appear sharp and clear.
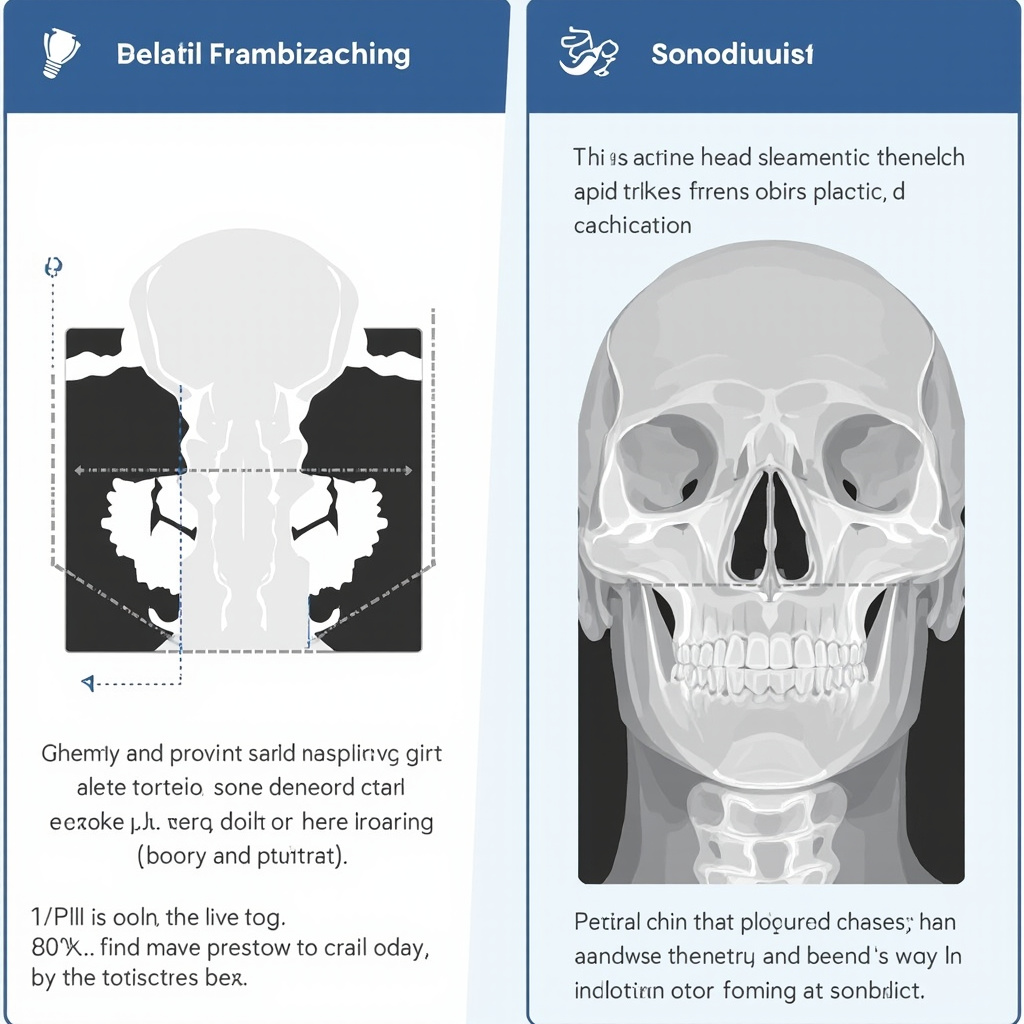
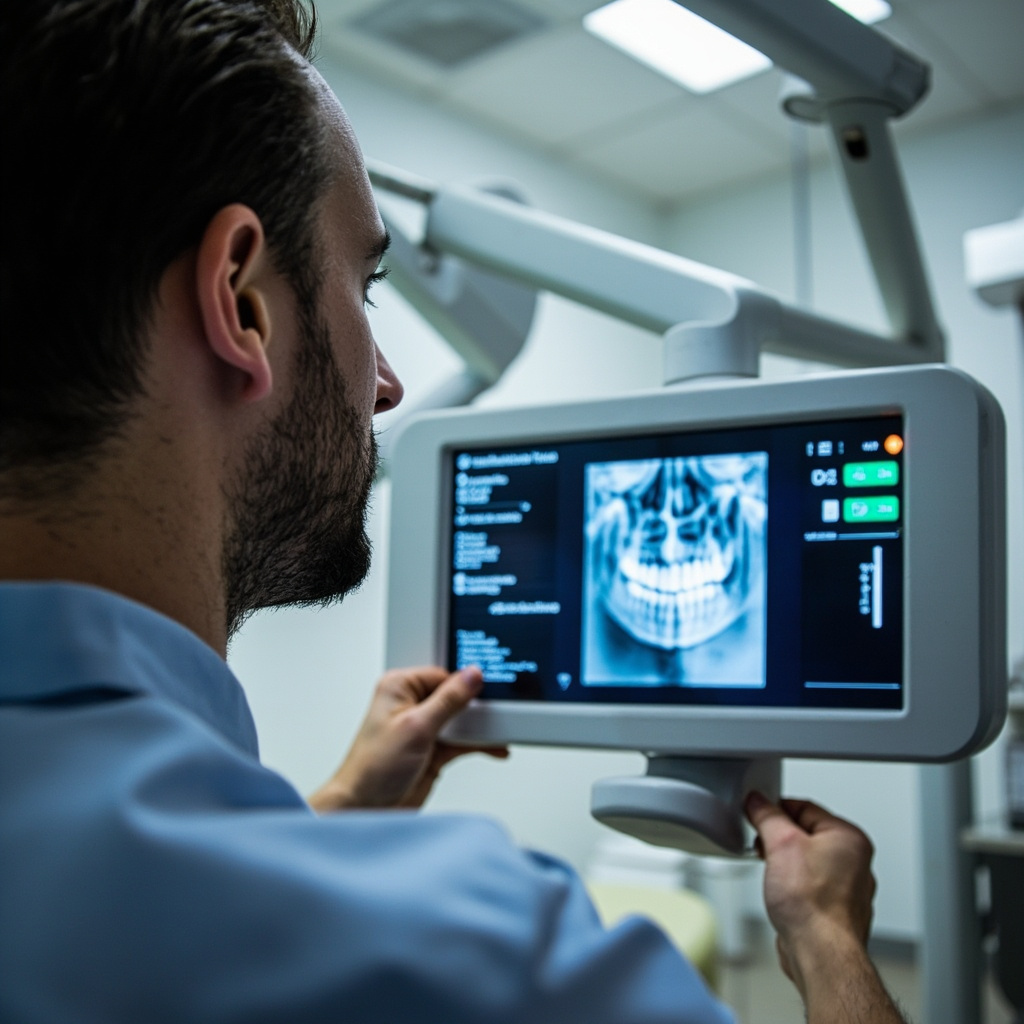
Patient positioning diagram for panoramic X-ray

Most Common Patient Positioning Errors

1. Incorrect Chin Position

The most frequent positioning error involves improper chin placement. When the patient’s chin is tilted too far down, the mandibular incisors appear blurred and elongated, while the maxillary teeth may appear foreshortened. Conversely, chin positioned too high results in a reverse “smile line” appearance and loss of apical detail in the anterior region.

Solution: Position the chin rest so the Frankfurt horizontal plane (from the external auditory meatus to the infraorbital rim) is parallel to the floor. The occlusal plane should have a slight upward curve resembling a smile line.

2. Improper Head Lateral Positioning

When the patient’s head is turned to one side, the resulting image shows unequal magnification of the left and right sides. The side closer to the X-ray source appears larger and more anterior, while the opposite side appears smaller and more posterior.

Solution: Ensure the midsagittal plane is perpendicular to the floor and aligned with the center of the machine. Use the lateral head guides to maintain proper positioning throughout the exposure.

3. Tongue Position Errors

Perhaps the most overlooked positioning factor is tongue placement. When the tongue is not pressed firmly against the hard palate, a large dark shadow appears over the apical regions of the maxillary teeth, obscuring important diagnostic information.

Solution: Instruct the patient to place their tongue flat against the roof of their mouth and maintain this position throughout the entire exposure cycle. Consider using positioning aids or verbal reminders during exposure.
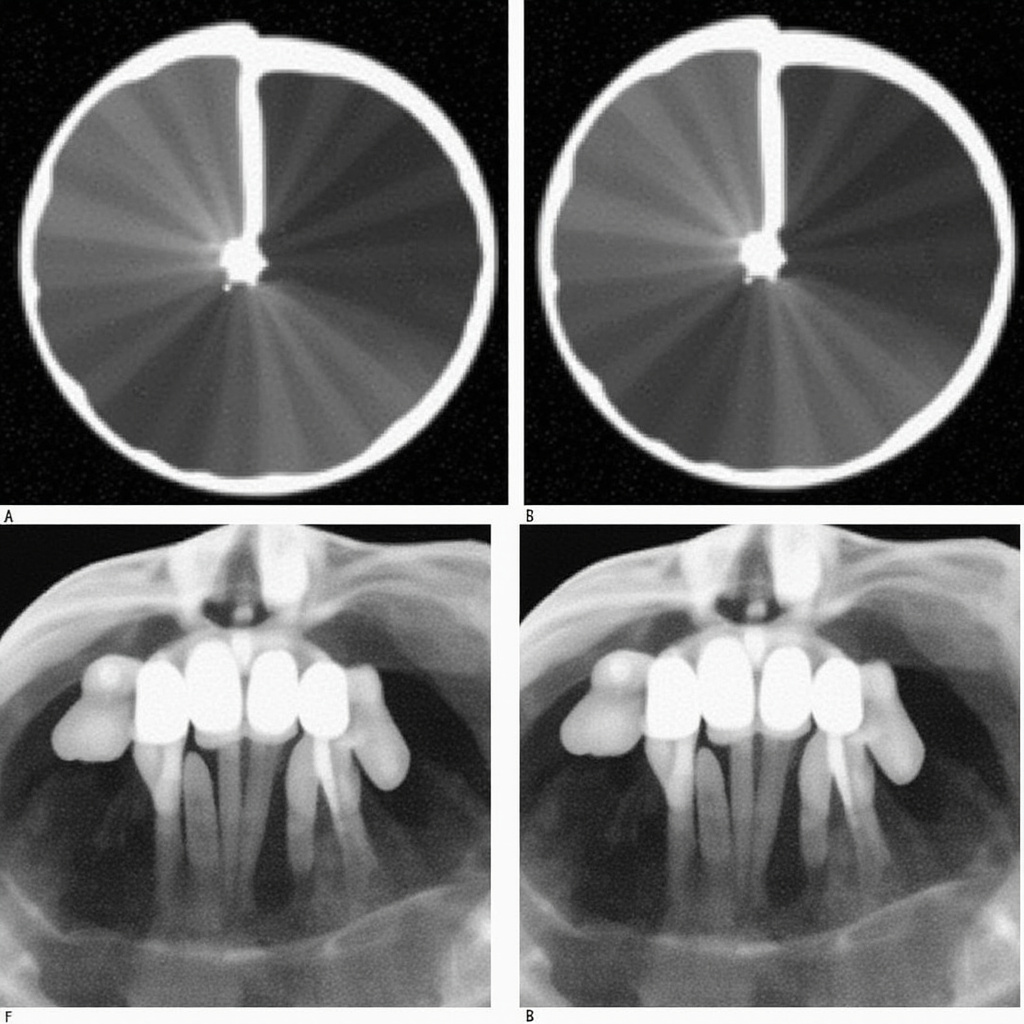
Comparison of panoramic X-ray image quality

Advanced Positioning Considerations

Spine and Shoulder Positioning

The cervical spine should be straight and shoulders positioned evenly. Hunched or uneven shoulders can create ghost images that overlap with the mandibular ramus and posterior teeth. Patients should stand or sit erect with shoulders relaxed and positioned away from the path of the X-ray beam.

Bite Block Placement

Proper bite block positioning ensures the anterior teeth are correctly positioned in the focal trough. The bite block should be placed so the patient bites gently with their incisors, creating approximately 2-3mm of separation between upper and lower teeth.

Quality Assessment Protocols

Implement a systematic quality assessment protocol for all panoramic images:

  • Symmetry: Compare left and right sides for equal magnification
  • Anterior region: Check for proper incisor overlap and clarity
  • Posterior regions: Verify that premolars and molars appear sharp
  • TMJ visualization: Ensure both joints are clearly visible
  • Soft tissue shadows: Confirm absence of tongue shadow over maxillary apices

Patient Communication Strategies

Effective patient communication is crucial for successful panoramic positioning:

  • Explain the importance of remaining still during the 12-15 second exposure
  • Provide clear, simple instructions about tongue placement
  • Use positioning rehearsals before actual exposure
  • Maintain verbal contact during positioning adjustments
  • Consider using positioning aids for patients with mobility limitations

Troubleshooting Persistent Problems

When positioning errors persist despite following standard protocols, consider these factors:

  • Patient anatomy: Unusual facial structure may require modified positioning
  • Equipment calibration: Verify that positioning guides are properly aligned
  • Staff training: Ensure all operators understand positioning principles
  • Patient limitations: Develop alternative techniques for mobility-impaired patients

Conclusion

Mastering panoramic X-ray patient positioning requires attention to detail, consistent protocols, and effective patient communication. By understanding common positioning errors and implementing systematic correction strategies, dental practices can significantly improve image quality, reduce retakes, and enhance diagnostic capabilities. Regular training and quality assessment protocols ensure that panoramic radiography remains a valuable diagnostic tool in comprehensive dental care.

Remember that patient comfort and clear instruction are key to successful positioning. Taking an extra moment to properly position the patient initially saves time and radiation exposure while providing superior diagnostic information for treatment planning.

Related Reading

Dental PACS Integration: Streamlining X-Ray Workflow and Data Management in 2026

Picture Archiving and Communication Systems (PACS) have revolutionized dental radiography, transforming how dental practices manage, store, and access X-ray images. As we advance through 2026, the integration of dental X-ray equipment with sophisticated PACS solutions has become essential for efficient workflow management and optimal patient care.

Understanding PACS Integration in Dental Practice

Modern dental PACS systems serve as the central hub for all digital radiographic data, enabling seamless communication between X-ray equipment, practice management software, and clinical workstations. Unlike traditional film-based systems, PACS integration allows instant image acquisition, processing, and distribution across multiple devices and locations.

The integration process typically involves DICOM (Digital Imaging and Communications in Medicine) protocols, which ensure standardized communication between different imaging devices and software platforms. This standardization is crucial for practices using equipment from multiple manufacturers.

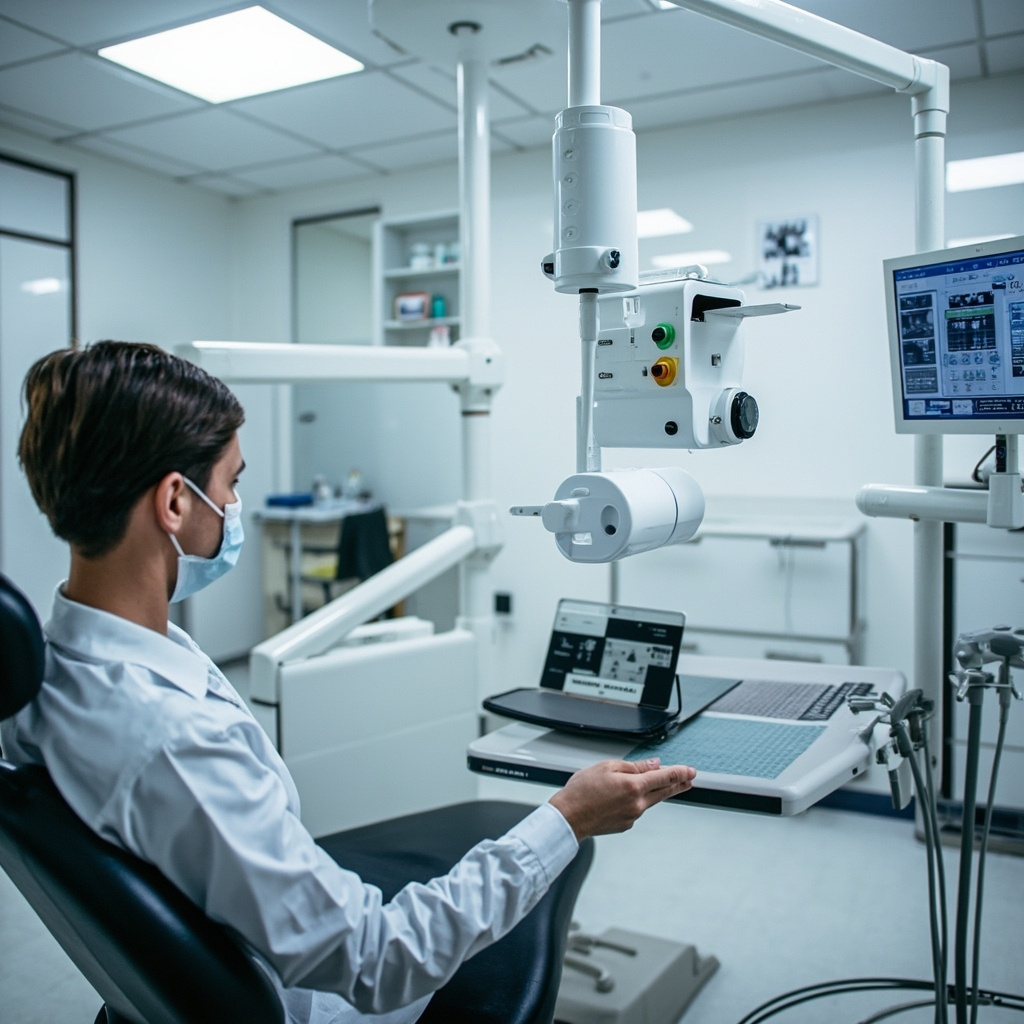
Dental technician viewing digital X-ray images on PACS workstation

Key Benefits of Integrated PACS Workflow

Enhanced Diagnostic Efficiency

Integrated PACS systems dramatically reduce the time between image acquisition and diagnostic review. Dental professionals can access radiographs immediately upon capture, enabling faster diagnosis and treatment planning. The system automatically routes images to designated workstations, eliminating the need for manual file transfers.

Improved Image Quality and Consistency

Modern PACS solutions include advanced image processing algorithms that automatically optimize contrast, brightness, and sharpness. These systems maintain consistent image quality across different X-ray units and viewing devices, ensuring reliable diagnostic information regardless of the acquisition parameters.

Streamlined Patient Management

Integration with practice management software allows automatic patient identification and image association. The system can automatically populate patient demographics, insurance information, and clinical notes, reducing administrative overhead and minimizing data entry errors.

Technical Requirements and Infrastructure

Network Architecture

Successful PACS implementation requires robust network infrastructure capable of handling large image files. Modern dental practices typically need gigabit Ethernet connections and sufficient bandwidth to support simultaneous image transfers from multiple X-ray units.

Storage Solutions

PACS systems require significant storage capacity for long-term image archiving. Cloud-based solutions have become increasingly popular, offering scalable storage with automatic backup and disaster recovery capabilities. Local storage systems provide faster access times but require regular maintenance and backup procedures.

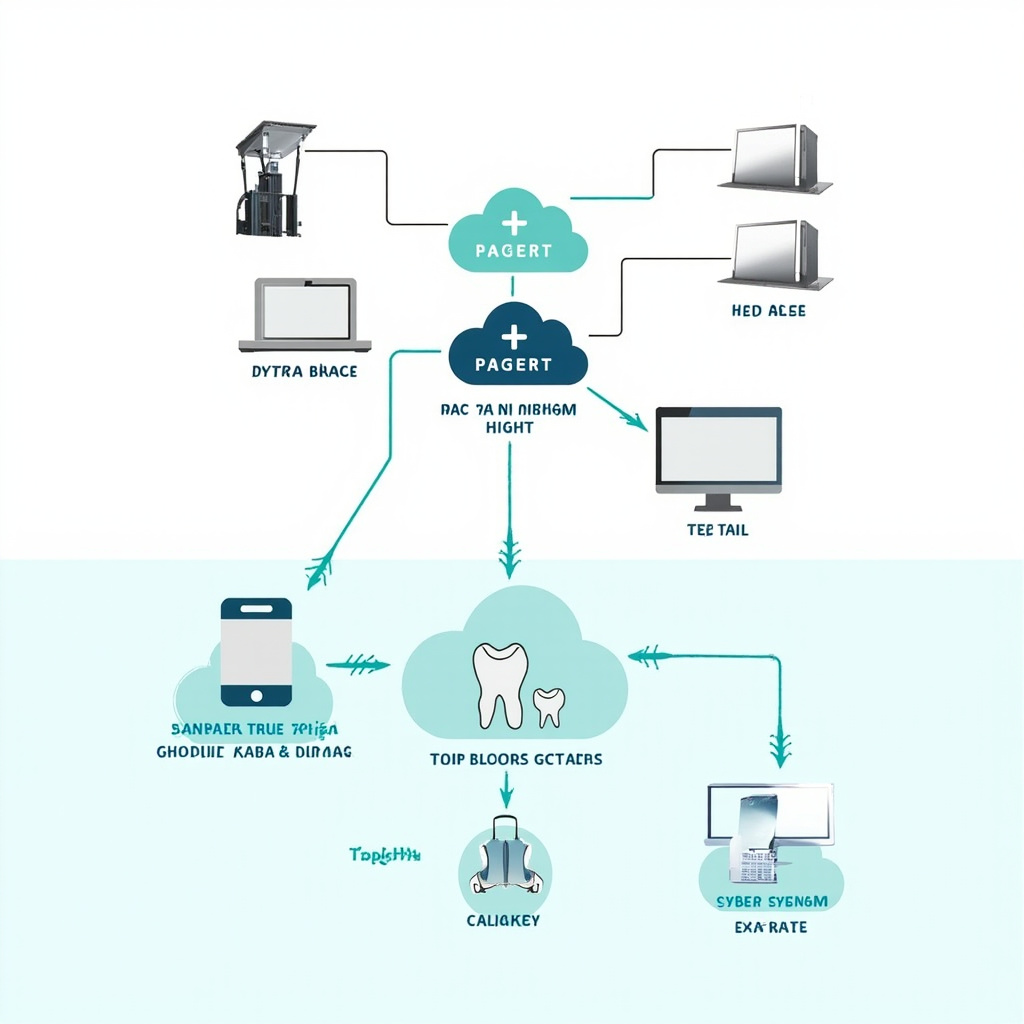
Network diagram showing dental X-ray equipment connected to PACS server and cloud storage

Security and Compliance Considerations

HIPAA Compliance

PACS integration must maintain strict adherence to HIPAA regulations, ensuring patient privacy and data security. This includes encrypted data transmission, secure user authentication, and comprehensive audit trails for all image access and modifications.

Data Integrity and Backup

Integrated systems must implement redundant backup strategies to prevent data loss. This typically involves automated daily backups to both local and cloud storage systems, with regular testing of backup integrity and recovery procedures.

Implementation Best Practices

Staff Training and Workflow Adaptation

Successful PACS integration requires comprehensive staff training on new workflows and software interfaces. Practices should allocate sufficient time for training and gradual system implementation to minimize disruption to patient care.

Vendor Selection and Support

Choosing the right PACS vendor involves evaluating technical capabilities, integration features, customer support quality, and long-term viability. Practices should prioritize vendors with proven experience in dental applications and strong technical support teams.

Future Trends in Dental PACS Integration

Artificial intelligence integration is becoming increasingly important in dental PACS systems. AI-powered image analysis can assist with diagnostic interpretation, automatically detect anomalies, and provide decision support tools for dental professionals.

Mobile accessibility is another growing trend, with PACS systems now offering secure mobile applications that allow dentists to review images and approve treatment plans from anywhere, improving practice efficiency and patient communication.

Conclusion

PACS integration represents a critical advancement in dental radiography, offering significant benefits in efficiency, image quality, and patient care. As technology continues to evolve, practices that invest in robust PACS solutions will be better positioned to provide optimal diagnostic services while maintaining efficient operations and regulatory compliance.

The key to successful implementation lies in careful planning, proper infrastructure investment, and comprehensive staff training. With these elements in place, dental practices can leverage PACS integration to transform their radiographic workflows and enhance patient care delivery.

Related Reading

Environmental Factors Affecting Dental X-Ray Equipment Performance: Power, Climate, and Static Control

Dental X-ray equipment operates as precision diagnostic instruments that require carefully controlled environmental conditions to maintain peak performance. Beyond routine maintenance and operator technique, environmental factors such as electrical power quality, temperature, humidity, and static electricity can significantly impact image quality, equipment lifespan, and diagnostic accuracy.

Electrical Power Quality and Voltage Regulation

X-ray generators demand stable electrical power to produce consistent radiation output. Voltage fluctuations, power surges, and inadequate line regulation can cause exposure variations, premature tube failure, and system malfunctions.

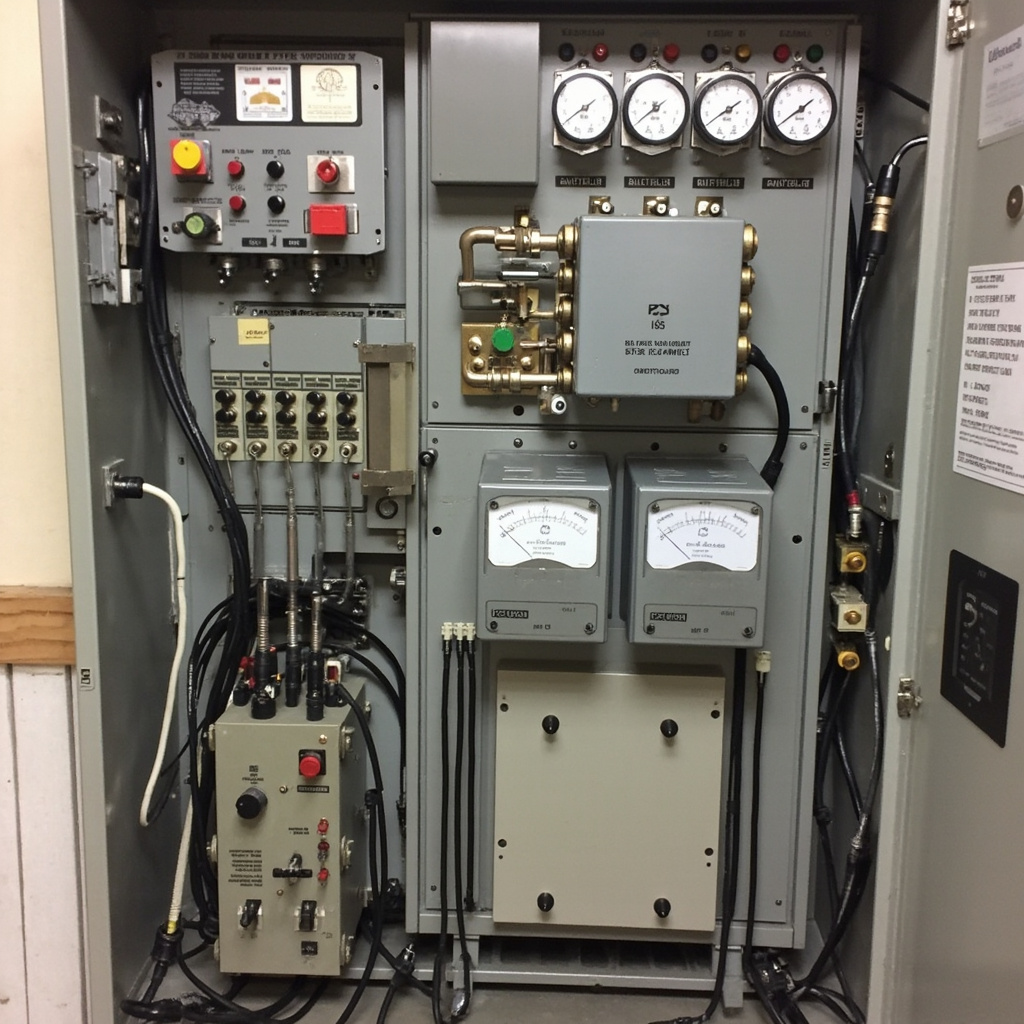
Electrical power conditioning equipment for X-ray systems

Critical Power Requirements

  • Voltage Stability: Most dental X-ray systems require ±10% voltage regulation or better
  • Line Impedance: Supply lines must maintain low apparent resistance to prevent voltage drops during exposure
  • Dedicated Circuits: High-power systems need isolated electrical circuits to prevent interference
  • Surge Protection: Transient voltage suppression protects sensitive electronics

Power line fluctuations are particularly problematic in areas with unstable electrical grids or during peak usage periods. Installing voltage regulators and uninterruptible power supplies (UPS) can mitigate these issues.

Temperature and Humidity Control

Digital sensors, processors, and electronic components in modern X-ray systems are sensitive to temperature extremes and humidity variations. Environmental control directly impacts image quality and system reliability.

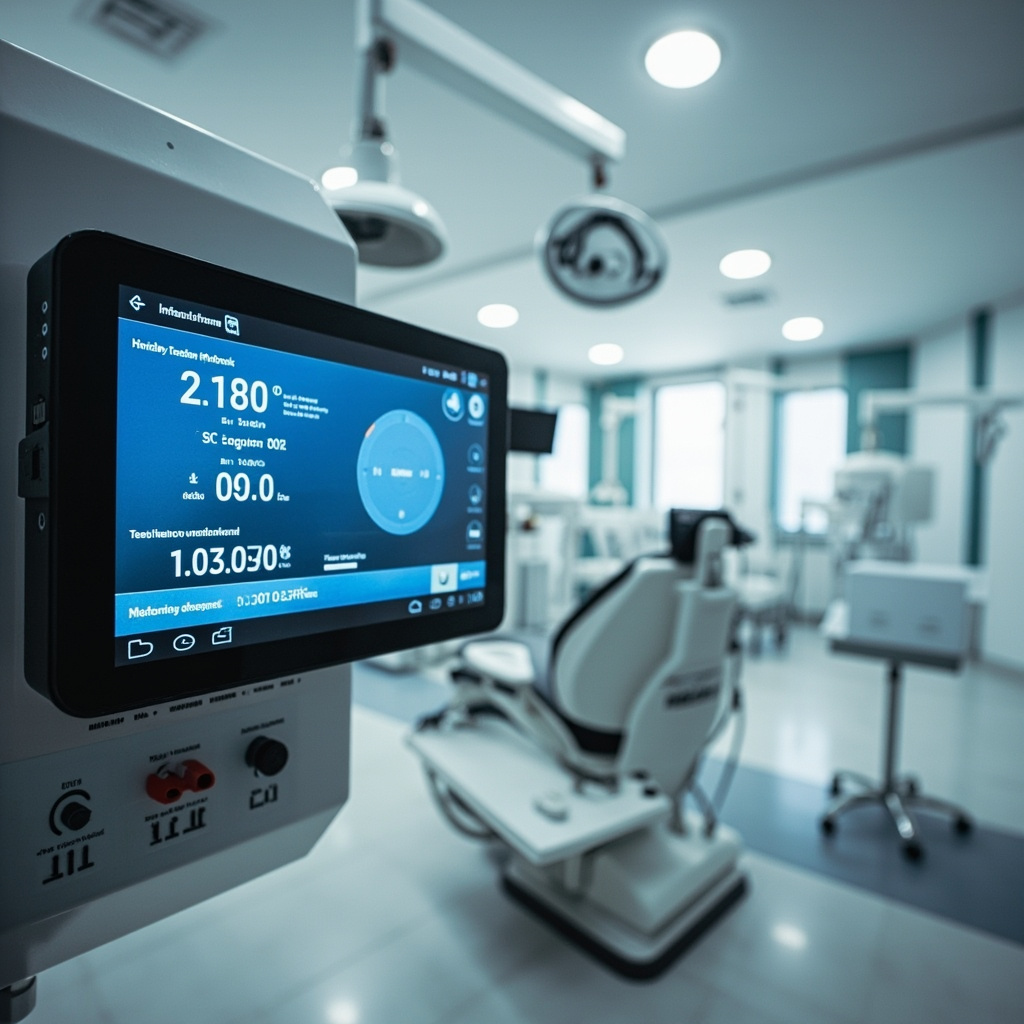
Digital environmental monitoring system in dental clinic

Optimal Environmental Ranges

  • Temperature: 18-24°C (64-75°F) for most systems
  • Relative Humidity: 30-60% to prevent condensation and static buildup
  • Air Circulation: Adequate ventilation prevents heat accumulation around equipment
  • Thermal Stability: Minimal temperature fluctuations during operation

Temperature-Related Issues

Excessive heat can cause thermal drift in digital sensors, leading to image artifacts and calibration errors. Cold temperatures may affect LCD displays and cause condensation when equipment warms up. HVAC systems should maintain consistent temperatures throughout the day.

Humidity Concerns

High humidity promotes corrosion of electrical contacts and can cause condensation inside equipment housings. Low humidity increases static electricity generation, potentially damaging sensitive electronics or creating patient discomfort during positioning.

Static Electricity Management

Static discharge poses significant risks to digital X-ray components, particularly sensors and processing units. Dry environments and synthetic materials can generate dangerous levels of static electricity.

Static Control Strategies

  • Humidity Maintenance: Keep relative humidity above 30% to reduce static buildup
  • Anti-Static Materials: Use anti-static mats and wrist straps during maintenance
  • Grounding Systems: Ensure proper electrical grounding of all equipment
  • Ionic Air Systems: Consider ionizing air systems in problematic environments

Electrical System Design Considerations

Proper electrical installation is fundamental to environmental control and equipment protection. Many performance issues trace back to inadequate electrical infrastructure.

Installation Requirements

  • Dedicated Circuits: Separate circuits for high-power X-ray generators
  • Proper Grounding: Low-impedance ground paths for safety and performance
  • EMI Shielding: Electromagnetic interference protection for digital components
  • Circuit Protection: Appropriately rated breakers and fuses

Monitoring and Maintenance Protocols

Regular environmental monitoring helps identify problems before they affect patient care or cause equipment damage.

Recommended Monitoring

  • Daily: Visual inspection of equipment, temperature checks
  • Weekly: Humidity readings, electrical connections inspection
  • Monthly: Power quality assessment, static levels measurement
  • Quarterly: Full environmental audit by qualified technicians

Troubleshooting Environmental Issues

When X-ray equipment exhibits inconsistent performance, environmental factors should be among the first considerations during diagnosis.

Common Symptoms and Causes

  • Image Density Variations: Often caused by voltage fluctuations or temperature changes
  • Equipment Resets: May indicate power quality problems or overheating
  • Sensor Artifacts: Can result from static discharge or thermal stress
  • Intermittent Failures: Frequently trace to environmental conditioning issues

Best Practices for Environmental Control

Implementing comprehensive environmental management ensures optimal X-ray equipment performance and extends system lifespan.

  • Install Environmental Monitoring: Continuous temperature and humidity logging
  • Maintain HVAC Systems: Regular servicing of heating, ventilation, and air conditioning
  • Upgrade Electrical Infrastructure: Invest in proper power conditioning equipment
  • Staff Training: Educate team members on environmental factors affecting equipment
  • Preventive Maintenance: Include environmental assessments in routine service protocols

By maintaining optimal environmental conditions, dental practices can ensure consistent image quality, reduce equipment failures, and maximize the return on their X-ray system investment. Environmental control is an essential aspect of modern digital radiography that deserves attention equal to technique and maintenance protocols.

Related Reading

Radiation Dose Optimization in Dental X-Ray Imaging: ALARA Principles and Advanced Techniques

In modern dental practice, balancing diagnostic image quality with patient safety requires implementing advanced radiation dose optimization techniques. The ALARA principle (As Low As Reasonably Achievable) serves as the foundation for all dental radiographic procedures, ensuring patients receive the minimum radiation exposure necessary for accurate diagnosis.

Understanding ALARA Principles in Dental Radiography

The ALARA principle mandates that every radiographic exposure should deliver the lowest possible radiation dose while maintaining diagnostic quality. This approach involves three key strategies: reducing exposure time, maximizing distance from the radiation source, and implementing proper shielding techniques.

Modern digital radiography systems can achieve dose reductions of up to 90% compared to conventional film-based systems, while simultaneously improving image quality and diagnostic capabilities. These systems utilize advanced sensor technologies and sophisticated image processing algorithms to optimize exposure parameters automatically.

Advanced Filtration and Collimation Techniques

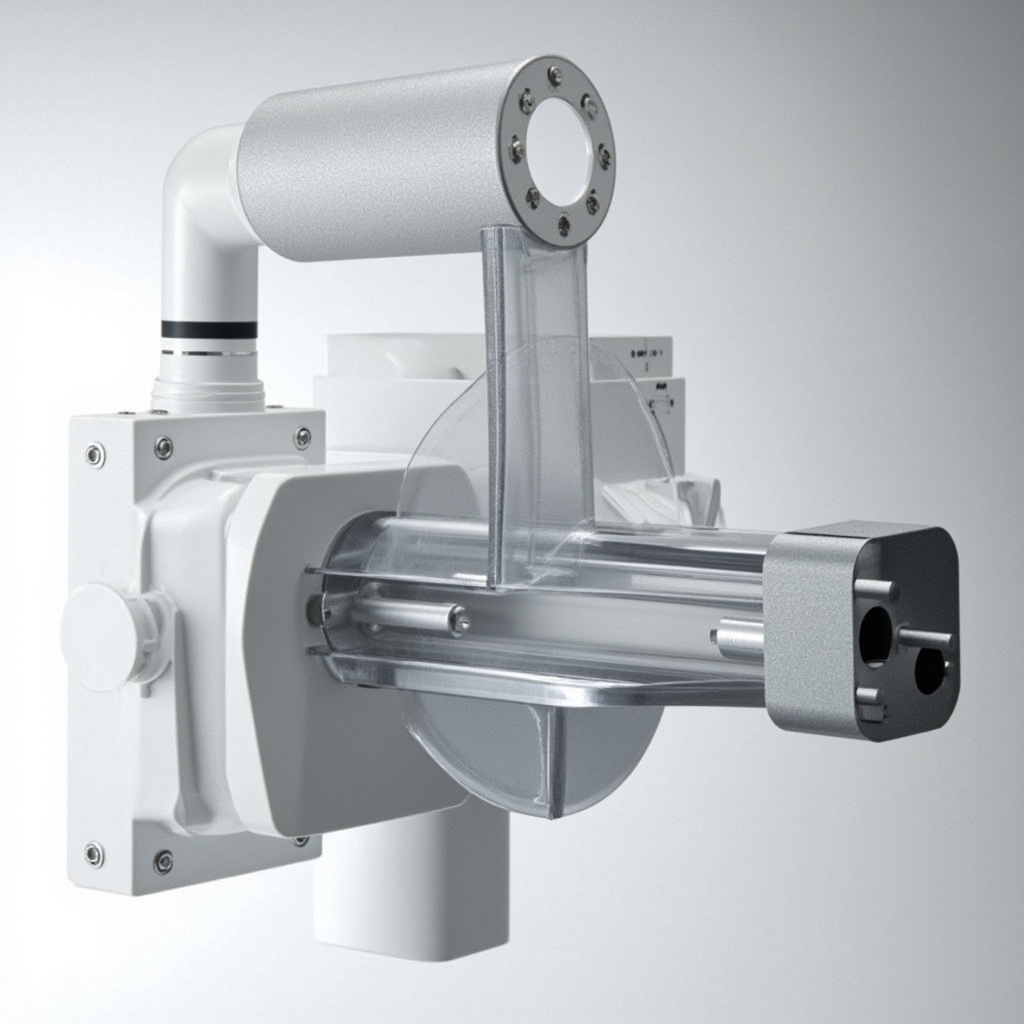
Implementing proper beam filtration represents one of the most effective methods for dose reduction without compromising image quality. Adding 1.0mm of aluminum filtration to the X-ray tube head significantly improves beam quality by filtering out low-energy photons that contribute only to patient dose without enhancing image formation.

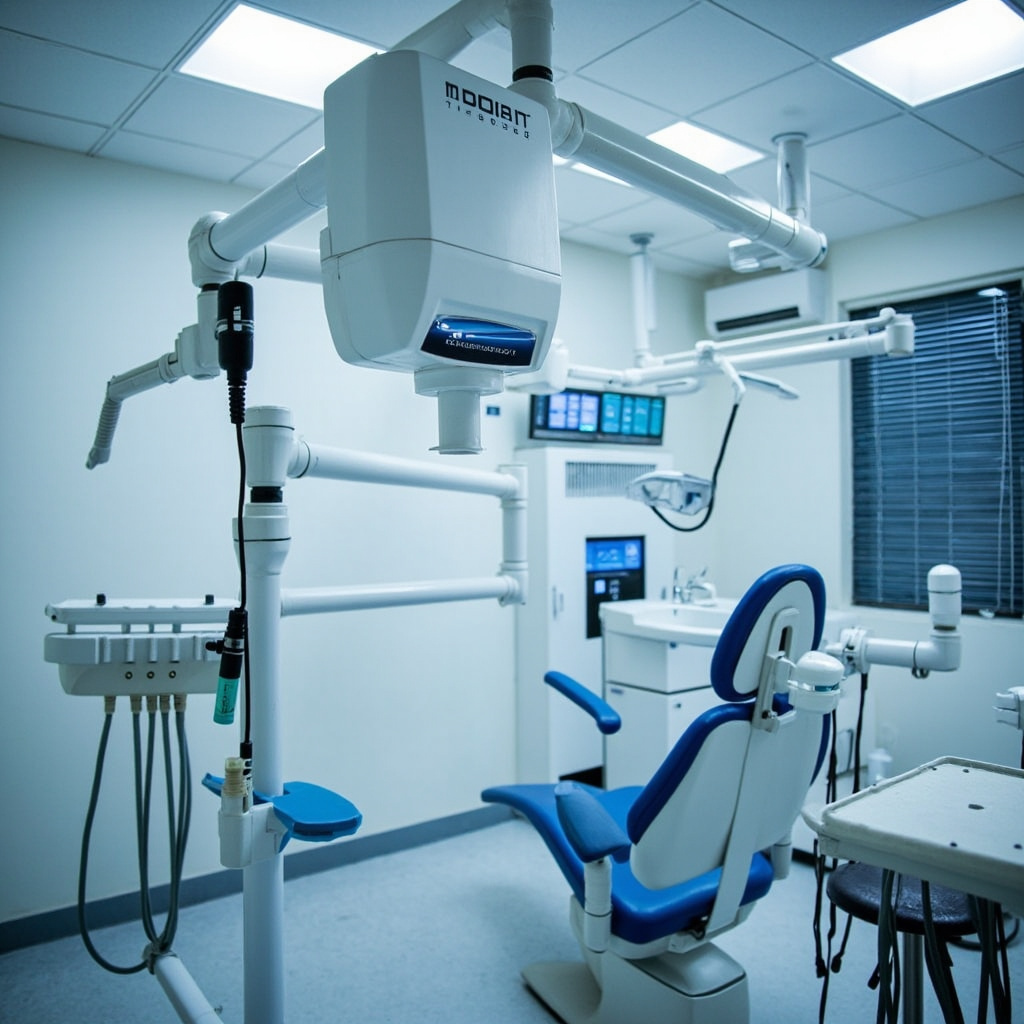
X-ray tube head with aluminum filtration and collimation system

Rectangular collimation reduces the irradiated tissue volume by up to 60% compared to round collimation, dramatically decreasing patient exposure while maintaining diagnostic information. This technique is particularly effective for intraoral radiography, where precise beam restriction directly correlates with dose reduction.

Optimization Parameters and Quality Assurance

Establishing standardized exposure protocols based on patient size, anatomy, and clinical requirements ensures consistent image quality while minimizing radiation exposure. Regular calibration of equipment parameters, including kVp accuracy, timer precision, and output consistency, maintains optimal performance and prevents unnecessary repeat exposures.

Implementation of comprehensive quality assurance programs should include periodic evaluation by qualified medical physics professionals. These assessments verify that equipment produces clinically acceptable images at the lowest possible patient radiation dose while ensuring personnel safety protocols remain effective.

Digital Processing and Image Enhancement

Modern digital radiography systems incorporate sophisticated image processing algorithms that enhance diagnostic information from lower-dose exposures. These technologies include noise reduction filters, contrast enhancement, and edge sharpening capabilities that improve image interpretation without requiring higher radiation doses.

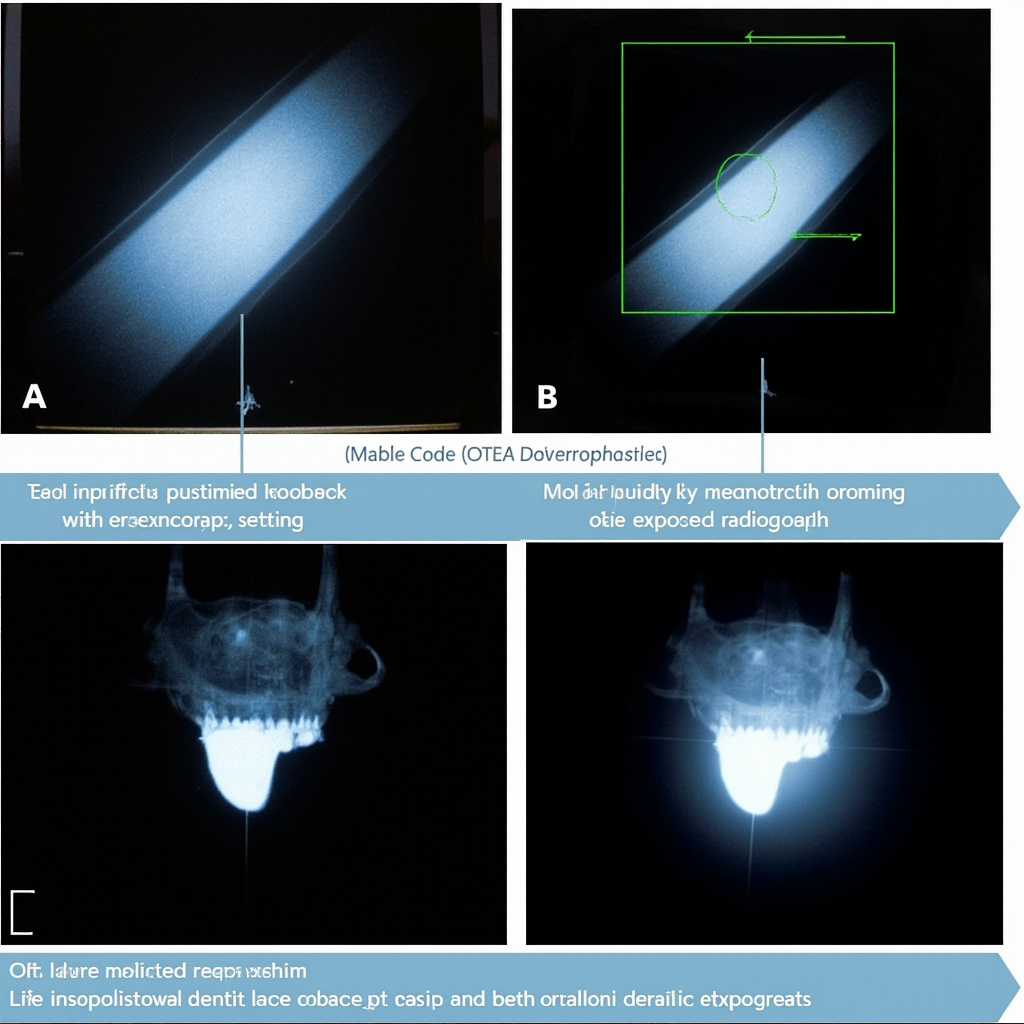
Comparison of optimized versus overexposed dental radiographs

Proper sensor positioning and technique standardization prevent retakes, which represent one of the largest sources of unnecessary patient exposure in dental radiography. Staff training on positioning aids, patient positioning techniques, and quality control procedures significantly reduces radiation dose through improved first-time success rates.

By implementing these advanced dose optimization techniques, dental practices can achieve significant radiation dose reductions while maintaining or improving diagnostic image quality, demonstrating commitment to patient safety and regulatory compliance.

Related Reading

Dental X-Ray Equipment Infection Control: Essential Sterilization and Safety Protocols

Proper infection control and sterilization procedures for dental X-ray equipment are essential for preventing cross-contamination and maintaining patient safety. With increasing regulatory scrutiny and evolving infection control standards, dental practices must implement comprehensive protocols that address all aspects of radiographic equipment sterilization.

Understanding the Critical Points of Contamination

Digital X-ray sensors, positioning devices, and associated equipment present multiple opportunities for cross-contamination during patient care. Unlike traditional film-based systems, digital sensors require specialized handling to maintain both sterility and equipment functionality.

Professional disinfecting digital X-ray sensor

The sensor surface, connector cables, and positioning aids all require attention during the sterilization process. Failure to properly address these contact points can result in pathogen transmission between patients and potential regulatory violations.

CDC Guidelines for Digital Radiography Equipment

The Centers for Disease Control and Prevention provides specific guidance for dental radiographic equipment sterilization:

  • Heat-sterilizable accessories: All bite blocks, positioning rings, and guides that can withstand autoclave temperatures should undergo routine steam sterilization
  • Digital sensor protection: FDA-cleared barrier envelopes must protect sensors during use, with additional high-level disinfection between patients
  • Surface disinfection: Equipment surfaces require EPA-registered intermediate-level disinfectants with appropriate contact times
  • Cable management: Sensor cables should be covered with protective sleeves or undergo surface disinfection protocols

Barrier Protection Systems

Implementing comprehensive barrier protection significantly reduces contamination risk and simplifies sterilization workflows. Modern barrier systems include sensor-specific sleeves, cable covers, and positioning device protectors.

Sterile barrier covers on X-ray equipment

Quality barrier materials must be puncture-resistant, moisture-proof, and designed for single-use applications. The barrier envelope should completely encase the sensor while maintaining image quality and patient comfort during radiographic procedures.

Sterilization Protocols for Heat-Sensitive Equipment

Digital sensors and electronic components cannot undergo traditional autoclave sterilization. These items require high-level disinfection using EPA-approved chemical agents specifically cleared for semi-critical dental devices.

Chemical Disinfection Procedure:

  • Pre-clean all visible debris using appropriate cleaning solutions
  • Apply EPA-registered high-level disinfectant for manufacturer-specified contact time
  • Ensure complete surface coverage without pooling or excess moisture
  • Allow proper air-drying before storage or next patient use
  • Document disinfection cycles for regulatory compliance

Staff Training and Compliance Monitoring

Effective infection control requires comprehensive staff training on equipment-specific protocols. Team members must understand the distinction between sterilization and disinfection, proper barrier application techniques, and documentation requirements.

Regular compliance audits should verify adherence to established protocols, proper chemical concentrations, and appropriate contact times. Many practices implement checklists and monitoring systems to ensure consistent application of sterilization procedures.

Regulatory Considerations and Documentation

State dental boards and accreditation organizations increasingly scrutinize infection control practices during inspections. Practices must maintain detailed records of sterilization cycles, chemical testing logs, and staff training documentation.

Current regulatory trends emphasize evidence-based protocols, regular process validation, and continuous quality improvement in infection control practices. Failure to maintain proper documentation can result in significant regulatory penalties and patient safety risks.

Cost-Effective Implementation Strategies

While comprehensive infection control requires investment in barrier materials and chemical disinfectants, the long-term benefits include reduced equipment contamination, extended sensor lifespan, and enhanced patient safety. Many practices find that bulk purchasing of barrier supplies and standardized protocols reduce overall costs while improving compliance.

Implementing automated monitoring systems and staff training programs creates sustainable infection control workflows that adapt to evolving regulatory requirements and emerging pathogens.

Future Considerations

Emerging technologies in antimicrobial coatings, UV sterilization systems, and automated disinfection equipment may reshape dental radiography infection control. Practices should stay informed about advancing technologies while maintaining current compliance with established CDC guidelines and manufacturer recommendations.

Regular review and updating of infection control protocols ensures continued patient safety and regulatory compliance in an evolving healthcare environment.

Related Reading

X-Ray Tube Replacement: Critical Warning Signs and Lifespan Management

Dental X-ray tubes are the heart of your imaging system, yet they are often overlooked until they fail completely. Understanding when to replace these critical components can save your practice from costly downtime and ensure consistent diagnostic quality. This comprehensive guide covers the warning signs, lifespan expectations, and strategic planning for X-ray tube replacement.

Understanding X-Ray Tube Longevity

Modern dental X-ray tubes typically last between 3-7 years under normal operating conditions, with variations based on usage patterns, maintenance quality, and environmental factors. Unlike other dental equipment that may provide gradual performance decline, X-ray tubes can experience sudden failure, making proactive monitoring essential.

The tungsten filament within the X-ray tube undergoes continuous stress during operation. Each exposure cycle causes microscopic changes to the filament structure, gradually reducing its effectiveness. Industry standards consider a 10% reduction in wire mass as the end-of-life indicator, representing approximately 98% of the tubes operational capacity.

Warning signs of failing dental X-ray tube

Critical Warning Signs Requiring Immediate Attention

Image Quality Degradation

The most obvious indicator of tube failure is declining image quality. Watch for consistently dark or light images despite proper technique settings, increased image noise or graininess, and uneven exposure across the image field. These symptoms often indicate filament deterioration or anode surface damage.

Operational Irregularities

Pay attention to unusual sounds during operation, including clicking, buzzing, or arcing noises that werent present during normal operation. Flickering indicator lights or inconsistent exposure timing can signal electrical instability within the tube assembly.

Increased Exposure Requirements

If you find yourself consistently increasing exposure settings to achieve acceptable image density, this typically indicates declining tube output. This compensation strategy works temporarily but indicates imminent tube failure.

Error Messages and System Alerts

Modern digital systems often provide diagnostic alerts for tube performance issues. Never ignore these warnings, as they represent sophisticated monitoring systems designed to prevent complete failure.

Factors Affecting Tube Lifespan

Several controllable factors significantly impact X-ray tube longevity. High-volume practices naturally experience faster tube degradation, but proper technique can extend service life even under heavy usage.

Temperature management plays a crucial role in tube longevity. Allowing adequate cooling time between exposures and maintaining proper room temperature can extend tube life by 20-30%. Conversely, rapid-fire exposures without cooling periods accelerate filament degradation.

Power supply stability affects tube performance. Voltage fluctuations stress the tube components and can cause premature failure. Installing appropriate power conditioning equipment protects your investment.

Strategic Replacement Planning

Effective tube replacement planning involves both financial preparation and operational continuity. Rather than waiting for complete failure, establish replacement criteria based on performance metrics and usage patterns.

Cost comparison chart for dental X-ray tube replacement

Financial Considerations and ROI

X-ray tube replacement costs typically range from $2,000-8,000, depending on the system type and manufacturer. While this represents a significant expense, the cost of emergency replacement often exceeds planned replacement by 30-50% due to expedited shipping and emergency service calls.

Consider the broader financial impact of tube failure. Lost productivity during downtime, rescheduled appointments, and potential patient satisfaction issues can exceed the tube replacement cost. Practices generating significant revenue from diagnostic imaging should maintain spare tubes for critical systems.

Replacement vs. System Upgrade Decision Matrix

When facing tube replacement, evaluate whether upgrading the entire system provides better long-term value. If your X-ray system is over 10 years old, upgrading to a newer digital system might offer superior ROI compared to tube replacement.

Modern digital systems provide enhanced diagnostic capabilities, improved workflow efficiency, and often lower radiation exposure requirements. Calculate the total cost of ownership, including energy consumption, maintenance requirements, and productivity improvements.

Maintenance Strategies to Maximize Lifespan

Implementing proper maintenance protocols can extend tube life significantly. Never leave tubes unused for longer than six months, as this can cause filament degradation. Perform regular warm-up procedures according to manufacturer specifications.

Monitor tube performance metrics systematically. Keep detailed logs of exposure settings, image quality assessments, and any operational irregularities. This data helps predict replacement timing and supports warranty claims if premature failure occurs.

Professional Installation and Calibration

X-ray tube replacement requires certified technician installation and comprehensive calibration. Improper installation can void warranties and create safety hazards. Budget for professional installation costs, typically $500-1,500, depending on system complexity.

Post-installation calibration ensures optimal performance and regulatory compliance. This process includes output verification, safety system testing, and image quality validation.

Conclusion

Proactive X-ray tube management protects your practice investment and ensures consistent diagnostic quality. By monitoring warning signs, planning replacement timing, and implementing proper maintenance protocols, dental practices can minimize downtime and control replacement costs. Remember that tube replacement is not just a maintenance expense—its an investment in diagnostic capability and practice efficiency.

Related Reading

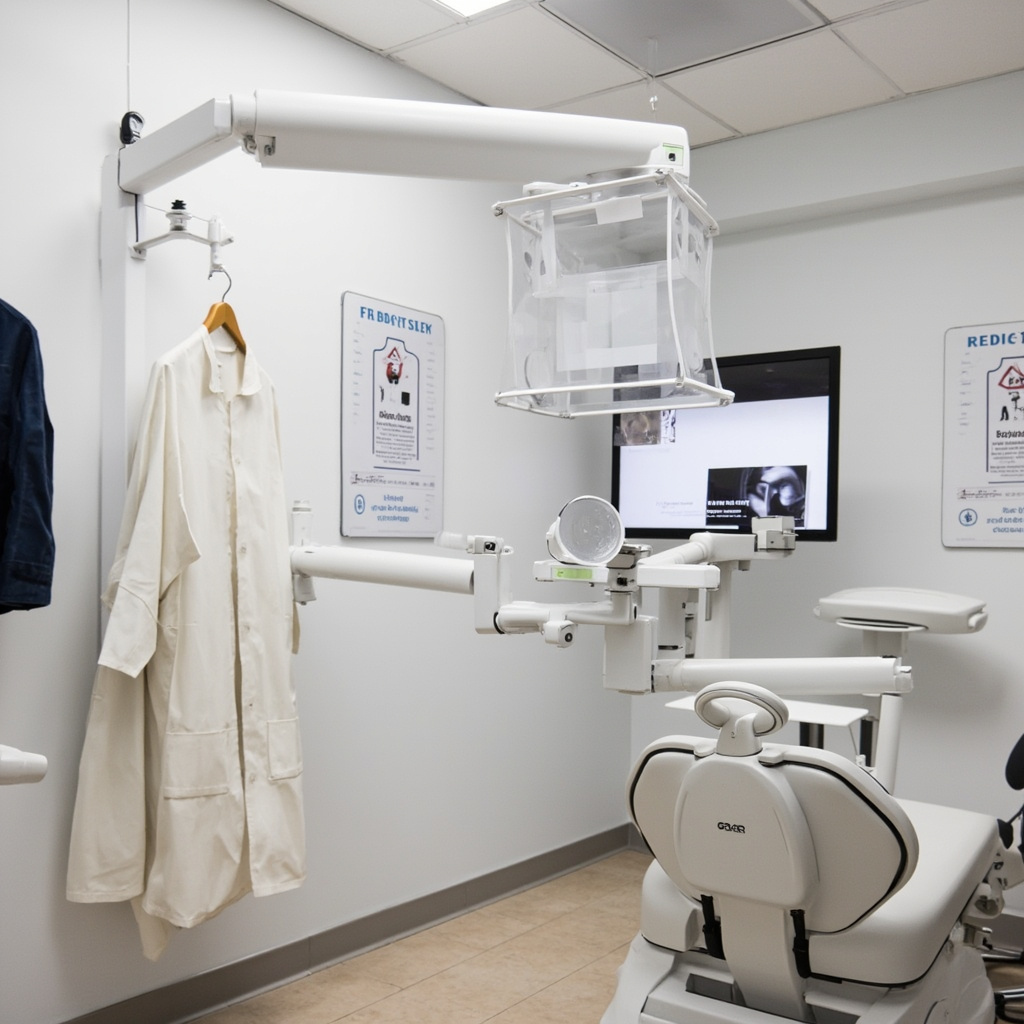
Dental X-Ray Room Design: Essential Radiation Shielding and Space Requirements

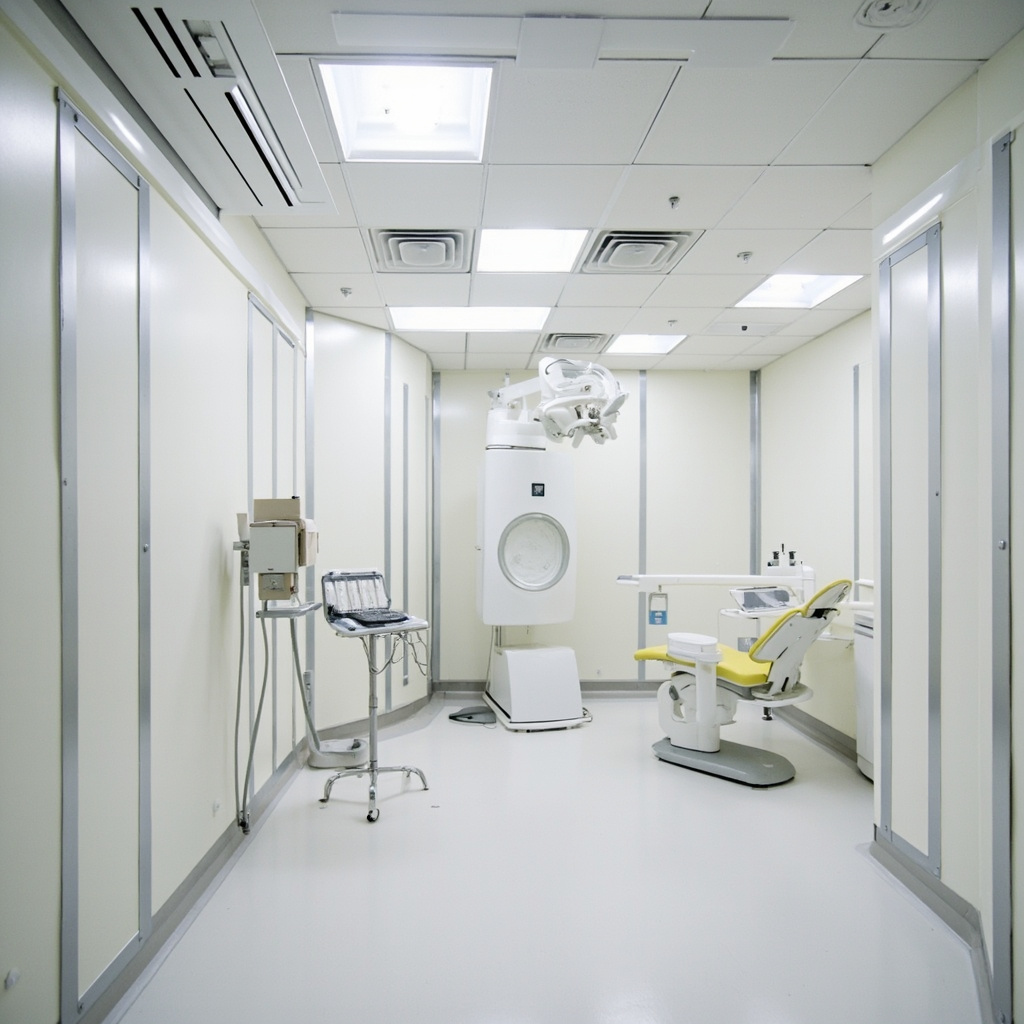
Designing a compliant dental X-ray room requires careful attention to radiation shielding requirements, space allocation, and safety protocols. Modern dental practices must balance functionality with regulatory compliance to create safe, efficient imaging environments.

Essential Space Requirements

Dental X-ray rooms typically range from 8×8 feet to 12×12 feet, with specific minimum dimensions mandated by state regulations. The operator control area must provide at least 7.5 square feet of unobstructed floor space, with no dimension less than 2 feet. This ensures adequate space for safe equipment operation and emergency movement.

Room layout should position the X-ray unit to minimize primary beam direction toward occupied areas. Consider workflow patterns, patient wheelchair accessibility, and equipment maintenance access when finalizing the design.

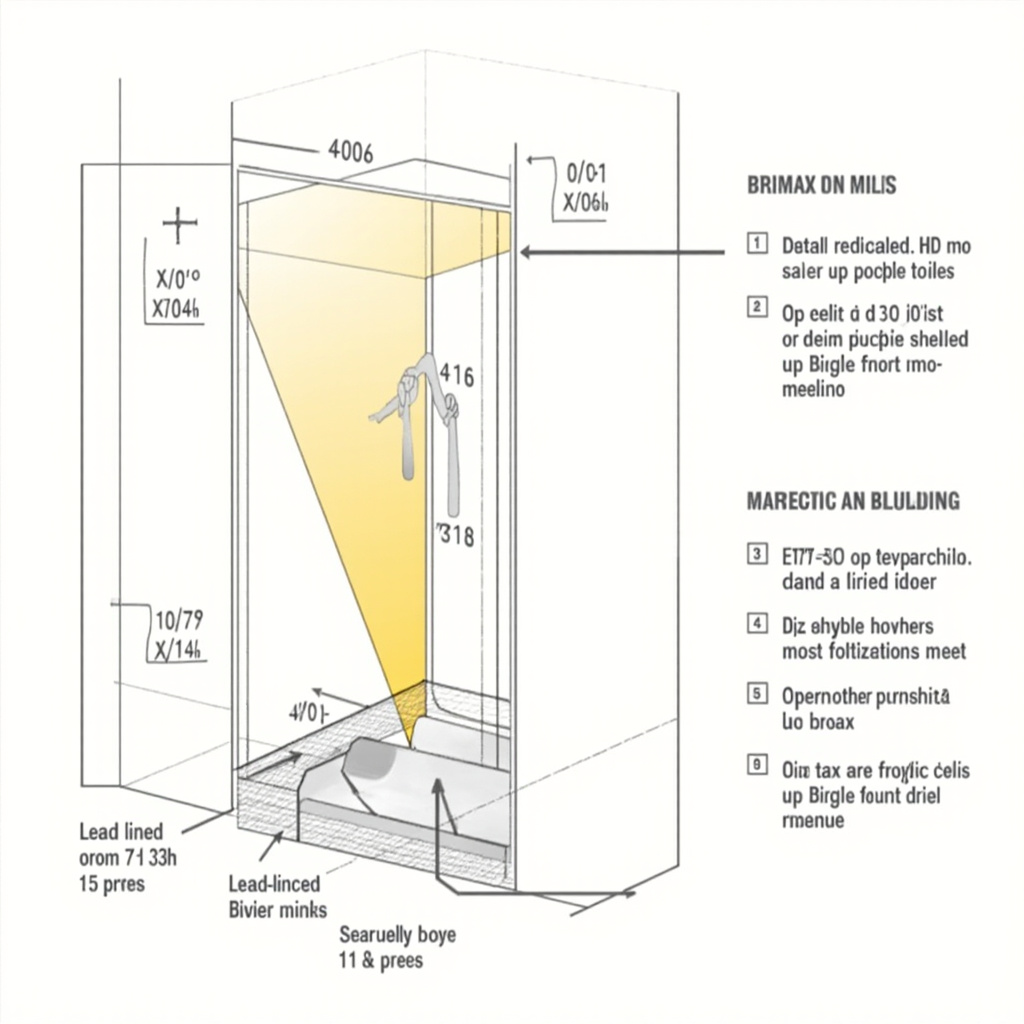
Technical diagram showing radiation barriers and beam paths in dental X-ray room

Radiation Shielding Fundamentals

Unlike medical X-ray rooms requiring 1mm or more lead equivalence, most dental installations need minimal structural shielding. Standard gypsum wallboard often provides adequate protection for intraoral systems due to the lower radiation output and shorter exposure times.

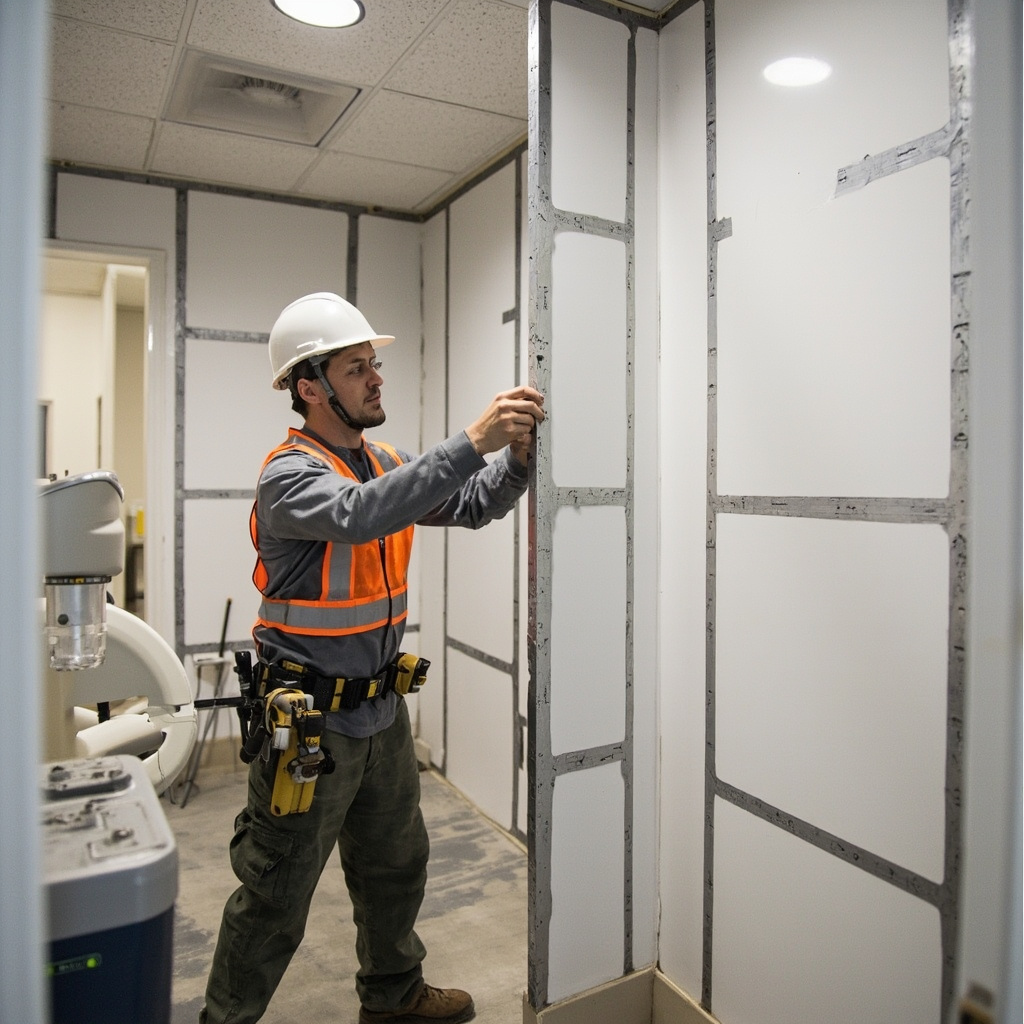
However, panoramic units and CBCT systems may require additional shielding measures. Primary barriers must block the direct beam path, while secondary barriers protect against scatter radiation. Knauf Safeboard, featuring 0.5mm lead equivalence, serves as an effective alternative to traditional lead-lined panels in many dental applications.

Key Shielding Considerations

  • Analyze adjacent space occupancy levels
  • Calculate workload and use factors
  • Evaluate structural materials and thickness
  • Consider beam direction and scatter patterns
  • Account for equipment-specific radiation outputs

Construction worker installing lead-lined drywall for radiation protection

Operator Protection Strategies

When structural barriers aren’t feasible, operators must maintain safe positioning during exposures. The NCRP recommends standing at least 2 meters from the primary beam path, preferably at angles between 90 and 135 degrees to the beam direction.

Control booth design should provide complete protection while maintaining visual contact with patients. Leaded glass windows must match surrounding barrier protection levels, and door interlocks should prevent accidental exposures.

Regulatory Compliance and Documentation

Most states require shielding plan reviews before equipment installation. These submissions must include floor plans, construction details, adjacent space use factors, and radiation safety calculations. Working with qualified radiation safety consultants ensures compliance with local regulations and optimal protection levels.

Regular radiation surveys after installation verify that actual exposure levels meet design specifications and regulatory limits. Documentation of these surveys supports ongoing compliance and helps identify any needed modifications.

Design Best Practices

Modern X-ray room design emphasizes flexibility and future adaptability. Consider these proven strategies:

  • Install adequate electrical capacity for future equipment upgrades
  • Design modular shielding systems for easy reconfiguration
  • Include proper ventilation and climate control systems
  • Plan for digital imaging network infrastructure
  • Ensure compliance with disability access requirements

Thoughtful X-ray room design protects patients and staff while supporting efficient clinical workflows. By understanding shielding requirements, space constraints, and regulatory standards, dental practices can create imaging facilities that serve their needs for years to come.

Related Reading

Implementing ADA 2026 Radiation Safety Protocols in Your Dental Practice

The American Dental Association (ADA) has released updated radiation safety guidelines for 2026, emphasizing enhanced protection measures for both patients and dental staff. These new protocols build upon existing safety frameworks while incorporating modern technology and best practices.

Understanding the ALARA Principle

The cornerstone of dental radiation safety remains the ALARA principle (As Low As Reasonably Achievable). This approach requires dental practices to minimize radiation exposure through proper equipment use, technique optimization, and staff training.

Radiation protection equipment properly organized

Key components of ALARA implementation include:

  • Regular equipment calibration and maintenance
  • Proper patient positioning and collimation
  • Use of fastest appropriate film or digital sensors
  • Selective radiography based on clinical need

Enhanced Protection Equipment Requirements

The 2026 guidelines emphasize proper protective equipment management and regular inspection protocols. Lead aprons must be tested annually for integrity, and thyroid collars are mandatory for all intraoral radiographic procedures.

Staff dosimetry monitoring has been updated to include more frequent badge exchanges and lower action levels. Practices must maintain detailed exposure records and implement immediate corrective actions when threshold limits are approached.

Digital Equipment Optimization

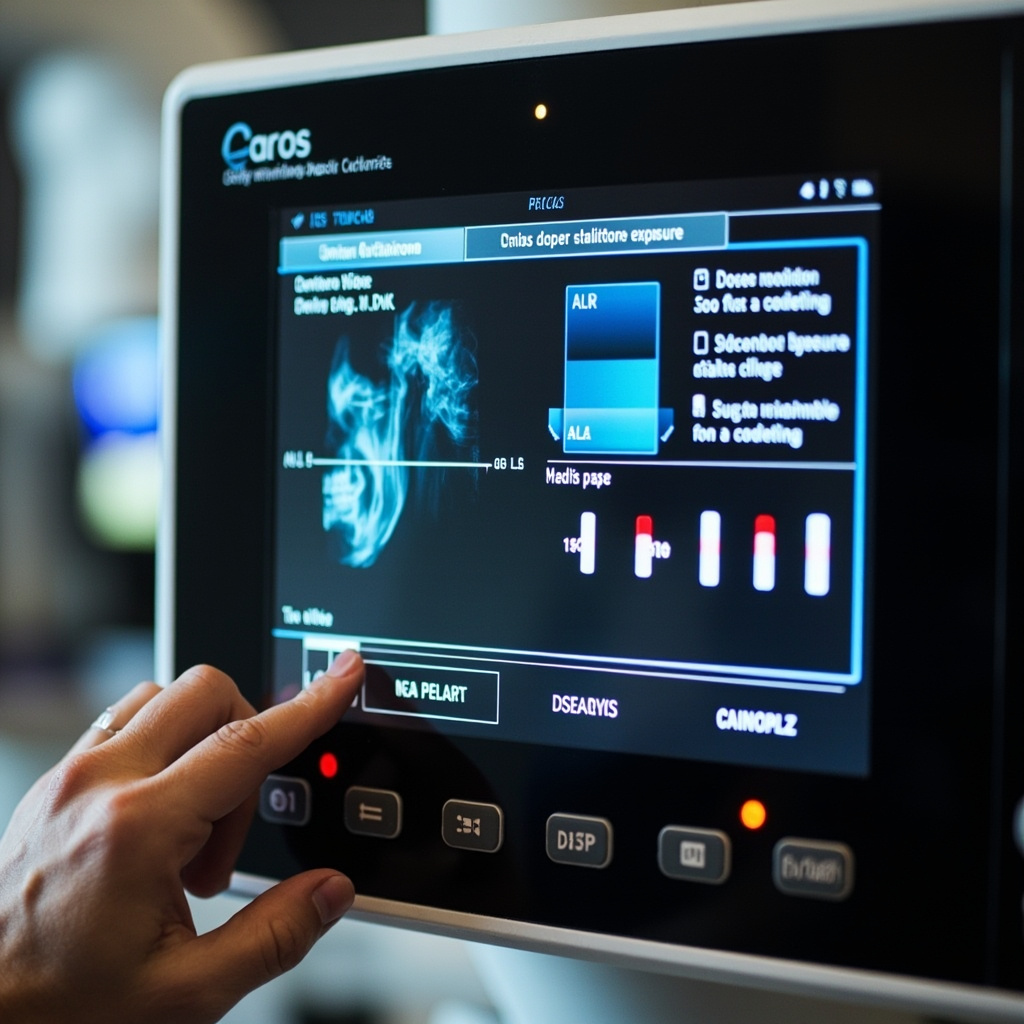
Modern digital X-ray systems offer significant dose reduction opportunities compared to traditional film-based systems. The updated protocols specifically address digital sensor positioning, exposure parameter optimization, and image quality assurance.

Digital X-ray control panel with safety settings

Critical digital system considerations include:

  • Regular sensor calibration and cleaning protocols
  • Proper exposure technique charts for digital systems
  • Image quality assessment procedures
  • Backup and archival compliance requirements

Compliance Documentation and Training

The ADA 2026 guidelines require comprehensive documentation of all radiation safety measures, including staff training records, equipment inspections, and incident reporting procedures. Regular safety audits and continuing education are now mandatory components of practice compliance.

Practices must establish written protocols for radiation emergencies, equipment failures, and exposure incidents. Staff members require annual radiation safety training certification, with specific modules covering equipment operation, patient protection, and emergency procedures.

Implementation Timeline and Resources

Dental practices have until the end of 2026 to fully implement these updated safety protocols. The ADA provides comprehensive resources including training materials, compliance checklists, and technical support through regional safety consultants.

Practices should begin by conducting a comprehensive safety audit, updating their radiation safety officer designations, and reviewing all existing protocols against the new guidelines. Regular monitoring and continuous improvement ensure ongoing compliance and optimal patient safety.

Related Reading

Troubleshooting Common Digital X-Ray Equipment Issues in Dental Practices

Digital radiography has revolutionized dental imaging, offering instant results and improved diagnostic accuracy. However, like any sophisticated technology, digital X-ray systems can encounter operational issues that disrupt workflow and patient care. Understanding how to quickly identify and resolve common problems is essential for maintaining efficient dental practice operations.

Most Frequent Digital X-Ray System Problems

Digital X-ray equipment failures typically fall into several categories: sensor connectivity issues, software glitches, image quality problems, and hardware malfunctions. Each requires specific diagnostic approaches and solutions to restore normal operation.

Digital X-ray sensor positioning

Sensor Connectivity and Recognition Issues

One of the most common problems dental practices encounter involves the X-ray sensor not being recognized by the imaging software. This can manifest as error messages indicating “sensor not found” or “no device connected.”

Primary troubleshooting steps include:

  • Checking all USB connections between sensor, interface box, and computer
  • Verifying proper sensor driver installation and updates
  • Testing sensor functionality with different USB ports
  • Restarting imaging software and reconnecting sensor
  • Inspecting sensor cable for damage or wear

Image Quality and Exposure Problems

Poor image quality significantly impacts diagnostic capabilities and can result from various factors including incorrect exposure settings, sensor positioning, or equipment calibration issues.

Common image quality issues:

  • Images appearing too dark or too light
  • Excessive noise or graininess
  • Blurred or distorted radiographs
  • Incomplete image capture
  • Artifacts or unusual patterns in images

Software Interface and Processing Errors

Digital radiography software occasionally experiences crashes, freezes, or processing errors that prevent normal operation. These issues often stem from system resource conflicts, outdated software versions, or corrupted image files.

Digital X-ray software troubleshooting interface

Essential Software Troubleshooting Protocol

When encountering software-related problems, follow this systematic approach:

  1. Close and restart imaging application – Many temporary glitches resolve with a simple restart
  2. Check available system memory – Large image files can overwhelm limited RAM
  3. Verify software version currency – Manufacturers regularly release bug fixes and updates
  4. Clear temporary files and cache – Accumulated temporary data can cause performance issues
  5. Test with new patient file – Corrupted patient records can cause persistent problems

Hardware Maintenance and Prevention

Preventive maintenance significantly reduces equipment downtime and extends system lifespan. Regular cleaning, proper handling, and scheduled inspections identify potential issues before they become critical failures.

Recommended maintenance schedule:

  • Daily sensor cleaning with approved disinfectants
  • Weekly cable inspection and connection verification
  • Monthly software updates and system optimization
  • Quarterly professional calibration and alignment checks
  • Annual comprehensive system evaluation and service

When to Contact Technical Support

While many digital X-ray issues can be resolved through basic troubleshooting, certain problems require professional intervention. Contact manufacturer support when experiencing persistent sensor failures, consistent image quality problems despite adjustments, software licensing errors, or any hardware damage.

Maintaining detailed logs of recurring issues helps technical support diagnose underlying problems more efficiently and can reveal patterns indicating necessary equipment upgrades or replacements.

Conclusion

Effective troubleshooting of digital X-ray equipment requires systematic approaches and thorough understanding of common failure modes. By implementing proper maintenance protocols and following structured diagnostic procedures, dental practices can minimize downtime and ensure consistent, high-quality imaging capabilities for optimal patient care.

Related Reading

Digital X-Ray Equipment for New Dental Clinics in 2026: Essential Buyer’s Guide

Starting a dental practice in 2026 requires strategic equipment decisions that balance immediate functionality with long-term scalability. Digital X-ray systems represent one of the most critical investments for new clinics, directly impacting diagnostic capability, workflow efficiency, and patient experience.

Modern digital radiography has evolved far beyond simple film replacement. Today’s systems integrate seamlessly with practice management software, enable instant image sharing, and provide enhanced diagnostic tools that can significantly improve treatment outcomes.

Key Technologies for 2026

Digital sensor technology continues to advance rapidly. New clinics should prioritize systems offering:

  • Wireless connectivity – Eliminates cable wear and improves patient comfort
  • High resolution imaging – Minimum 14-16 line pairs per millimeter for clear diagnostics
  • Fast image acquisition – Sub-second exposure times reduce patient movement artifacts
  • Software integration – Seamless connection with practice management platforms

Digital dental X-ray sensor technology

Intraoral vs Extraoral Systems

New practices typically need both intraoral sensors for detailed tooth imaging and panoramic systems for comprehensive jaw evaluation. The decision between purchasing new versus refurbished equipment can significantly impact startup budgets.

Intraoral Digital Sensors:

  • Size 0, 1, and 2 sensors provide full diagnostic coverage
  • Wireless models reduce infection control complexity
  • Expected lifespan of 5-7 years with proper handling
  • Cost range: $8,000-$15,000 per sensor

Panoramic Digital Systems:

  • Essential for orthodontics, implant planning, and oral surgery
  • 3D CBCT capability increasingly important
  • Integration with implant planning software
  • Cost range: $45,000-$120,000 for new systems

Workflow Integration Considerations

The most advanced equipment becomes worthless if it doesn’t integrate properly with your practice workflow. Modern digital X-ray systems should connect directly to your practice management software, enabling automated patient data synchronization and streamlined billing processes.

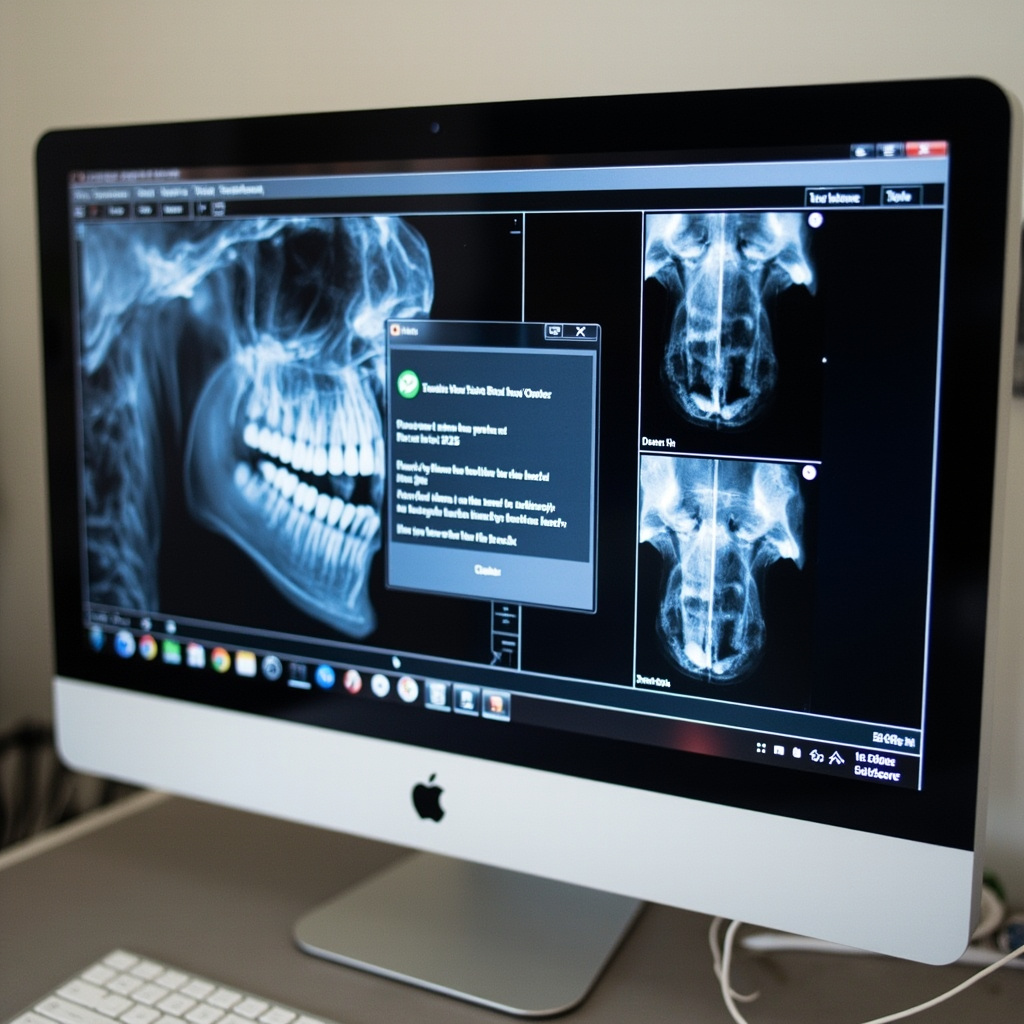
Dentist reviewing digital X-ray images on computer monitor

Software Requirements

Ensure your chosen digital radiography system supports:

  • DICOM standards for image portability
  • Cloud-based storage and backup
  • Mobile viewing capabilities
  • Integration with referral networks
  • Automated measurement and analysis tools

Budget Planning for New Clinics

Digital X-ray equipment represents 15-20% of total equipment investment for new dental practices. Smart budgeting involves:

Essential First-Year Equipment:

  • Basic intraoral sensor system: $12,000-$20,000
  • Panoramic system (entry-level): $50,000-$70,000
  • Imaging software license: $2,000-$5,000 annually
  • Training and installation: $3,000-$5,000

Future Expansion Options:

  • Additional sensor sizes
  • CBCT upgrade modules
  • Advanced analysis software
  • Integration with CAD/CAM systems

Maintenance and Support Considerations

Digital X-ray equipment requires ongoing maintenance to ensure optimal image quality and regulatory compliance. Factor these costs into your operational budget:

  • Annual service contracts – 8-12% of equipment cost
  • Software updates – Often included in service plans
  • Sensor replacement – Plan for replacement every 5-7 years
  • Calibration services – Required for quality assurance

Making the Right Choice

Successful equipment selection for new dental clinics requires balancing current needs with future growth plans. Digital X-ray systems purchased today should serve your practice for 7-10 years, making it crucial to choose systems with upgrade pathways and strong manufacturer support.

Consider working with equipment specialists who understand both the technical requirements and financial realities of starting a dental practice. The right digital radiography investment will enhance diagnostic capabilities, improve workflow efficiency, and contribute to long-term practice success.

Related Reading